Understanding Your Home Solar Installation Timeline
Installing a solar energy system in your home can seem daunting. However, breaking the process down into key stages can help you navigate the journey with confidence. Whether you’re considering a grid-tied system, a backup battery, or even an off-grid setup, understanding the timeline and what to expect at each phase is essential. Here’s a detailed guide to the six key stages in your home solar installation timeline.
1. Initial Research and Evaluation
The first stage of your solar journey involves gathering information. This is the time to assess whether solar power is a good fit for your home. Consider the following:
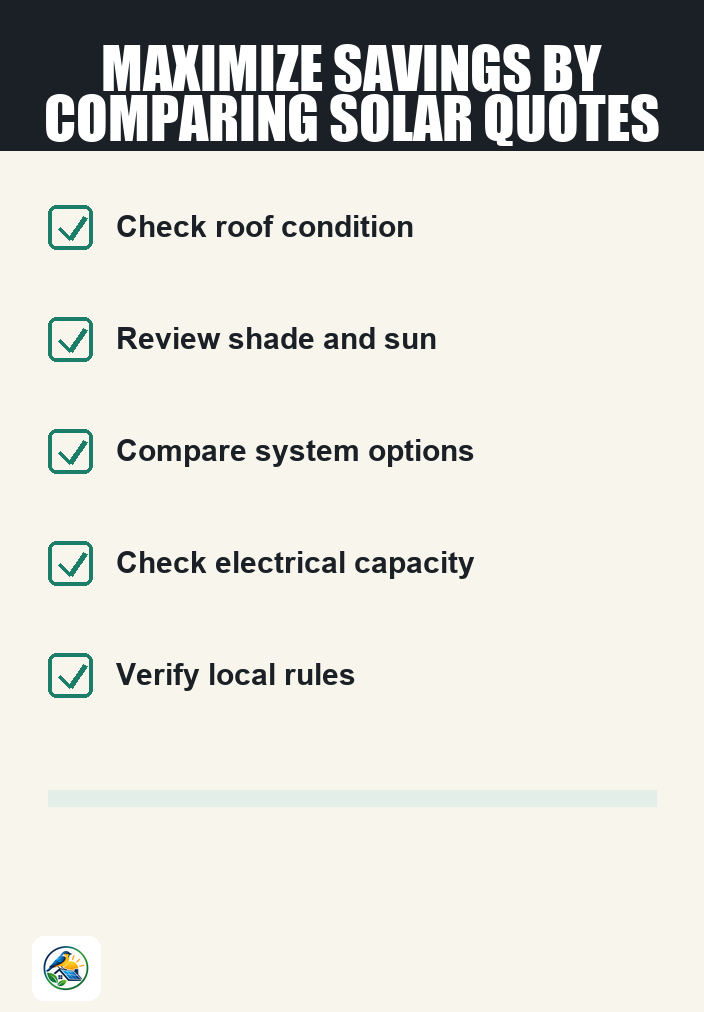
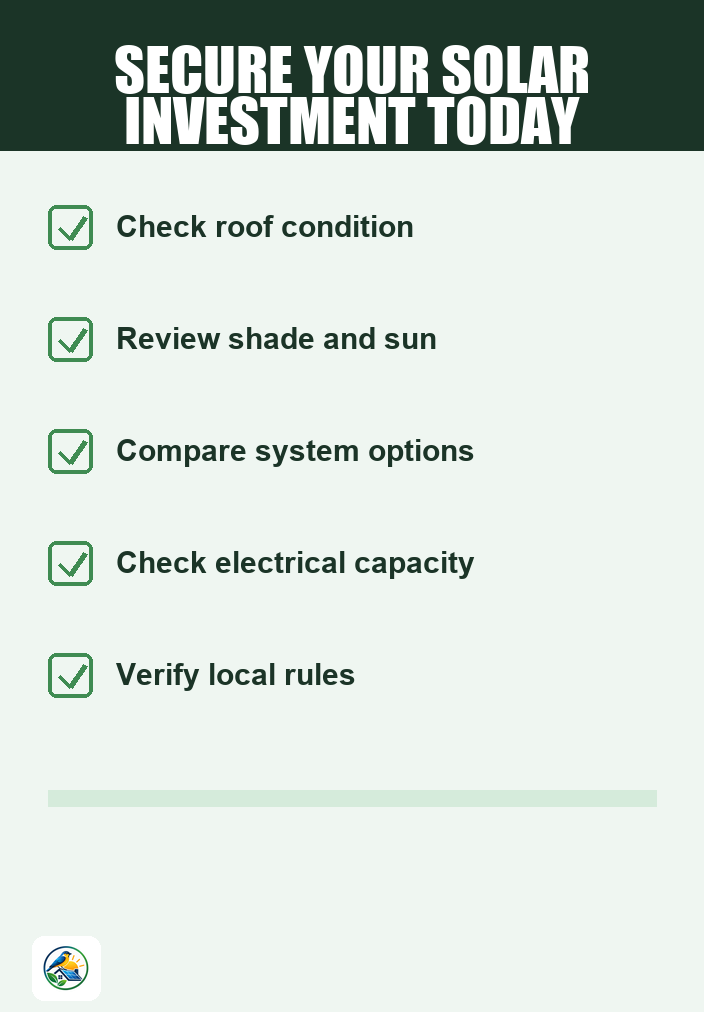
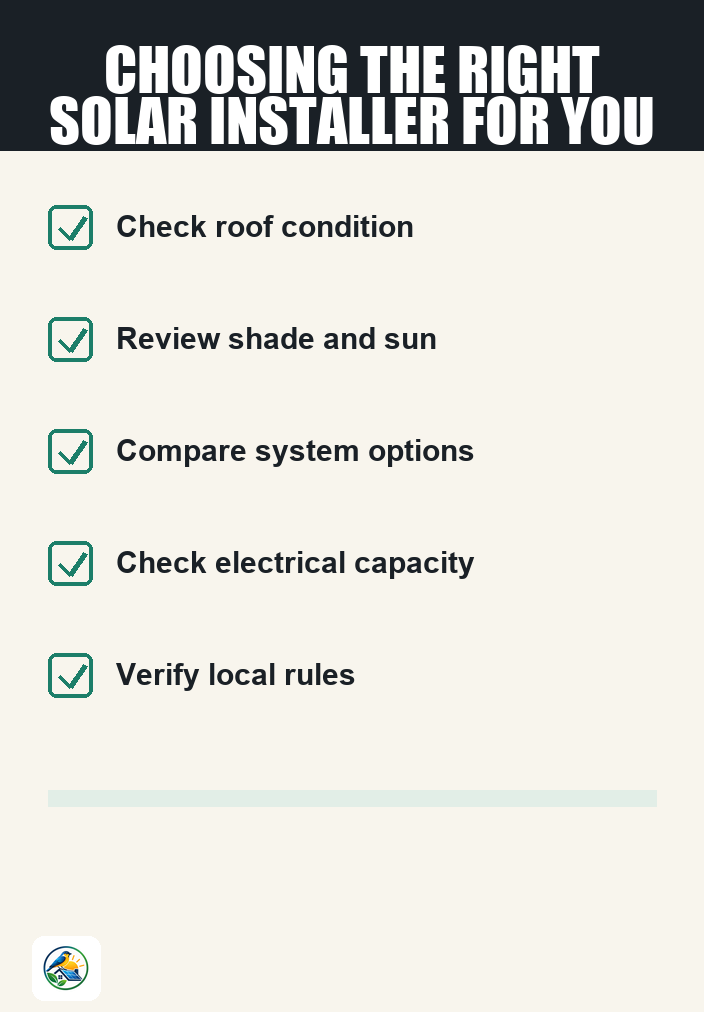
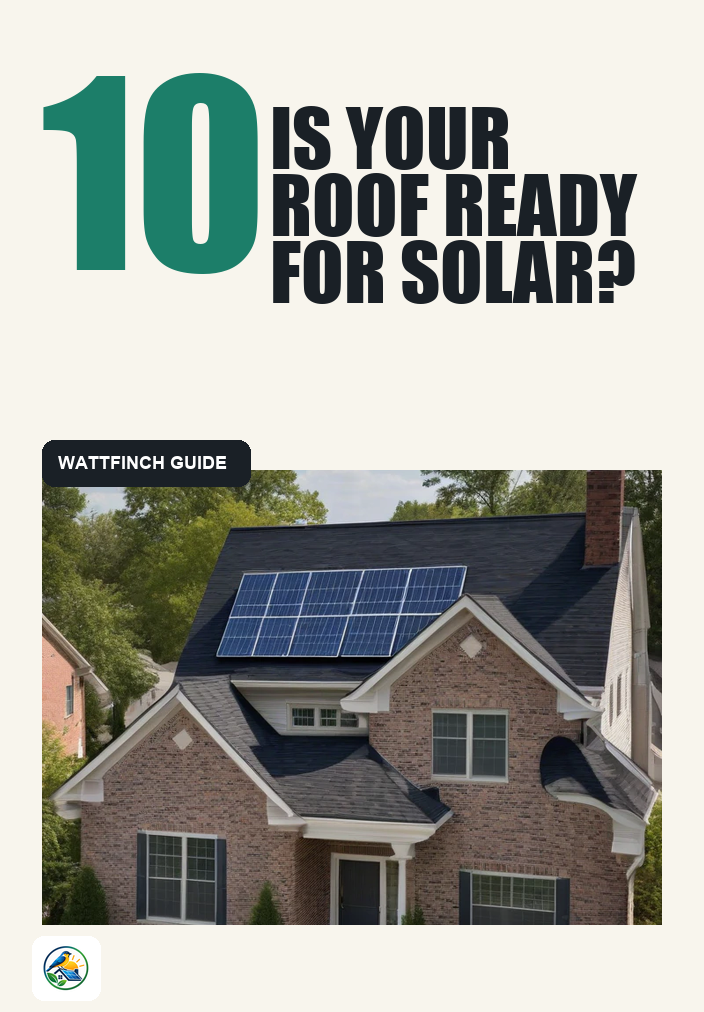
- Roof Condition: Check if your roof is in good condition. If it needs repairs, it may be best to address those before installation.
- Sunlight Exposure: Evaluate how much sunlight your roof receives throughout the day. Shade from trees or nearby buildings can impact solar production.
- Energy Needs: Analyze your energy bills to understand your electricity consumption patterns. This will help in sizing your solar system appropriately.
During this phase, you might consult resources online or speak with friends and family who have installed solar. This research lays the groundwork for your decision-making process.
2. Getting Quotes from Installers
Once you’ve done your preliminary research, it’s time to reach out to solar installers for quotes. This step involves:
- Finding Qualified Installers: Look for local companies with good reputations. Check reviews and ratings to ensure they are credible.
- Requesting Detailed Proposals: Ask for itemized quotes that include equipment, installation costs, warranties, and any additional fees.
- Comparing Offers: Evaluate the proposals not just on price but also on the quality of equipment, installation practices, and customer service.
Getting multiple quotes helps you understand the market better and can aid in negotiation. Be sure to ask each installer about their experience with the specific conditions of your home.
3. Site Assessment and System Design
After selecting an installer, they will perform a site assessment to determine the best solar system design for your home. This assessment typically includes:
- Roof Inspection: Technicians will inspect your roof’s structural integrity and assess its orientation and tilt.
- Shading Analysis: They will use tools to gauge how much shade affects your roof throughout the day.
- System Design: The installer will design a system tailored to your energy needs, roof characteristics, and any local regulations.
This phase is crucial for ensuring the system is both efficient and compliant with local ordinances. You can expect a comprehensive plan that outlines the proposed solar panel layout, type of equipment, and estimated energy production.
4. Permitting and Approvals
Before installation can commence, your solar project must go through a permitting process, which varies by location. This stage involves:
- Obtaining Permits: Your installer will typically handle this process, ensuring that all necessary local and state permits are secured.
- Utility Approval: If you’re connecting to the grid, your utility company may need to approve your installation. They will review your system design and interconnection requirements.
Permitting can take anywhere from a few days to several weeks, depending on local regulations and the efficiency of your installer. Patience is key during this stage, as it ensures that your system meets all legal requirements.
5. Installation
With permits in hand, the installation process can begin. This stage typically lasts one to three days, depending on the size of your system and the complexity of the installation. Key activities include:
- Panel Installation: Solar panels will be mounted on your roof, and the necessary wiring will be installed.
- Inverter Setup: An inverter converts the DC electricity generated by your panels into AC electricity for your home.
- Battery Installation (if applicable): If you opted for a home battery, it will be installed alongside the solar panels.
During installation, your installer should ensure that everything is done safely and efficiently. You may want to be present to ask questions and observe the process.
6. Final Inspection and Activation
After installation, a final inspection will be conducted to ensure everything is up to code and functioning correctly. This stage includes:
- Utility Inspection: Your utility company may require their own inspection to ensure the system complies with their standards.
- System Activation: Once approved, your solar system will be activated, allowing you to start generating solar electricity.
After activation, your installer should provide you with documentation, including warranties, maintenance recommendations, and information on monitoring your system’s performance. Familiarize yourself with how to track your energy production and consumption.
Next Steps: Moving Forward with Solar
As you consider your solar installation options, remember that every home is unique, and your situation may require different considerations. Comparing itemized quotes from qualified installers will help you make informed decisions that suit your specific needs. Always verify current local utility, installer, government, and tax information before proceeding, as these details can greatly influence your solar project.
By following these six key stages in your home solar installation timeline, you can approach your solar journey with clarity and confidence, paving the way for a successful transition to renewable energy.