Understanding Your Home Solar Installation Timeline
As interest in renewable energy grows, many homeowners are considering solar energy as a viable option for their homes. However, embarking on a solar installation can feel overwhelming, especially when it comes to understanding the timeline involved. This guide is designed to help U.S. homeowners navigate the complexities of installing a residential rooftop solar system, optionally with a home battery. We will break down the steps involved, provide practical insights, and clarify key timelines to help you make informed decisions.
Initial Considerations Before Installation
Before diving into the installation process, it’s essential to assess whether solar energy is a good fit for your home. Here are some factors to consider:
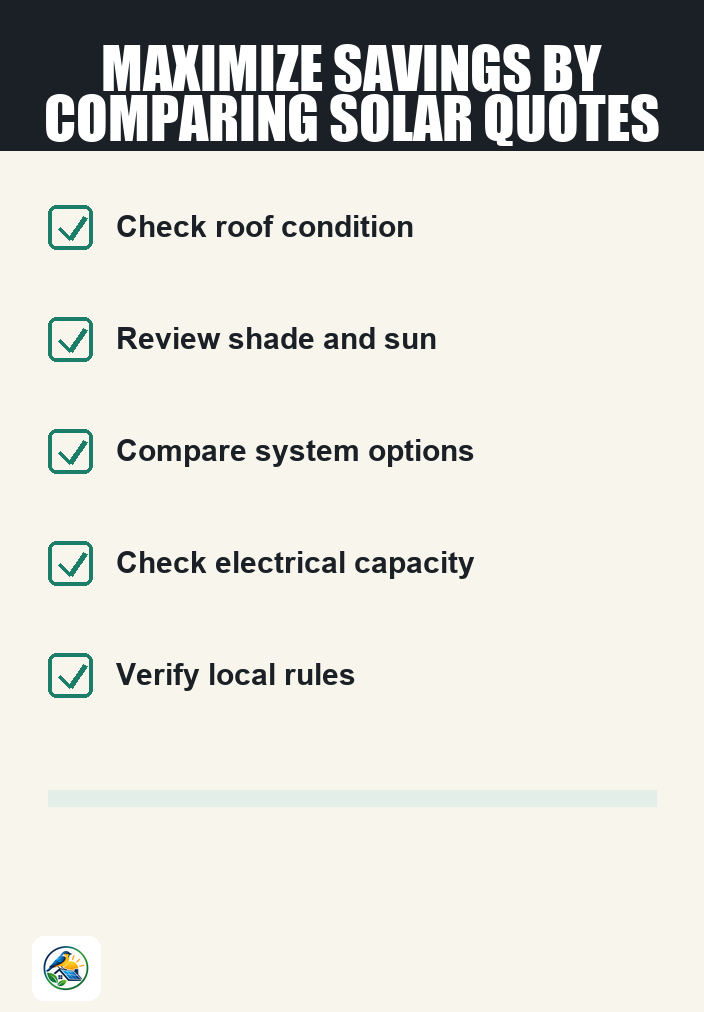
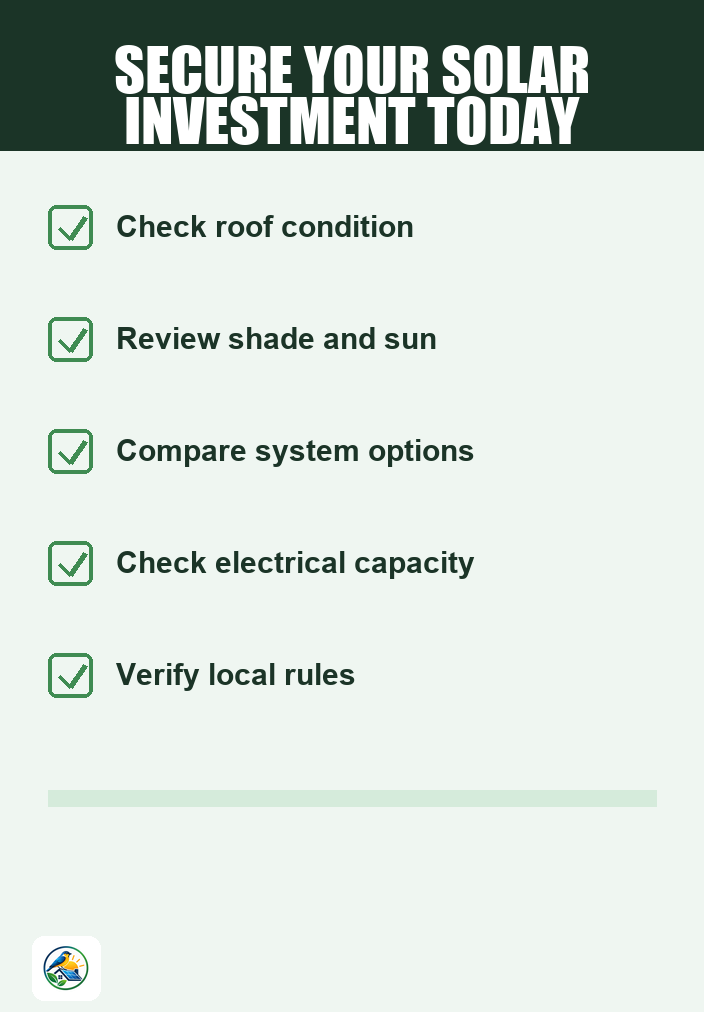
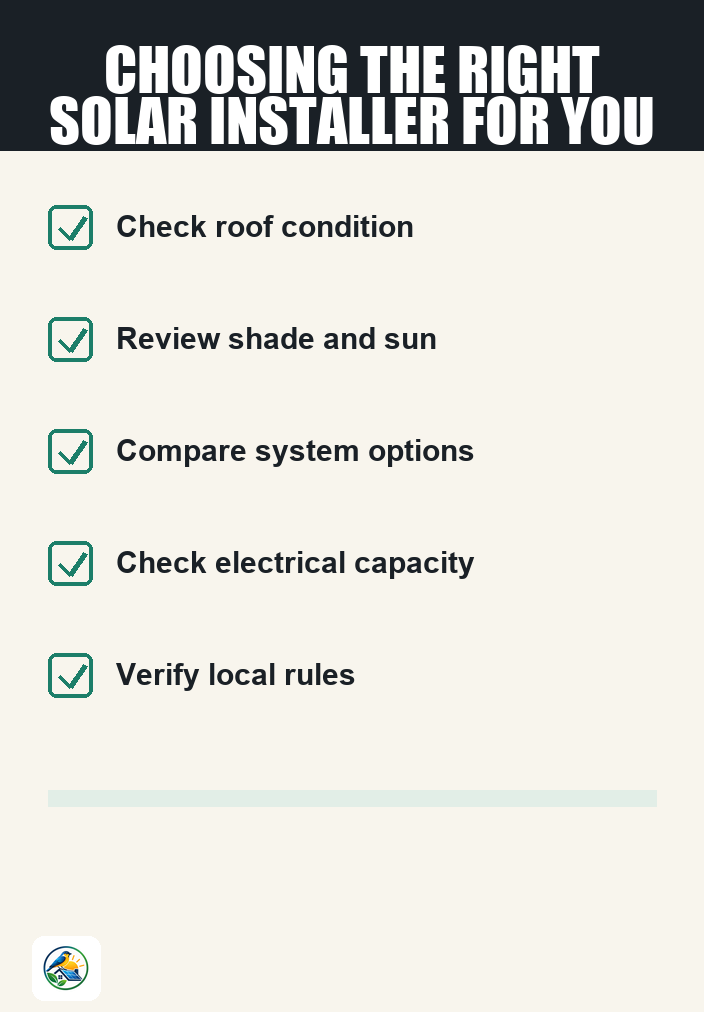
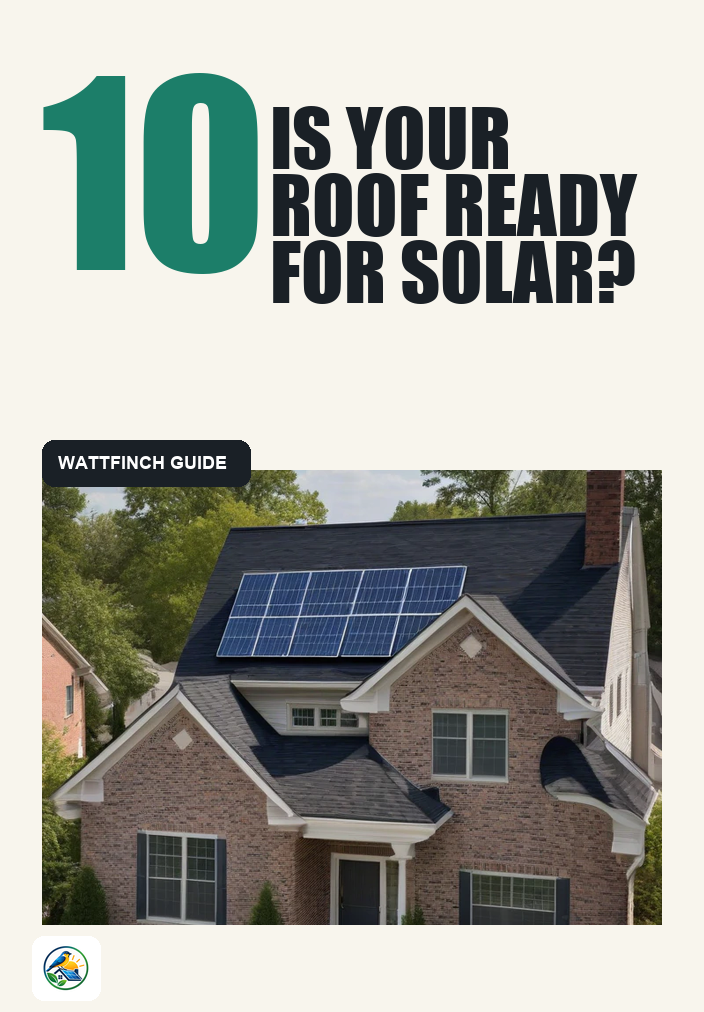
- Roof Condition: Ensure your roof is in good shape. A roof that needs repairs or replacement may complicate the installation process.
- Orientation and Shade: Ideally, your roof should face south for maximum sun exposure. Trees, buildings, or other obstructions that cast shade can negatively impact energy production.
- Electrical System: Older homes may require electrical upgrades to accommodate a solar system. An installer can evaluate your current setup.
- Local Regulations: Familiarize yourself with local zoning laws and building codes, which can vary widely by region.
- Utility Policies: Research net-metering rules and any potential interconnection requirements with your utility provider.
Step 1: Getting Quotes from Installers
The first actionable step in your solar journey is obtaining quotes from qualified installers. This process typically involves:
- Initial Consultation: Most installers will conduct a free consultation to assess your property and energy needs. Expect them to ask questions about your energy consumption, roof space, and preferences, such as whether you want a battery backup.
- Site Assessment: A professional will evaluate your roof’s orientation, shading, and structural integrity. This assessment helps determine the size and type of system suitable for your home.
- Detailed Quote: After the evaluation, expect an itemized quote that includes the costs of equipment, installation, and any additional services like permitting or maintenance. Review these details carefully.
Step 2: Finalizing Your Decision
Once you have received multiple quotes, it’s time to compare them. Look for:
- Cost Breakdown: Ensure that all components, including panels, inverters, and labor, are clearly listed.
- Warranties: Review the warranties on the equipment and installation services. A longer warranty can provide peace of mind.
- Installation Timeline: Ask how long the installation will take and when it can start. Schedules can vary based on demand and the complexity of your project.
- Incentives: Verify any local, state, or federal incentives that may apply to your installation. Check with your installer about how these incentives can affect your overall costs.
Step 3: Permitting and Approvals
After selecting an installer and finalizing the quote, the next step is obtaining the necessary permits. This process can take anywhere from a few days to several weeks, depending on your local regulations. Your chosen installer typically handles this step, which may include:
- Building Permits: Required to ensure that your installation complies with local building codes.
- Electrical Permits: Necessary for any electrical work associated with the solar installation.
- Utility Approval: Some utilities require interconnection agreements before you can connect your solar system to the grid.
Step 4: Installation Process
Once all permits are in place, the installation process can begin. This typically involves:
- Scheduling: Coordinate with your installer to schedule the installation date. It’s wise to confirm the timeline again as weather and other factors can impact scheduling.
- Installation Day: Expect the installation to take one to three days, depending on the size of your system and any additional components, like a battery.
- Final Inspection: After installation, a final inspection may be required to ensure everything meets local codes and standards.
Step 5: Going Live and Monitoring Your System
Once installation is complete and inspections are passed, your solar system will be connected to the grid (if grid-tied) and ready to generate energy. Key points to consider:
- Monitoring: Many systems come with monitoring software that allows you to track energy production and consumption.
- Maintenance: Regular checks can ensure your system is functioning optimally. Although solar systems require minimal maintenance, cleaning panels and checking for shading obstructions can enhance performance.
- Understanding Billing: Review your utility bill to understand how your solar installation impacts your energy costs and any net-metering credits.
Conclusion: Next Steps for Homeowners
Understanding the timeline for a home solar installation can empower homeowners to make informed decisions. By considering your unique circumstances, obtaining multiple quotes, and carefully navigating the permitting and installation process, you can set the stage for a successful solar energy project. As you move forward, remember to:
- Compare itemized quotes from qualified installers.
- Verify local utility, government, and tax information regarding incentives.
- Stay engaged throughout the installation process to ensure it meets your expectations.
With the right preparation, you can harness the sun’s energy, contributing to a more sustainable future while enjoying the benefits of solar energy in your home.