Understanding the Importance of Roof Inspections for Solar Installation
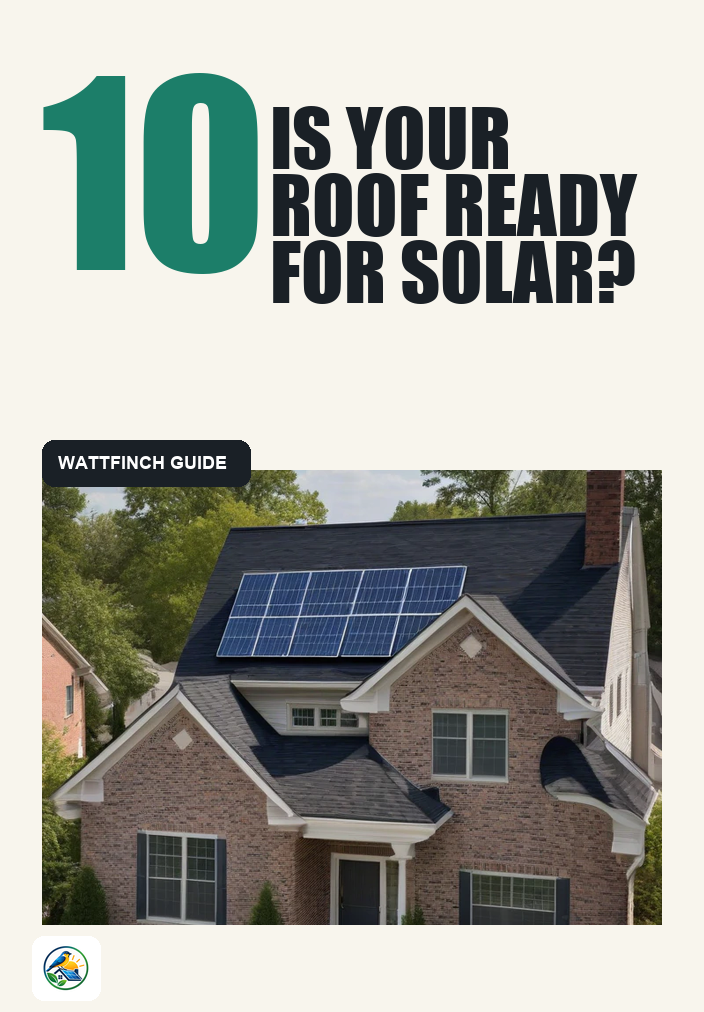
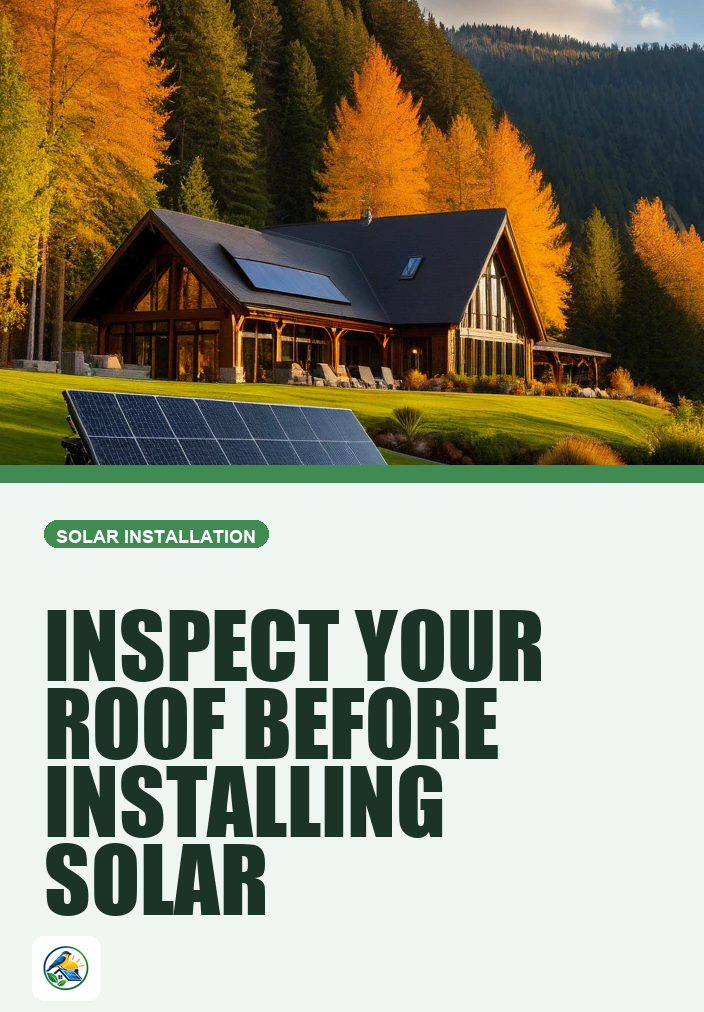
Before diving headfirst into the world of solar energy, it’s essential to ensure your roof is ready for the task. A thorough roof inspection is not just a precaution; it’s a necessity. Solar panels are a significant investment, and their performance hinges on the roof’s condition and suitability. Here, we outline six essential points to inspect before going solar, helping you make informed decisions about your home’s solar energy potential.
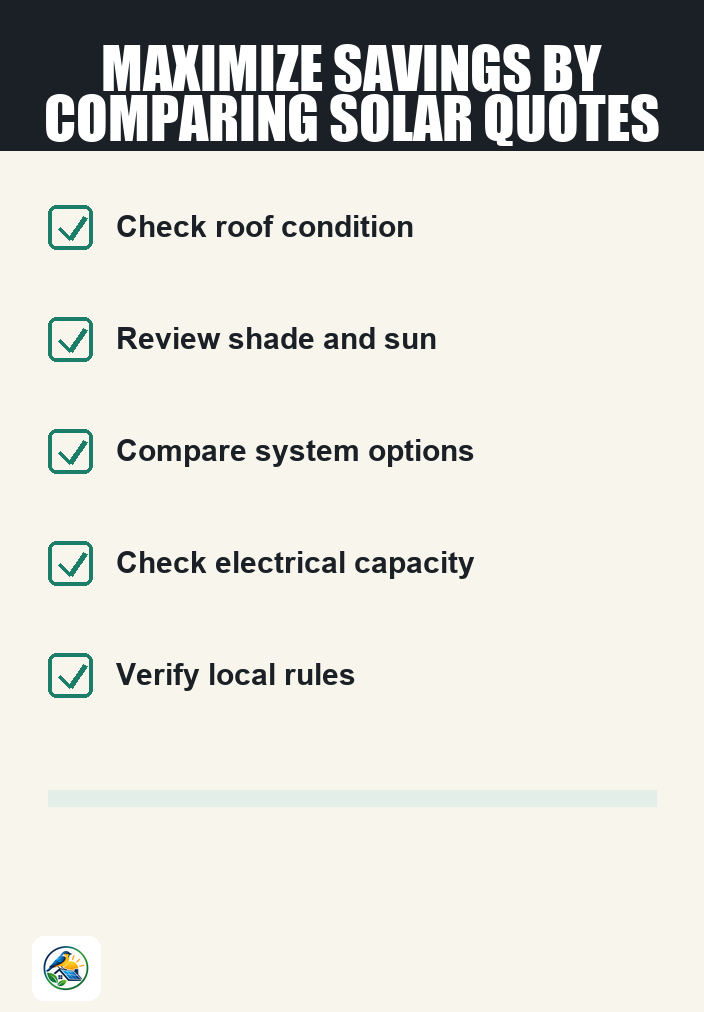
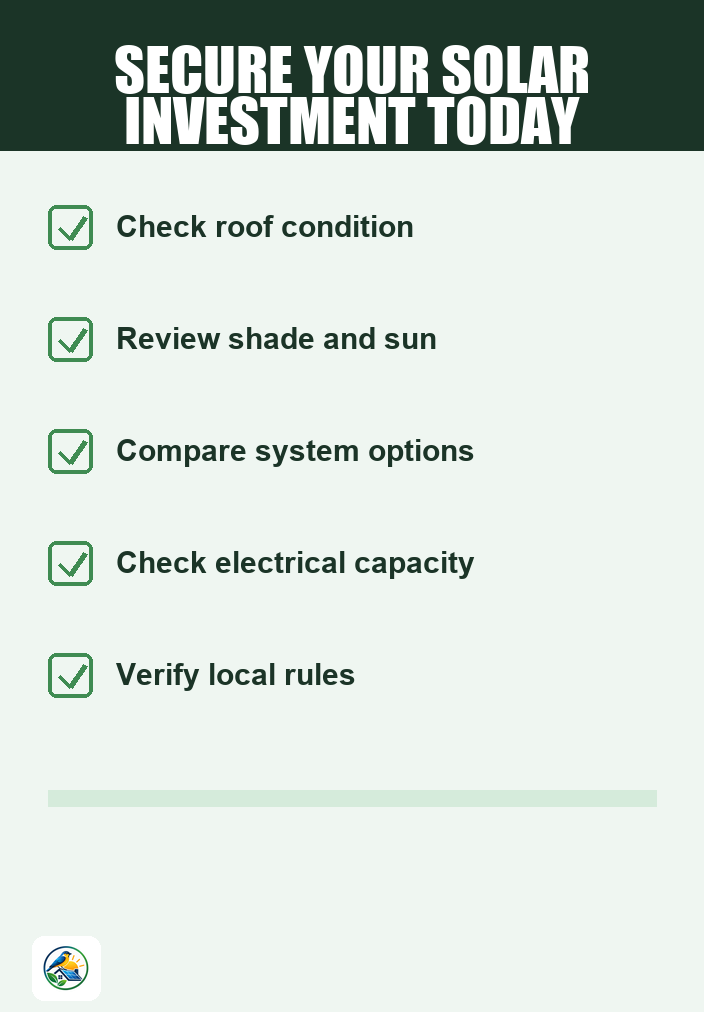
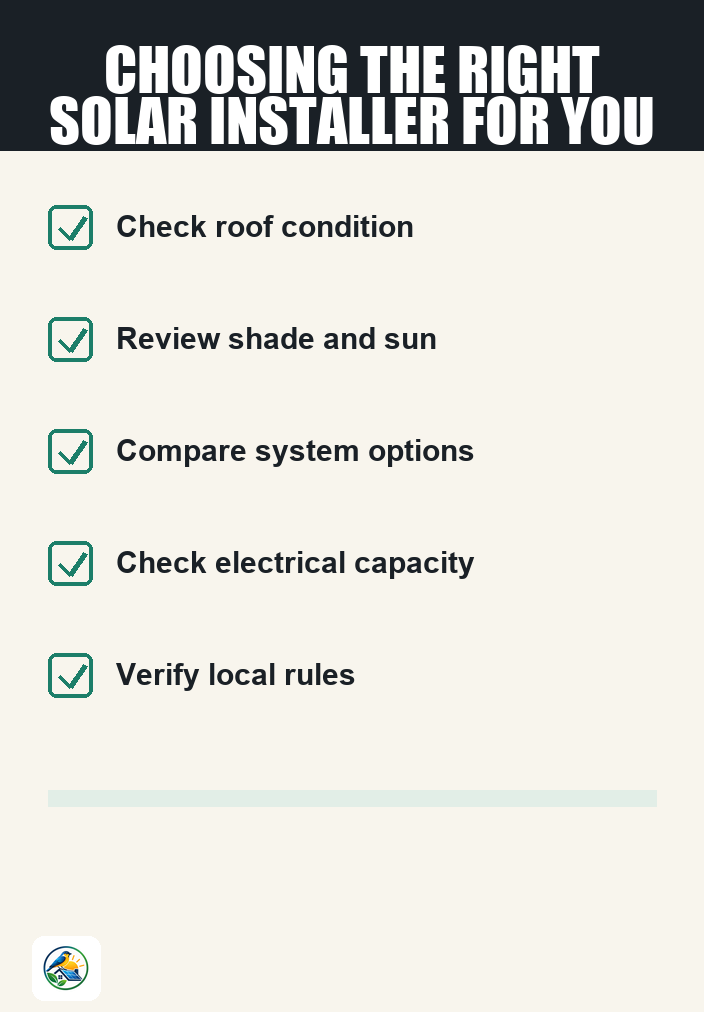
1. Roof Condition and Age
The first step in your roof inspection is to evaluate its overall condition. Is your roof showing signs of wear and tear? Cracked shingles, leaks, or sagging areas can indicate underlying issues that need addressing before installing solar panels. Additionally, the age of your roof plays a crucial role; roofs typically last between 20 to 30 years. If your roof is nearing the end of its lifespan, you may want to consider a replacement before investing in solar.
Checklist for Roof Condition
- Inspect for missing or damaged shingles.
- Look for signs of water damage or leaks.
- Check for sagging or uneven surfaces.
- Examine flashing around chimneys and vents for deterioration.
2. Roof Structure and Load Capacity
Solar panels can add significant weight to your roof. It’s crucial to assess whether your roof structure can support this additional load. Generally, roofs are designed to handle various weights, but older homes or those with certain construction styles may require reinforcement. A professional installer can help determine if your roof is structurally sound enough for solar installation.
What to Consider
- Consult a structural engineer if unsure about load capacity.
- Consider any planned renovations that may alter roof load.
- Investigate the type of roofing materials, as some may be more accommodating than others.
3. Roof Orientation and Tilt
The orientation and pitch of your roof significantly affect solar panel efficiency. Ideally, roofs facing south—with a tilt of around 30 degrees—capture the most sunlight throughout the day. However, east and west-facing roofs can also be viable options, though with slightly less efficiency. Understanding your roof’s orientation will help you and your installer determine the best approach for maximizing energy production.
Evaluating Your Roof’s Orientation
- Use a compass to identify your roof’s direction.
- Assess the pitch of your roof—steeper roofs can sometimes improve sunlight exposure.
- Consider any obstructions like chimneys or nearby trees that may cause shading.
4. Shade Assessment
Shading can drastically reduce the efficiency of solar panels. It’s essential to evaluate any potential sources of shade throughout the day. Trees, neighboring buildings, or other obstructions can hinder sunlight exposure, leading to decreased energy production. If shading is a concern, consider discussing options like trimming trees or selecting solar panel technologies that minimize the effects of shade.
Steps for Shade Assessment
- Observe your roof during different times of the day to identify shadows.
- Use shading analysis tools or apps to evaluate potential solar access.
- Consider the seasonal changes in shading patterns.
5. Local Regulations and Permitting
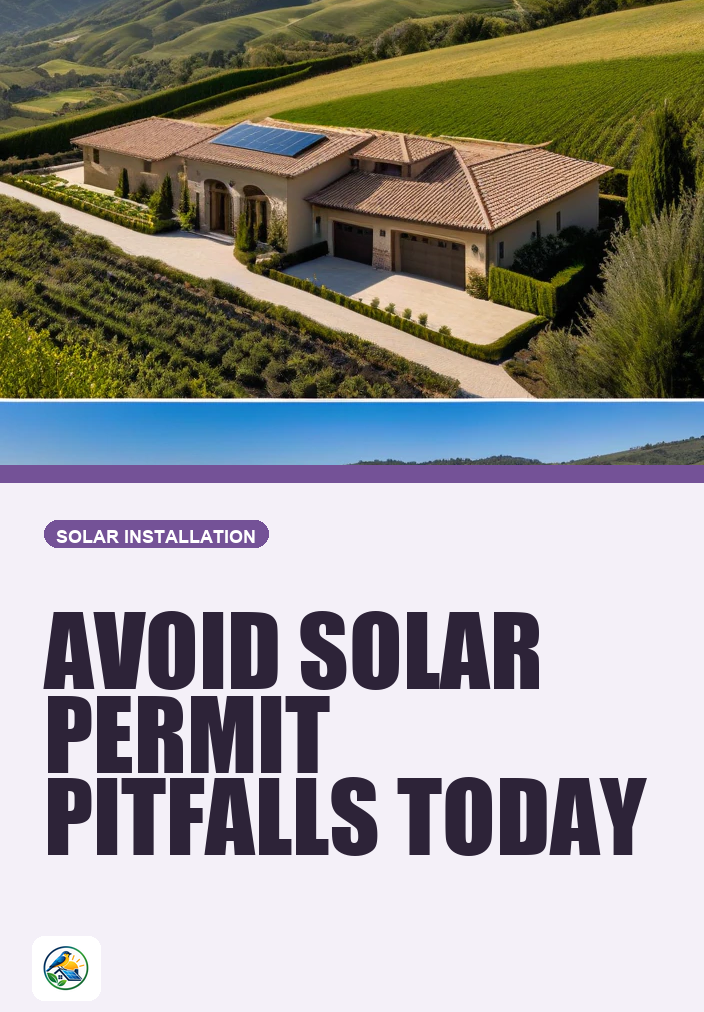
Before proceeding with solar installation, familiarize yourself with local regulations and permitting requirements. Different municipalities have specific rules regarding solar panel installations, which can impact your project timeline and costs. Researching these regulations early can save you from potential headaches later on.
Key Regulatory Considerations
- Check if your area has zoning restrictions for solar installations.
- Inquire about necessary permits and associated fees.
- Research any homeowners association (HOA) guidelines that might affect your installation.
6. Electrical System Compatibility
Your home’s electrical system must be compatible with solar energy systems. An outdated or undersized electrical panel may not handle the additional load from solar panels and could require an upgrade. This is particularly important if you plan to include a home battery for energy storage, as battery systems have specific requirements for integration with your existing electrical setup.
Assessing Electrical Compatibility
- Check the age and condition of your electrical panel.
- Consult with an electrician to evaluate your system’s capacity.
- Consider future energy needs and how an upgrade might benefit you.
Next Steps: Moving Forward with Solar
Once you’ve thoroughly inspected these six essential points, you’ll be better positioned to engage with solar installers. Obtaining itemized quotes from qualified professionals will allow you to compare options and understand the specific needs of your property. Be sure to discuss any concerns regarding roof condition, electrical compatibility, and local regulations with your installer. This proactive approach will help ensure a smooth transition to solar energy.