Understanding Your Roof: Key Considerations Before Installing Solar Panels
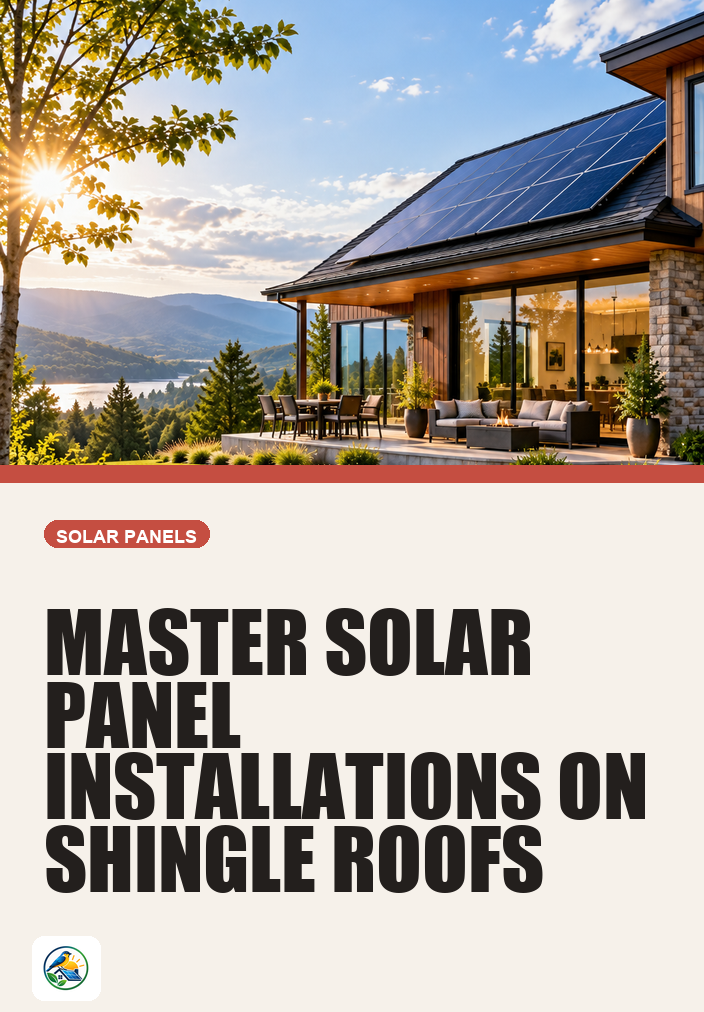
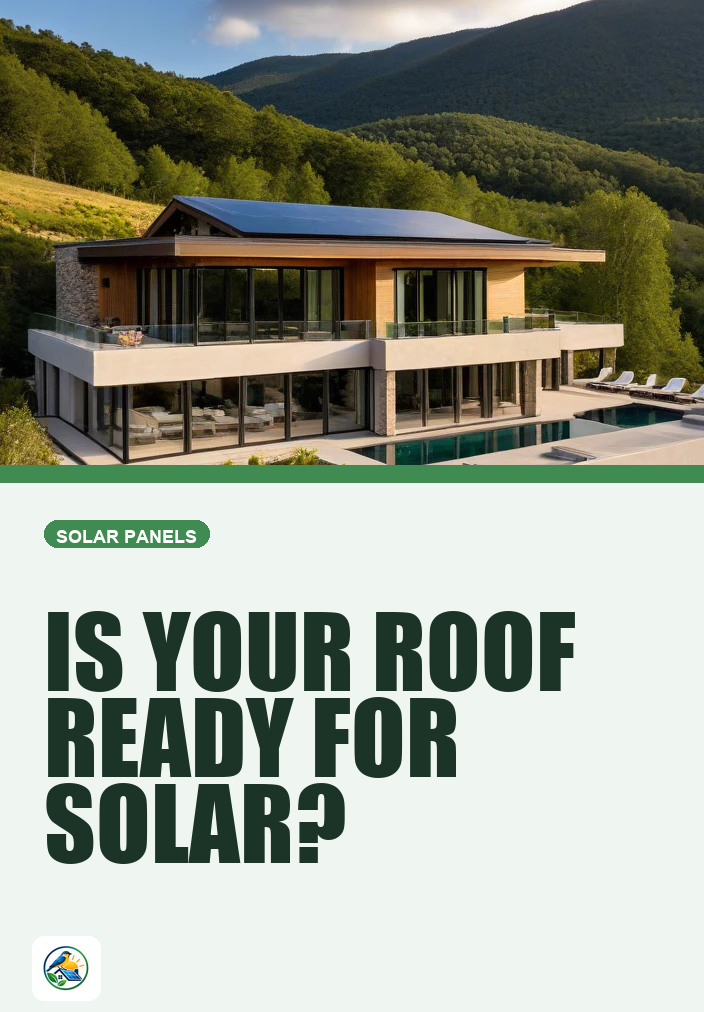
Installing solar panels on your shingle roof can be a transformative decision for your home. However, it requires careful planning and consideration of various factors unique to your property. Before diving into the installation process, let’s explore key aspects to assess your roof’s suitability and the options available for solar power integration.
Assessing Roof Condition
The first step is to evaluate the current condition of your roof. An aging or damaged roof may not be suitable for solar panel installation. Consider the following:
- Age of the roof: If your roof is nearing the end of its lifespan (typically 20-30 years for shingle roofs), it may be wiser to replace it before installing solar panels.
- Signs of damage: Look for missing shingles, leaks, or significant wear and tear. Any repairs needed should be addressed before installation.
- Structural integrity: Ensure that your roof can support the weight of solar panels and mounting equipment. A professional inspection can help assess this.
Evaluating Solar Potential
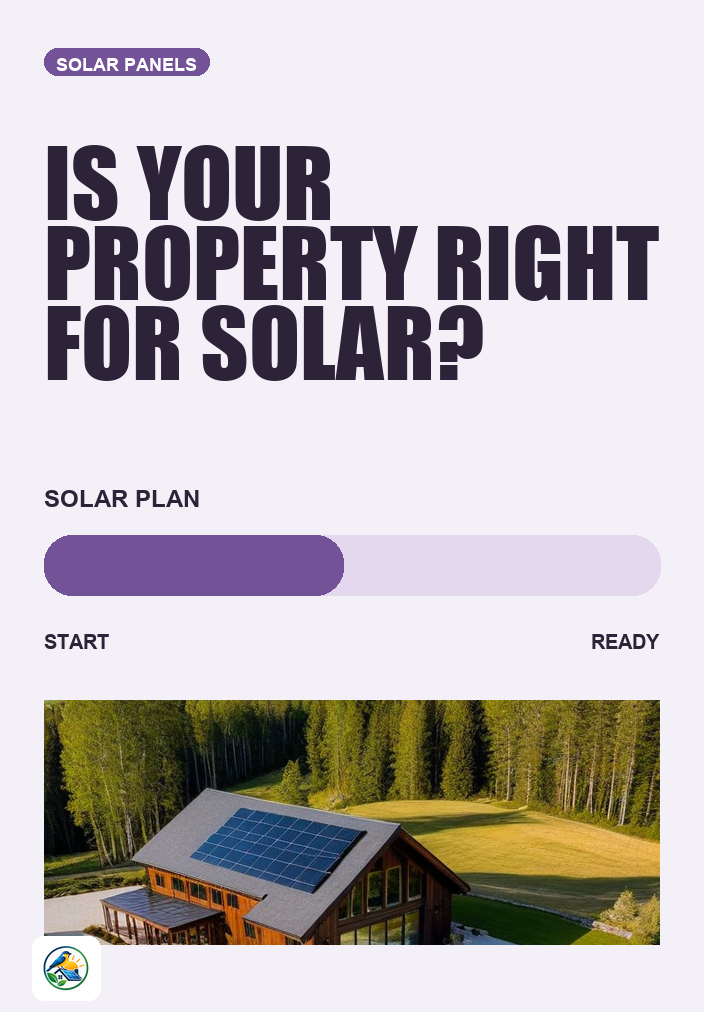
Next, you should evaluate the solar potential of your roof. This involves considering its orientation, shading, and overall size:
- Orientation: South-facing roofs typically receive the most sunlight, making them ideal for solar panel placement. East and west-facing roofs can also be effective, though they may produce less energy.
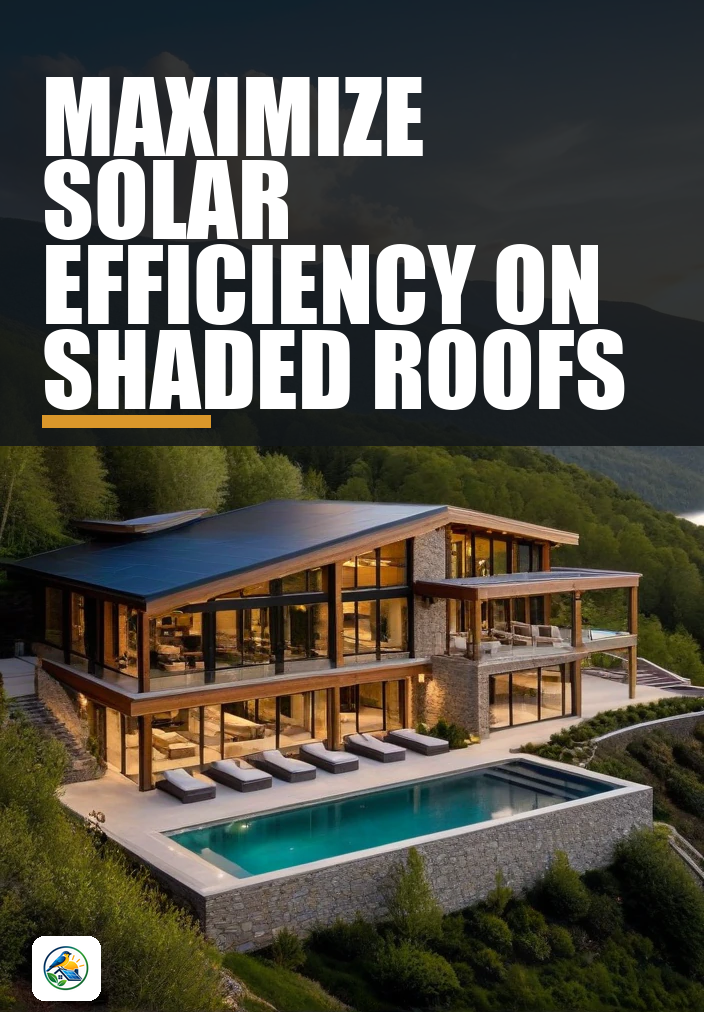
- Shading: Trees, buildings, or other obstructions can cast shadows on your roof, reducing solar panel efficiency. Assess whether shade is a significant issue and consider potential trimming or removal of obstructions.
- Roof size: Larger roofs can accommodate more solar panels, leading to increased energy production. Measure the available area and consider how many panels you can fit without compromising aesthetics or function.
Choosing the Right Solar System for Your Home
Once you’ve evaluated your roof, the next step is selecting the most suitable solar system for your needs. Here are a few common options:
Grid-Tied Systems
Grid-tied solar systems are connected to the local utility grid. They allow homeowners to draw energy from the grid when solar production is low and feed excess energy back into the grid. Consider these points:
- Net metering: Check local regulations regarding net metering, which allows you to receive credit for excess power generated.
- Reliability: Grid-tied systems rely on the utility grid, which means they won’t provide power during outages unless you have battery backup.
Battery Backup Systems
Battery backup systems store excess energy generated during the day for use during the night or during power outages. Here are some considerations:
- Cost: Battery systems can add significant upfront costs to your solar installation. Evaluate whether the benefits justify the added expense.
- Capacity: Ensure the battery size is adequate for your energy needs, especially during outages or peak demand times.
Off-Grid Systems
Off-grid systems operate independently of the utility grid, making them suitable for remote locations or homeowners who want complete energy independence. Consider:
- Complexity: Off-grid systems often require more extensive planning and investment in batteries and backup generators.
- Maintenance: Be prepared for ongoing maintenance and management of energy usage.
Installation Process: What to Expect
Once you’ve decided on a solar system, you’ll need to navigate the installation process. Here’s a general overview:
Getting Quotes from Installers
Start by gathering quotes from qualified solar installers in your area. Ensure that each quote includes:
- Detailed breakdown of costs, including equipment, labor, and any permits.
- Information on warranties for both the panels and installation.
- Timeline for installation and any potential disruptions.
Permitting and Regulations
Before installation can begin, you’ll need to secure the necessary permits. This process can vary greatly by location, so:
- Check with your local government for specific solar permitting requirements.
- Be aware of any homeowner association (HOA) guidelines that may impact installation.
Installation Day
On installation day, expect a team of professionals to arrive and complete the installation within a day or two. Key steps include:
- Mounting the solar panels to your roof, ensuring they are securely fixed and properly angled.
- Connecting the solar panels to your home’s electrical system, which may require an upgrade to your electrical panel.
- Final inspections and testing to ensure everything is functioning correctly.
Understanding Maintenance and Lifespan
After installation, it’s essential to understand maintenance and the expected lifespan of your solar system:
- Regular maintenance: Solar panels generally require minimal maintenance, though occasional cleaning and inspections are advisable to ensure optimal performance.
- Lifespan: Most solar panels come with warranties of 25 years, but they can continue to produce energy beyond that time with reduced efficiency.
Next Steps: Making Your Solar Decision
Transforming your shingle roof with solar panels can be a rewarding endeavor, but it requires careful consideration and planning. Start by assessing your roof’s condition and solar potential, then explore the options best suited for your needs.
As you move forward, gather detailed quotes from qualified installers to compare costs and services. Make sure to verify any local incentives, permitting requirements, and utility regulations that may impact your decision. With the right information, you can make an informed choice about whether solar panels are the right fit for your home.