Understanding Solar Installation Permits: An Essential Checklist
As homeowners increasingly consider solar energy for their residences, understanding the permitting process is crucial to ensure a successful installation. Installing a solar system involves obtaining various permits that vary by location, and mistakes in this area can lead to costly delays or complications. This checklist will guide you through the essential steps to avoid common pitfalls during the solar installation permit process.
1. Know Your Local Permitting Requirements
Before diving into solar installation, it’s vital to familiarize yourself with the permitting requirements specific to your locality. Each city or county has its own regulations, and failing to comply can result in fines or installation delays. Here are some factors to consider:
- Building Permits: Most jurisdictions require a building permit for solar installations. This ensures that the system meets safety and structural standards.
- Electrical Permits: An electrical permit is often necessary since solar panel installations involve connecting to your home’s electrical system.
- Zoning Regulations: Some areas have zoning laws that dictate how solar panels can be installed, including height restrictions and aesthetic considerations.
- Homeowners Association (HOA) Rules: If you live in a community governed by an HOA, check their rules as they may have specific guidelines regarding solar installations.
2. Assess Your Home’s Suitability for Solar
Not every home is a perfect candidate for solar energy. Conducting a preliminary assessment can save you time and money.
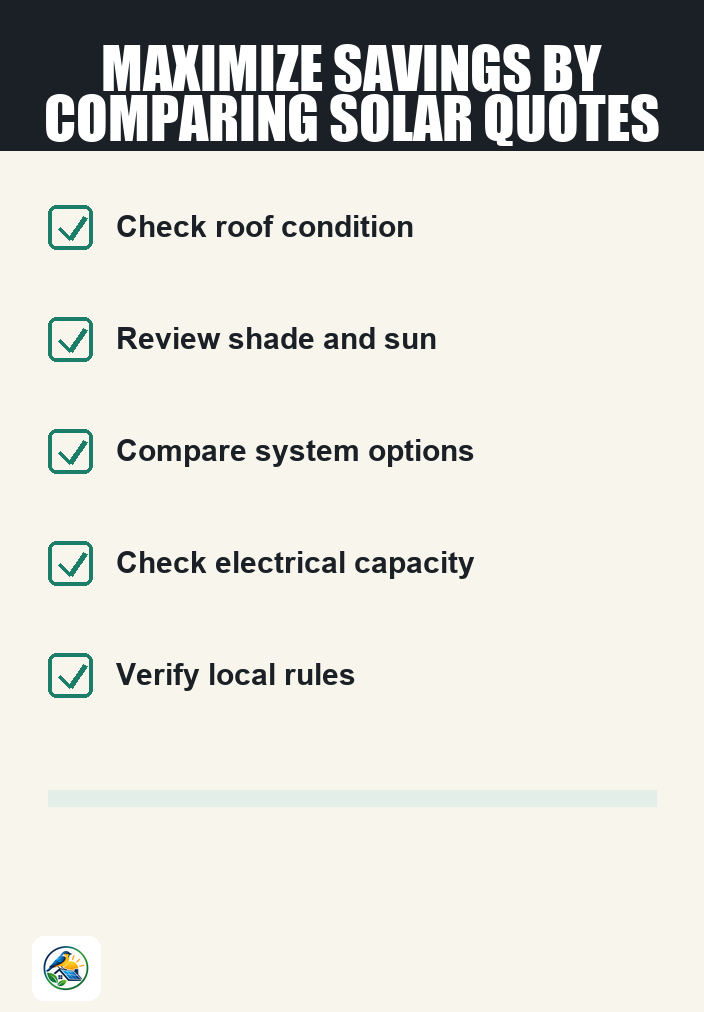
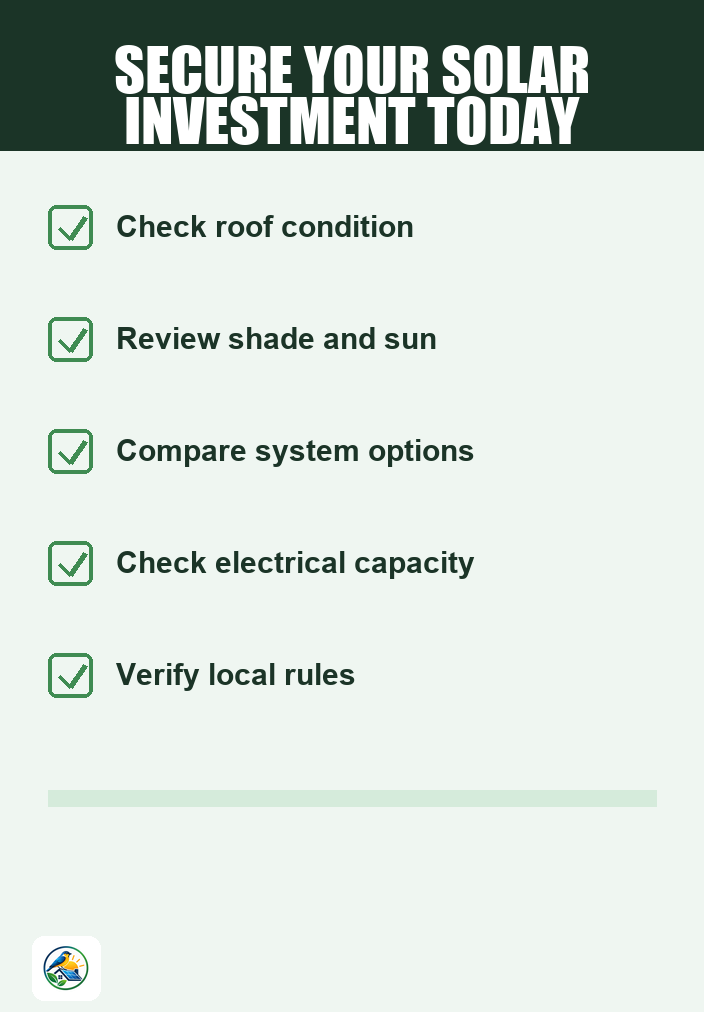
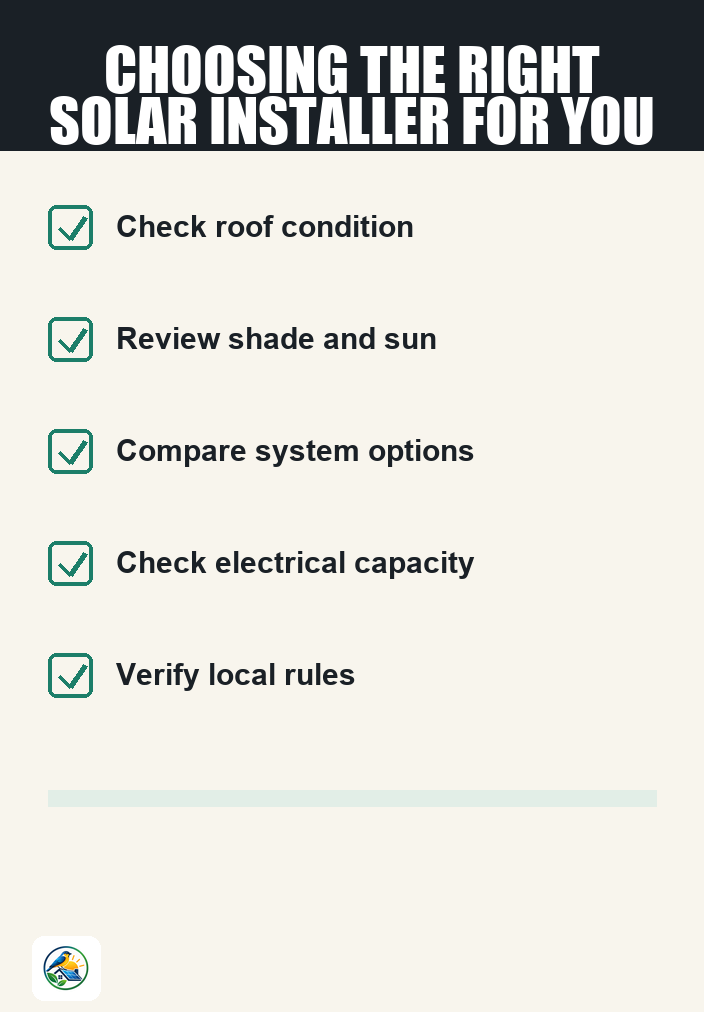
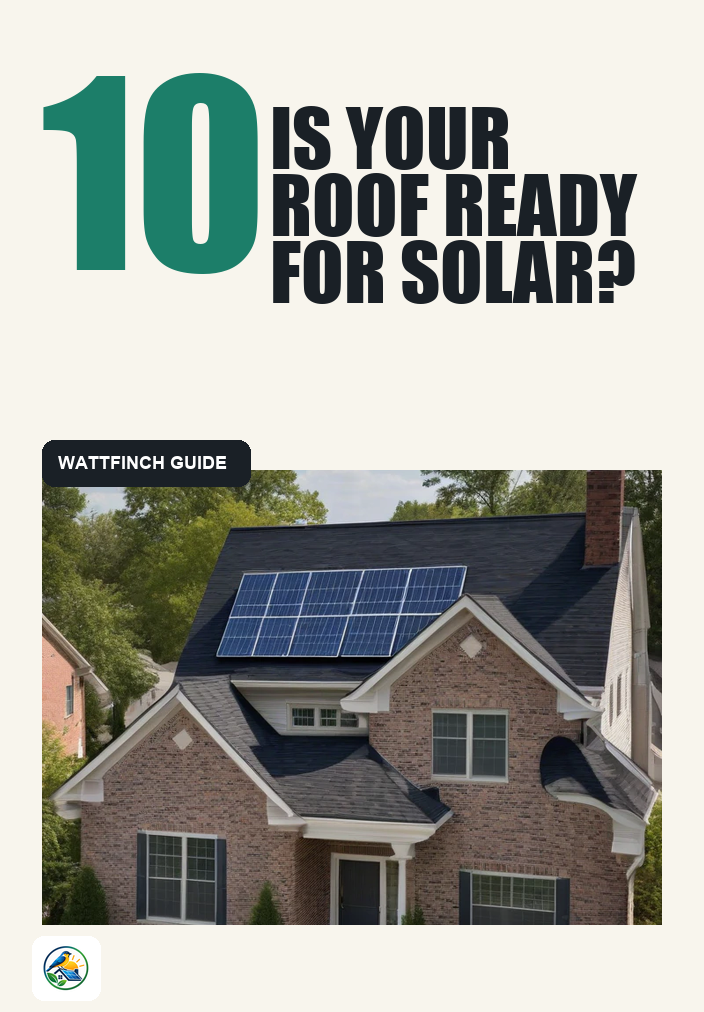
- Roof Condition: Ensure your roof is in good shape before installation. If it needs repairs, handle them prior to permitting.
- Roof Orientation: South-facing roofs typically receive the most sunlight, but east and west-facing roofs can also be effective. Assess your roof’s orientation.
- Shade Analysis: Identify any trees, buildings, or other structures that may cast shade on your roof, limiting solar production.
- Space Requirements: Determine if there’s enough roof space for the number of solar panels you need. Consider potential future energy needs as well.
3. Engage with a Qualified Installer Early
Collaborating with a qualified solar installer from the start can help navigate the permitting process more efficiently. Here’s how they can assist:
- Site Assessment: A professional can conduct a thorough site assessment to evaluate the solar potential of your home.
- Permit Acquisition: Many installers will handle the permit applications on your behalf, ensuring all paperwork is correctly submitted.
- Design Consultation: They can provide insights into the best design for your system based on your home’s unique characteristics.
- Local Knowledge: Experienced installers are familiar with local requirements and can help avoid common mistakes.
4. Prepare Required Documentation
Gathering the necessary documentation early can streamline the permitting process. Here’s what you typically need:
- Site Plans: These show the layout of your property, including the placement of the solar panels.
- Electrical Drawings: Diagrams detailing the electrical connections of the solar system help inspectors understand the setup.
- Structural Engineering Reports: Depending on your roof type, you may need reports to ensure your roof can support the solar installation.
- Proof of Insurance: Some jurisdictions may require proof of insurance from the installer as part of the permitting process.
5. Understand the Timeline
The permitting process can take time, and understanding this can help set realistic expectations. Here are some points to consider:
- Local Processing Times: Research how long the permitting process typically takes in your area. It can vary widely from a few days to several weeks.
- Inspection Scheduling: After permits are issued, inspections may be scheduled at various stages of the installation process.
- Seasonal Considerations: Understand that permitting and inspections may take longer during peak construction seasons.
6. Prepare for Inspections
Once your permits are approved, inspections will be necessary at various stages of the installation. Here’s how to prepare:
- Pre-Installation Inspection: This ensures that your roof and electrical systems are ready for the solar installation.
- Post-Installation Inspection: After installation, inspectors will check that everything meets local codes and standards.
- Documentation for Inspectors: Have all necessary documentation ready for the inspector, including permits and plans.
7. Keep Communication Open
Throughout the permitting and installation process, maintaining communication with your installer and local authorities is crucial. Consider the following:
- Updates from Your Installer: Regular updates can help you stay informed about the status of your permits and installation.
- Contact Local Officials: If you have questions about requirements or timelines, don’t hesitate to reach out to local building or zoning officials.
- Documentation Follow-Up: Ensure that all documentation is submitted, and follow up if you do not receive timely responses.
Next Steps: Making Informed Decisions
By following this checklist, you can navigate the solar installation permit process with greater confidence. Remember that costs, incentives, and regulations can vary, so it’s essential to verify current local information. To make an informed decision, consider comparing itemized quotes from qualified installers, ensuring you understand what each proposal includes.
With careful planning and attention to detail, you can successfully avoid common permit mistakes and move forward with your solar installation journey.