Understanding the Importance of Solar Installation Permits
If you’re a U.S. homeowner contemplating the installation of a rooftop solar system, the permitting process is a key step in your project. Solar installation permits ensure that your system meets local building codes and safety standards, protecting both you and your investment. Although the permitting requirements can vary significantly depending on your location, understanding the general process can help you navigate it more effectively.
What Types of Permits Might You Need?
When planning a solar installation, several types of permits may be required, including:
- Building Permit: This permit ensures that your solar installation complies with local building codes. It typically includes a review of the structural integrity of your roof.
- Electrical Permit: Required for the electrical work associated with your solar system, this permit ensures that all electrical components are safe and up to code.
- Interconnection Agreement: If you plan to connect your solar system to the grid, your utility company usually requires an interconnection agreement, which outlines how your system will interact with the grid.
- Homeowners Association (HOA) Approval: If you live in a community with an HOA, they may have specific guidelines regarding solar installations that you’ll need to adhere to.
How to Determine Your Local Requirements
Since permitting requirements can vary widely based on your location, it’s crucial to start by checking with your local government or permitting office. Here are some steps to help you gather the necessary information:
- Contact Local Authorities: Reach out to your city or county’s building department to inquire about specific requirements for solar installations.
- Consult Your Installer: Professional solar installers are often well-versed in local permitting processes. They can help you navigate the requirements and may even handle the permitting on your behalf.
- Review State Regulations: Some states have streamlined processes for solar permits, making it easier to install a system. Check your state’s energy office for additional resources.
Understanding the Permit Process
The solar permitting process can take several weeks or even months, depending on your location and the complexity of your project. Here’s a general outline of what to expect:
- Application Submission: You or your installer will submit the necessary applications to the local permitting office.
- Review Period: The local authorities will review your application to ensure it meets all building and electrical codes. This period may vary in length.
- Permit Approval: Once your application is approved, you’ll receive the necessary permits to proceed with installation.
- Final Inspection: After installation, a final inspection is often required to ensure everything is up to code before the system can be turned on.
Common Challenges in the Permitting Process
While navigating the permitting process, you may encounter several challenges, including:
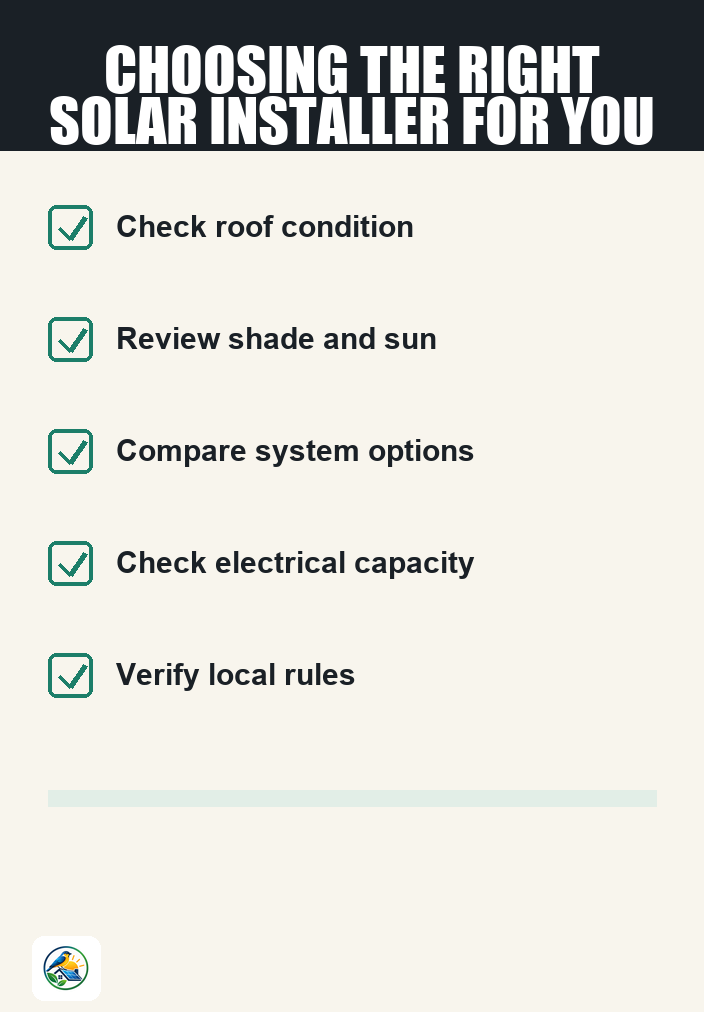
- Roof Condition: If your roof is aging or needs repairs, you may need to address these issues before obtaining a permit.
- Shading and Orientation: Depending on the layout of your home, shading from trees or neighboring buildings may affect your solar system’s efficiency.
- Electrical Upgrades: Your current electrical system may require upgrades to accommodate a new solar installation, which can add time and cost to your project.
- HOA Guidelines: If you live in a community with strict HOA rules, getting approval for your solar system can be more complicated and time-consuming.
Assessing Your Home’s Suitability for Solar
Before diving into the permitting process, it’s essential to assess whether solar power is a viable option for your home. Consider the following factors:
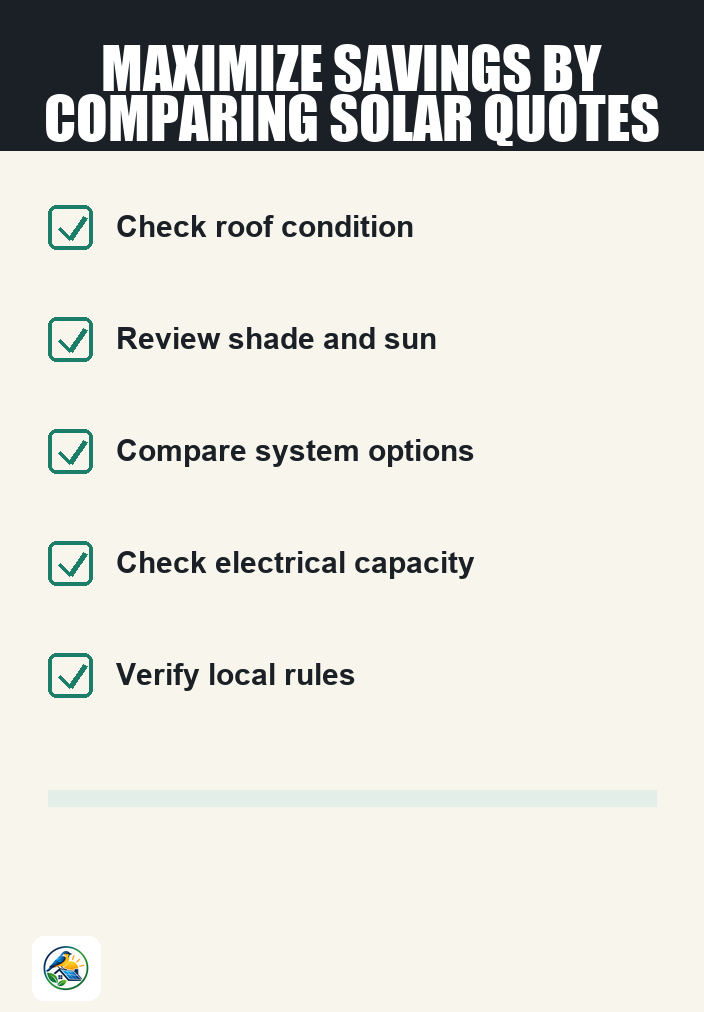
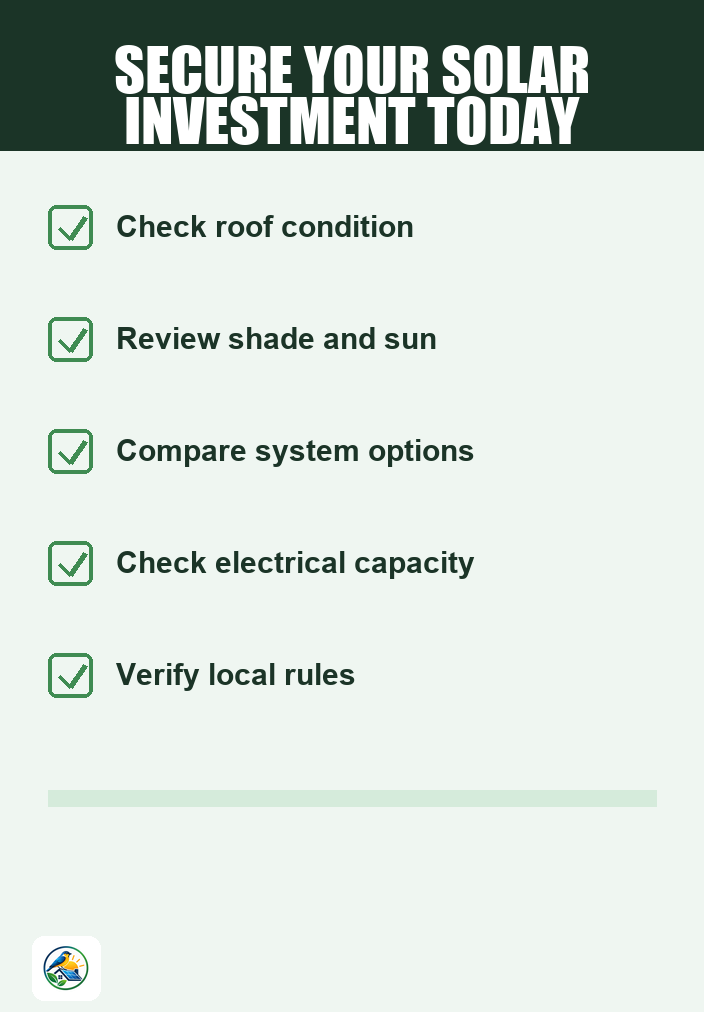
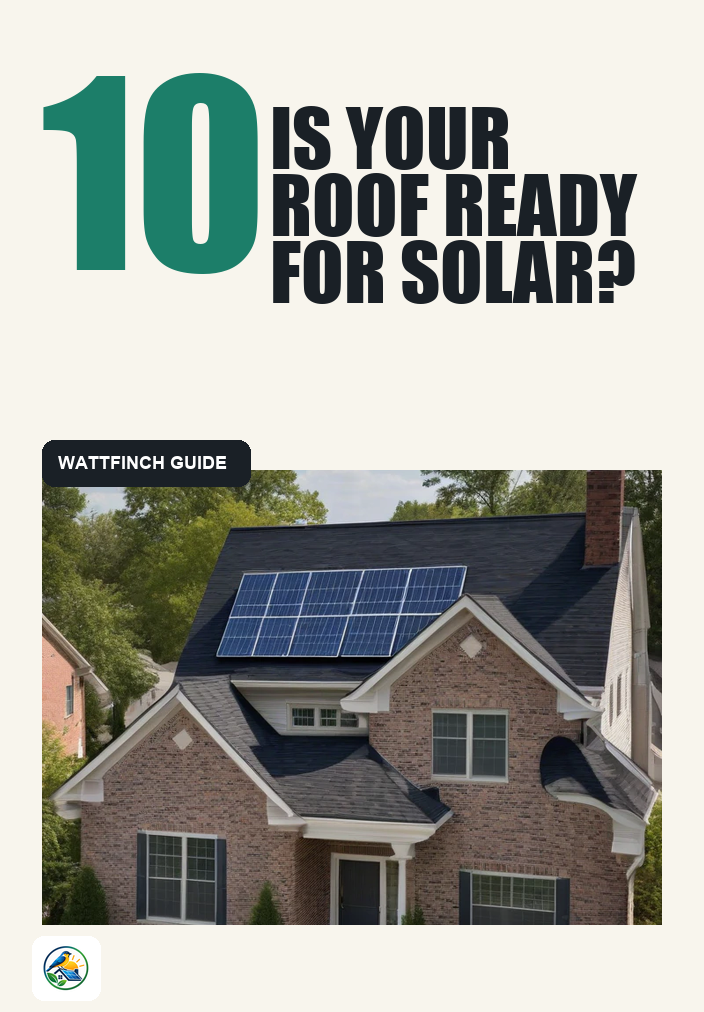
- Roof Condition: Is your roof in good shape? If not, it might be worthwhile to replace or repair it before installing solar panels.
- Orientation and Tilt: South-facing roofs with a good tilt typically produce the most solar energy. If your roof doesn’t meet these criteria, discuss alternative solutions with your installer.
- Local Climate: Areas with more sunlight generally produce more energy from solar panels. However, even in less sunny regions, solar can be beneficial.
Comparing Quotes from Qualified Installers
Once you decide to move forward with solar, obtaining quotes from multiple installers is wise. Here’s what to consider when comparing quotes:
- Itemization: Ensure quotes are itemized, detailing the cost of equipment, labor, permits, and any other fees.
- Inclusions: Check what’s included in the installation. Some companies may offer warranties, maintenance plans, or other value-added services.
- Experience: Look for installers with a proven track record in your area. They should be familiar with local permitting processes and utility regulations.
- Financing Options: Compare financing options to determine which installer offers the best terms for your budget.
Next Steps: Preparing for Your Solar Journey
Before embarking on your solar installation project, take the time to gather necessary information and evaluate your options. Start by:
- Researching local permitting requirements and regulations.
- Assessing your roof’s condition and suitability for solar.
- Obtaining itemized quotes from qualified installers.
Remember, the details of your solar installation will vary based on your home, location, and the current policies in place. Take the time to understand your options, and don’t hesitate to reach out to professionals for guidance.