Understanding Utility Interconnection for Your Rooftop Solar Installation
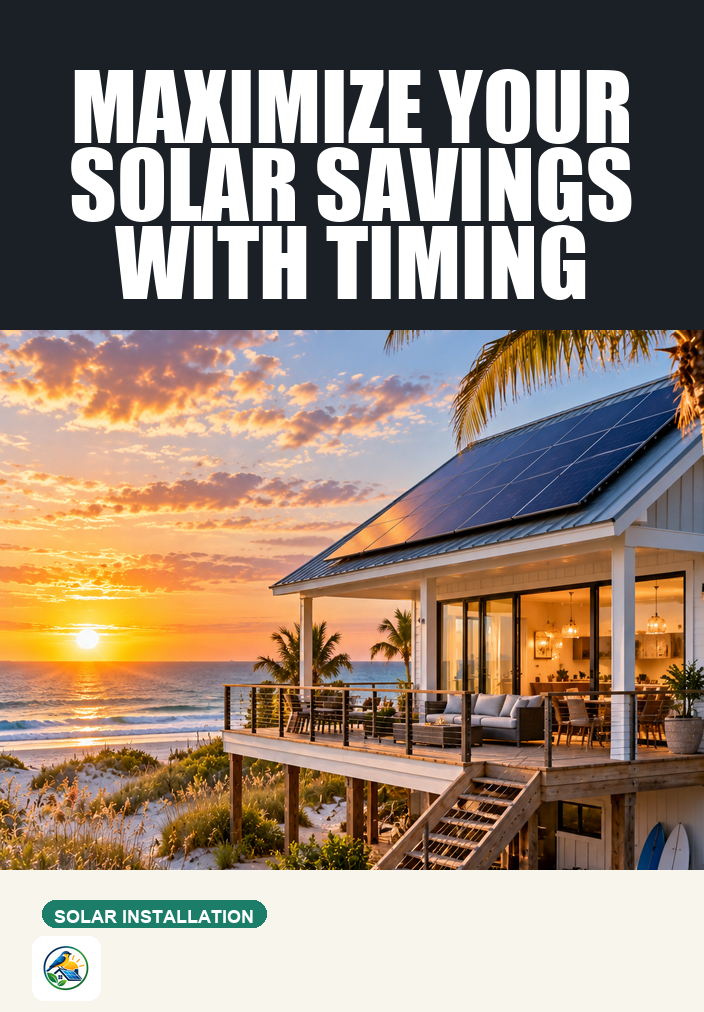
If you’re considering a rooftop solar installation, one critical step is understanding the utility interconnection process. This process involves connecting your solar system to the local electricity grid, allowing you to both consume generated energy and potentially sell excess energy back to the grid. As a homeowner, being well-prepared can help streamline your installation and ensure compliance with local utility regulations. Below is a comprehensive checklist to guide you through this essential preparation phase.
1. Assess Your Home’s Solar Suitability
Before diving into the interconnection process, it’s important to evaluate whether your home is suitable for solar energy. Here are key factors to consider:
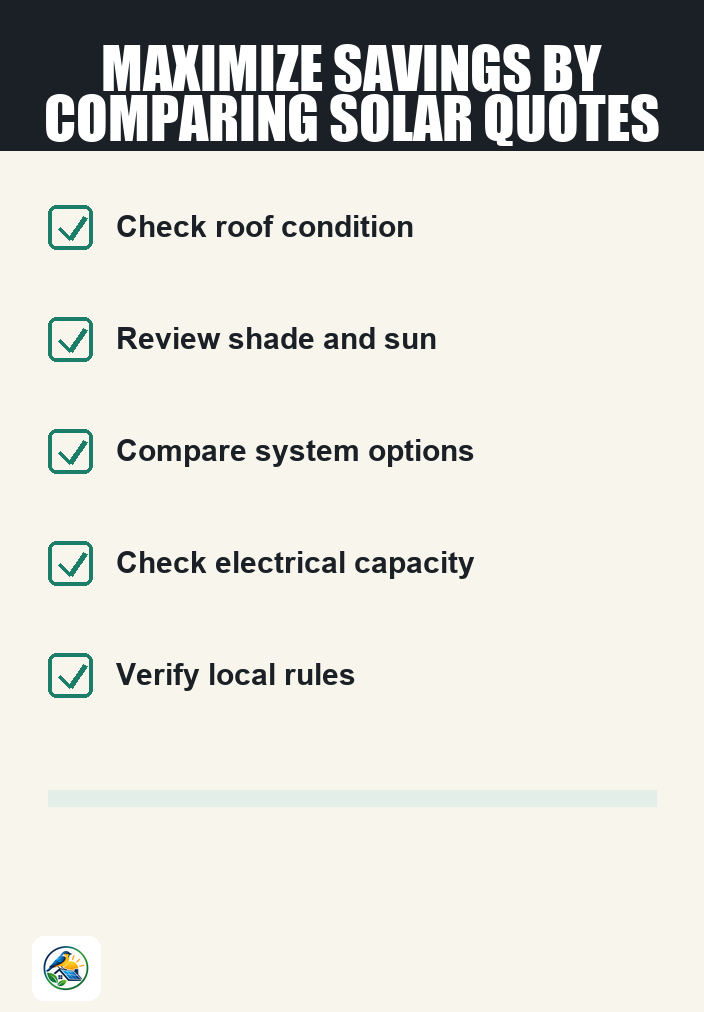
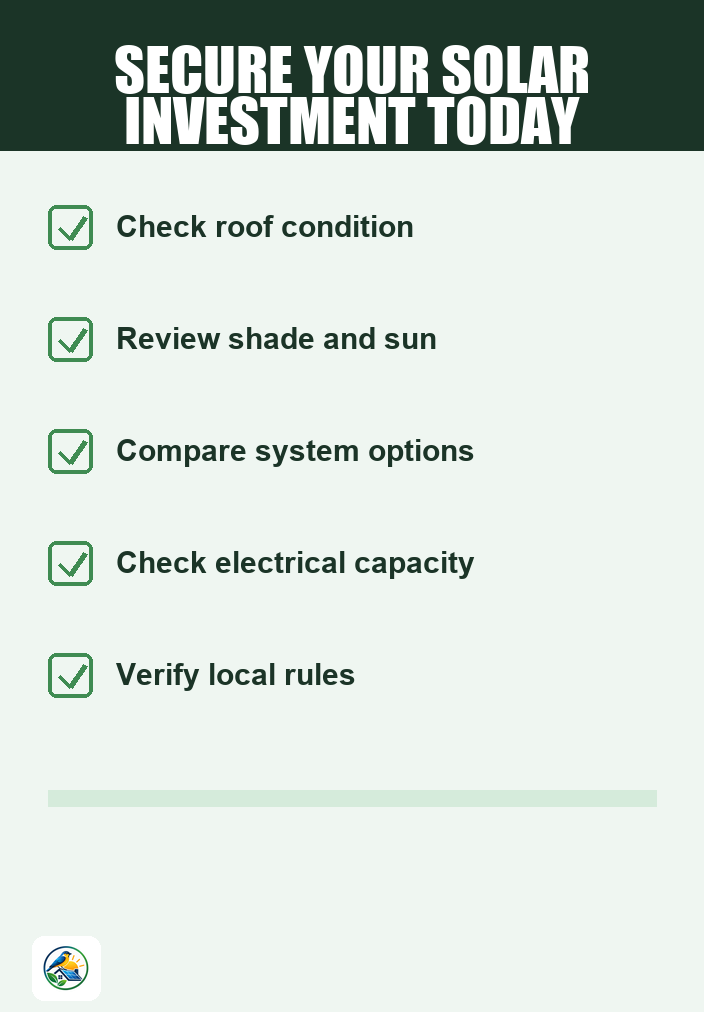
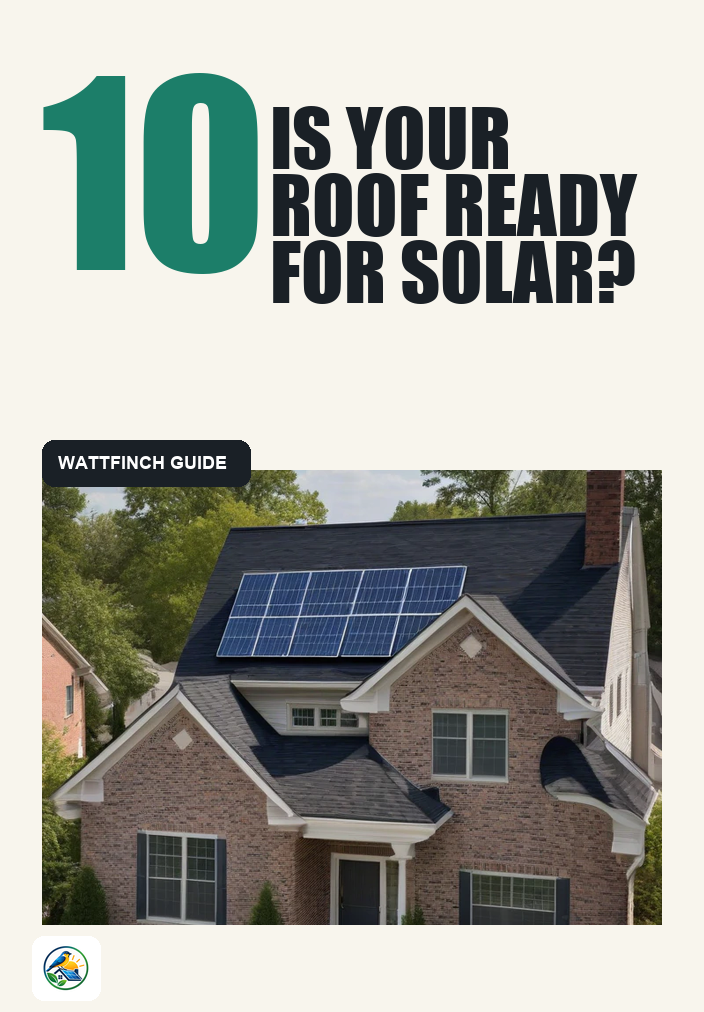
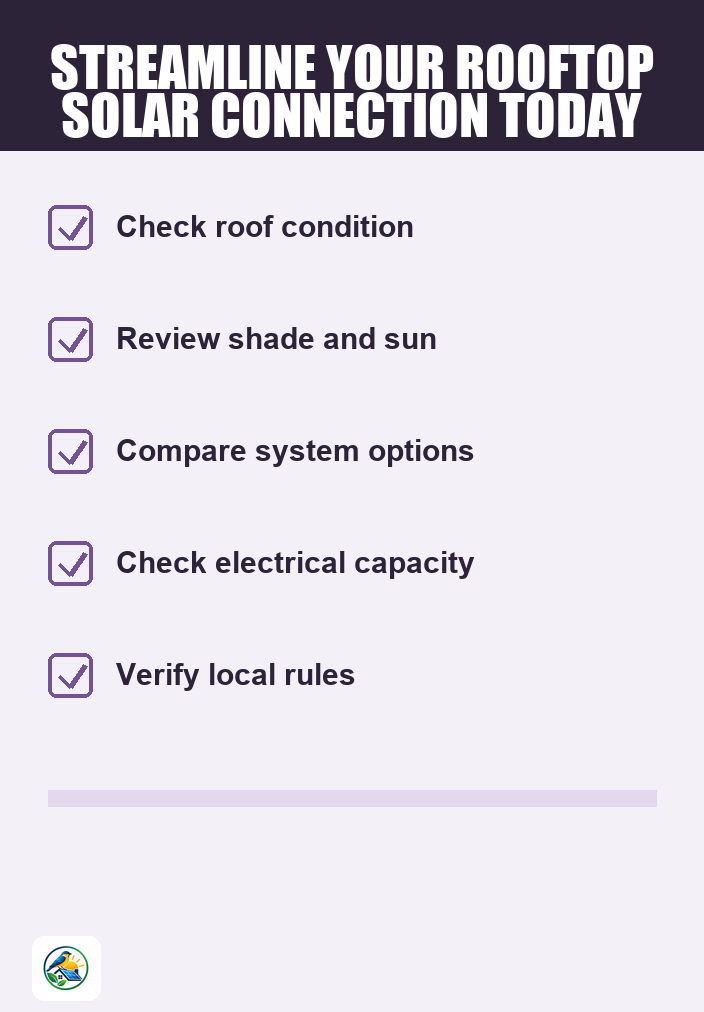
- Roof Condition: Ensure your roof is in good condition and not due for replacement soon. A roof that needs repairs can complicate the installation process.
- Orientation and Tilt: South-facing roofs generally receive the most sunlight in the U.S. Consider how the angle and orientation of your roof can affect energy production.
- Shade Analysis: Check for potential shading from trees, buildings, or other structures. Even partial shading can significantly impact solar panel efficiency.
- Space Availability: Ensure you have enough roof space to accommodate the solar panels you need for your energy goals.
2. Know Your Utility’s Interconnection Requirements
Each utility company has specific rules and procedures when it comes to interconnecting solar systems. Understanding these requirements is crucial:
- Interconnection Application: Most utilities require homeowners to submit an interconnection application, detailing your solar system’s specifications.
- Net Metering Policies: Familiarize yourself with your utility’s net metering policy, which determines how you are compensated for excess energy fed back into the grid.
- System Size Limits: Check if your utility has restrictions on the size of systems eligible for interconnection.
- Inspection Requirements: Be prepared for mandatory inspections or approvals from the utility before your system is operational.
3. Evaluate Your Energy Needs and Goals
Understanding your energy consumption is key to sizing your solar system appropriately:
- Review Energy Bills: Examine past utility bills to determine your average monthly energy usage. This will help in calculating the size of the system you may need.
- Consider Future Needs: Think about any significant changes in energy consumption that might occur in the near future, such as adding electric vehicles or major home renovations.
- Battery Storage Consideration: If you’re considering adding battery storage, factor in how this will affect your energy needs and interconnection process.
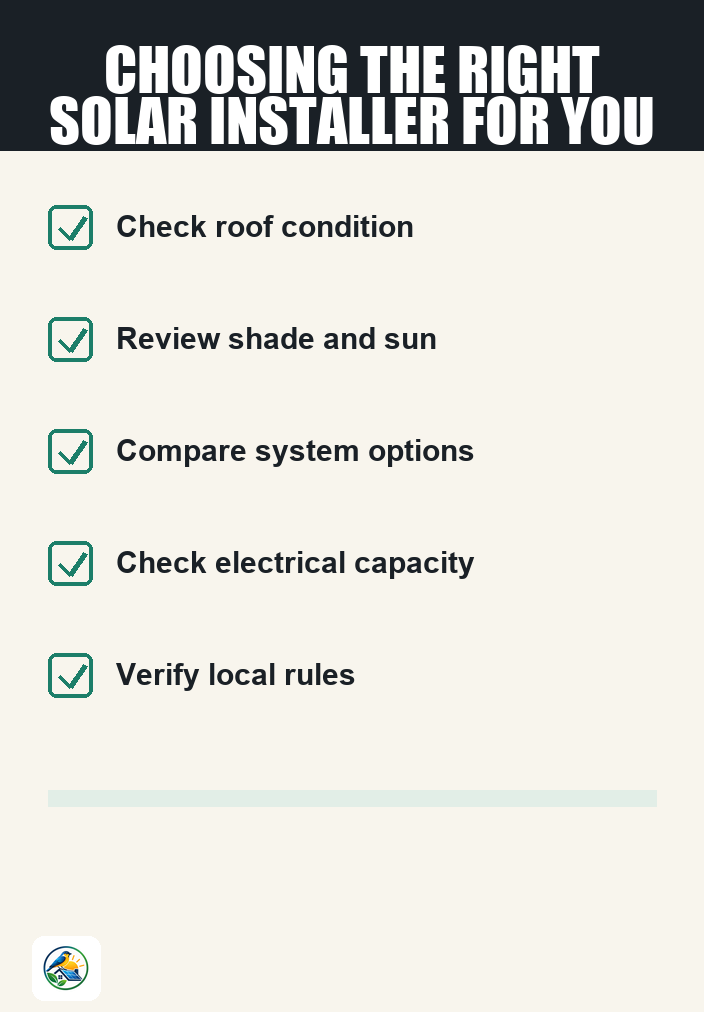
4. Choose Your Solar Installer Wisely
Selecting a qualified solar installer can make a significant difference in your installation experience:
- Experience and Credentials: Look for installers with a solid track record and proper certifications. Verify that they are licensed and insured.
- Local Knowledge: A local installer will be more familiar with your utility’s specific interconnection requirements and local permitting processes.
- Itemized Quotes: Request detailed quotes from multiple installers, itemizing system components, labor, and any additional costs related to interconnection.
5. Prepare for the Interconnection Process
Once you’ve chosen an installer and are ready to move forward, preparation is key:
- Gather Necessary Documentation: Be ready to provide any required documents, such as property deeds, electrical permits, and prior energy consumption data.
- Coordinate with Your Installer: Work closely with your installer to ensure that all aspects of the interconnection process are covered, including completing the application and understanding the timeline.
- Understand Timeline Expectations: Inquire about the typical time frame for interconnection approval from your utility, as this can vary widely.
6. Be Aware of Potential Drawbacks
While rooftop solar can be beneficial, it is essential to consider potential drawbacks and challenges:
- Permitting Delays: Local permitting and utility interconnection processes can sometimes take longer than expected, delaying your installation.
- Costs and Financing: Understand all costs involved, including installation, maintenance, and potential financing options, and how they fit into your budget.
- Maintenance and Upkeep: Solar panels require minimal maintenance, but it’s wise to consider ongoing upkeep costs and responsibilities.
- Utility Policy Changes: Be aware that utility policies and incentives can change, impacting your long-term savings and benefits.
Next Steps for Homeowners Considering Solar
Preparing for the utility interconnection of your rooftop solar installation requires careful planning and understanding of your local regulations. Start by assessing your home’s suitability for solar, familiarize yourself with your utility’s interconnection requirements, and evaluate your energy needs and goals. Selecting a qualified installer and preparing for the interconnection process will help ensure a smoother experience.
As you move forward, remember to compare itemized quotes from multiple qualified installers to ensure you’re making an informed decision. This diligence can help you achieve a successful solar installation that meets your energy needs.