Preparing Your Roof for Solar Installation: Essential Inspection Checklist
Deciding to install a solar energy system on your home is an exciting step toward sustainability and energy independence. However, before you dive into the world of solar panels, it’s crucial to ensure that your roof is ready for installation. A thorough inspection can help identify potential issues and save you from unexpected costs down the line. This article provides a comprehensive checklist to prepare your roof for a solar installation.
Understanding Roof Suitability for Solar Panels
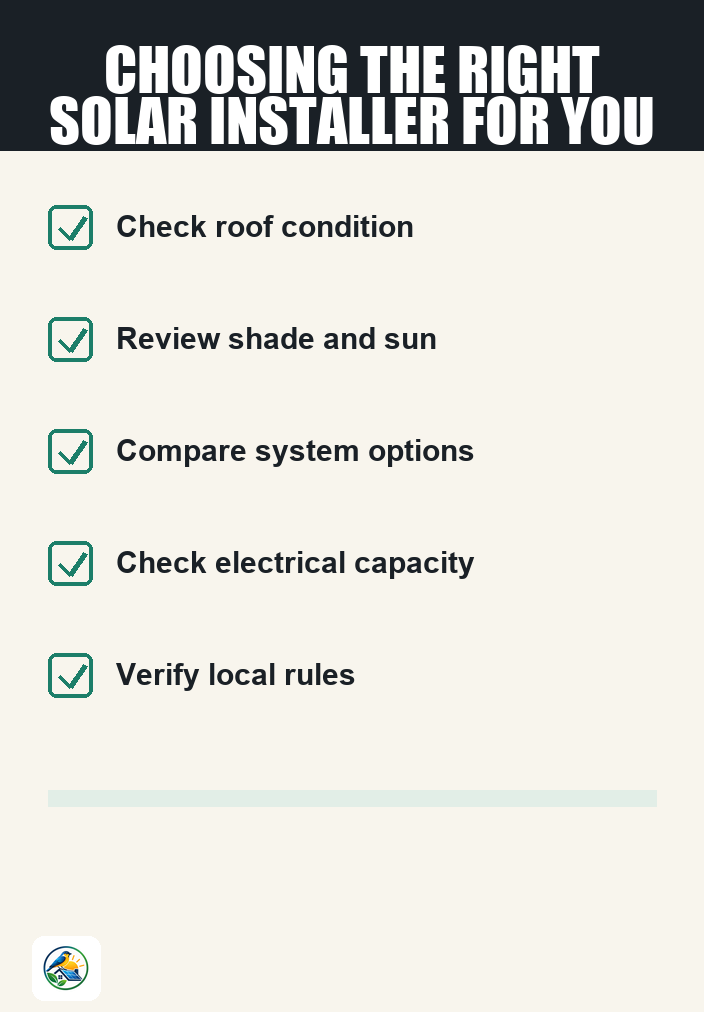
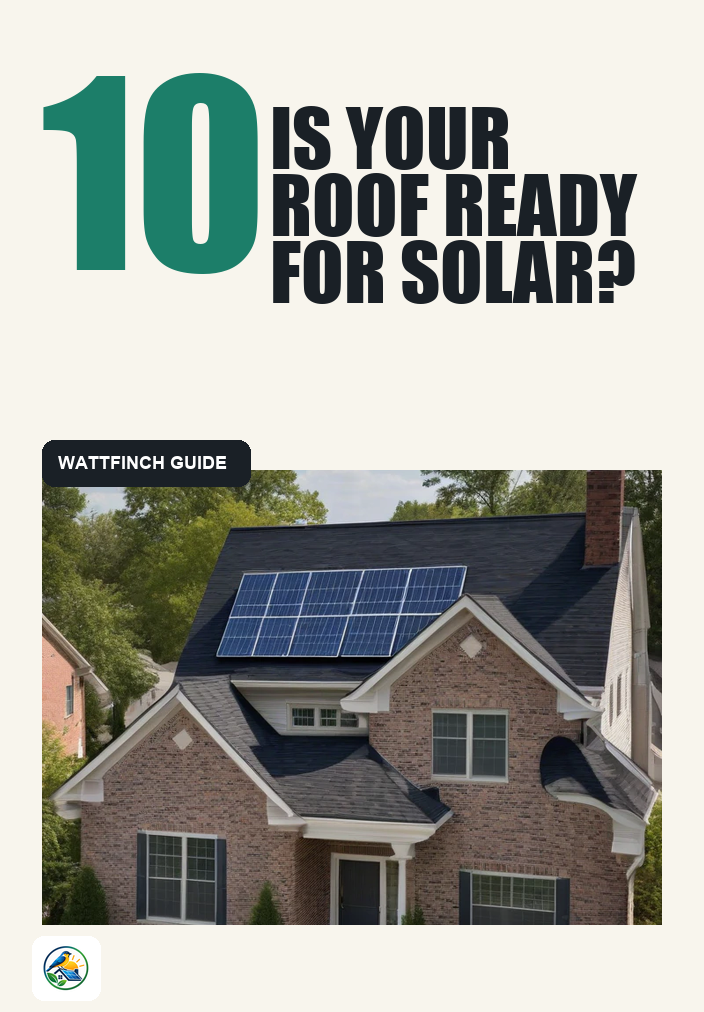
The first step in preparing for solar installation is understanding whether your roof is suitable. Key factors include the age, material, slope, and orientation of your roof. Each of these elements plays a significant role in determining how effectively solar panels can be installed and used.
Age of the Roof
- Assess Roof Condition: If your roof is approaching the end of its lifespan (typically 20-30 years for asphalt shingles), consider replacing it before installing solar panels. This avoids the need to remove and reinstall panels later.
- Inspect for Damage: Look for missing shingles, leaks, or significant wear. Any damage should be repaired before proceeding with solar installation.
Roof Material
- Common Materials: Different materials have varying lifespans and installation requirements. Asphalt shingles, metal, and flat roofs are generally suitable for solar, while tile roofs may require special mounting techniques.
- Weight Considerations: Ensure your roof can support the weight of solar panels and mounting hardware. This is especially important for older roofs or those made of less durable materials.
Roof Slope and Orientation
- Slope: A roof with a slope of 15 to 40 degrees is ideal for solar panel installation, as it optimizes sunlight exposure.
- Orientation: South-facing roofs receive the most sunlight, but east and west-facing roofs can still be effective. North-facing roofs are generally less ideal for solar energy production.
Conducting a Structural Inspection
Beyond surface-level considerations, it’s essential to evaluate the underlying structure of your roof. A professional roof inspector can help assess whether your roof can support solar panels over the long term.
- Load-Bearing Capacity: Confirm that your roof structure can handle the additional weight of solar panels. This may involve inspecting rafters, trusses, and sheathing.
- Signs of Water Damage: Look for water stains, mold, or sagging areas, which may indicate existing problems that need to be addressed.
- Ventilation: Proper ventilation is crucial for maintaining roof integrity. Ensure that any solar installation does not block vents or disrupt airflow.
Evaluating Shade and Environmental Factors
Shade can significantly impact the efficiency of your solar system. Before installation, assess any potential obstructions that may block sunlight from reaching your panels.
- Tree Coverage: Identify trees or nearby structures that may cast shadows on your roof. Consider trimming trees or removing obstructions if they significantly impact solar exposure.
- Seasonal Changes: Keep in mind that shading can vary throughout the year due to sun angle changes. Evaluate how this may affect your solar production.
- Local Weather Patterns: Research your area’s climate. Frequent rain, snow, or storms can affect solar efficiency and installation decisions.
Electrical System Compatibility
Before installing solar panels, you need to ensure your home’s electrical system is prepared to handle the additional load and any new components.
- Electrical Panel Assessment: Your existing electrical panel should be inspected to determine if it can accommodate the new solar inverter and any necessary upgrades.
- Wiring and Connections: Ensure your wiring is up to code and capable of handling the additional power generated by solar panels.
- Battery Backup Considerations: If you plan to add battery storage, confirm that your electrical system can support it. This may require additional upgrades or modifications.
Permitting and Local Regulations
Before installation, familiarize yourself with local regulations and permitting processes. Different jurisdictions have varying rules regarding solar installations.
- Local Codes and Regulations: Check with your local building department to understand any specific codes that apply to solar installations in your area.
- Homeowners Association (HOA) Guidelines: If you live in a community governed by an HOA, review their rules regarding solar panel installation.
- Permitting Process: Most installations require permits. Verify what is needed in your area and plan for any associated costs or timelines.
Choosing the Right Installation Company
Once you’ve prepared your roof and ensured that all necessary checks are complete, it’s time to choose an installation company. Here are a few tips:
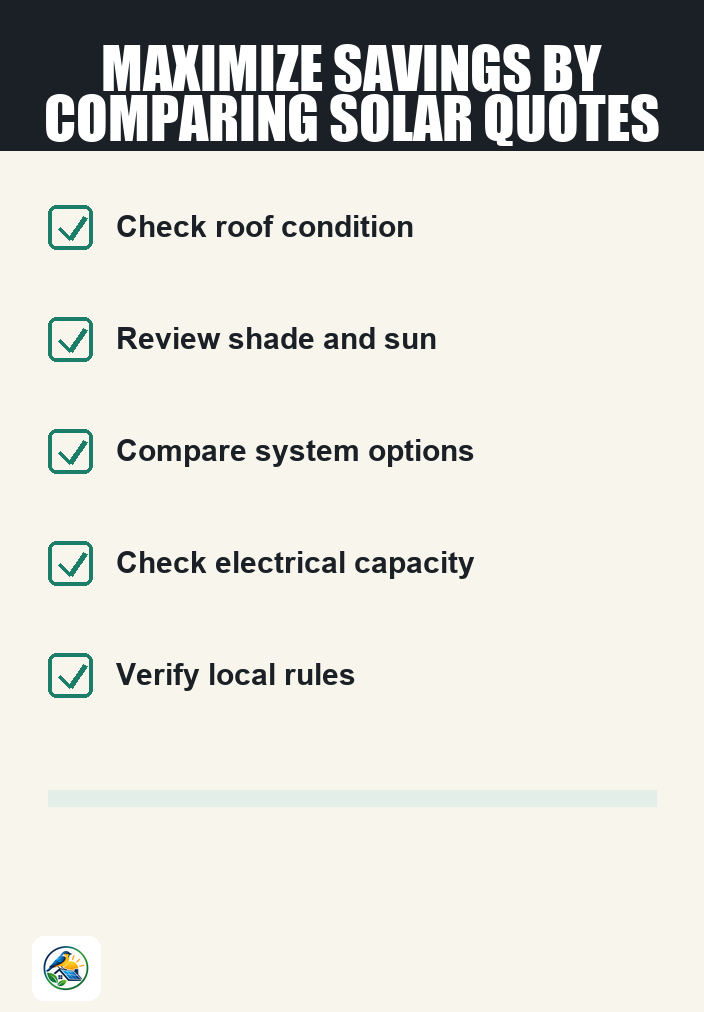
- Get Multiple Quotes: Contact several installers to get itemized quotes. Compare not just prices but also equipment quality and warranties.
- Check Credentials: Verify that the installer is licensed, insured, and has good reviews from previous customers.
- Inquire About Experience: Ask about the company’s experience with solar installations similar to yours.
Next Steps: Preparing for Your Solar Journey
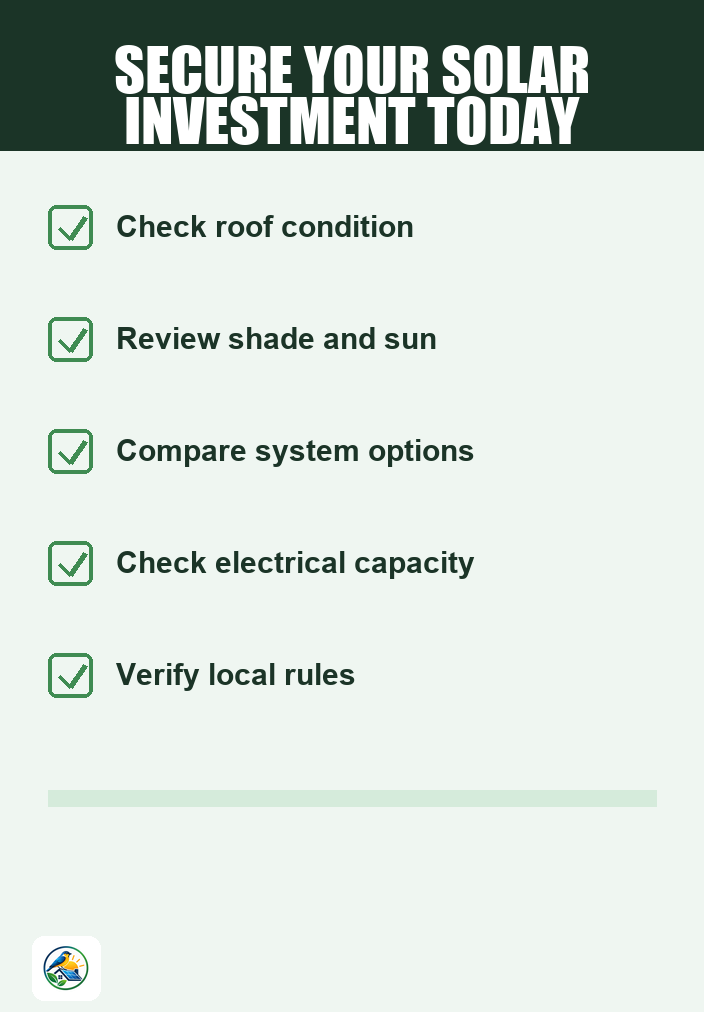
Preparing your roof for solar installation is a critical step that can help ensure a smooth and effective transition to solar energy. By following this inspection checklist, you can identify potential issues early and make informed decisions about your solar installation.
As you move forward, remember to compare itemized quotes from qualified installers, ensuring that you select an option that best fits your needs and budget. Additionally, stay informed about any available incentives and verify current local utility, installer, government, or tax information to maximize your solar investment.