Understanding Utility Interconnection for Rooftop Solar
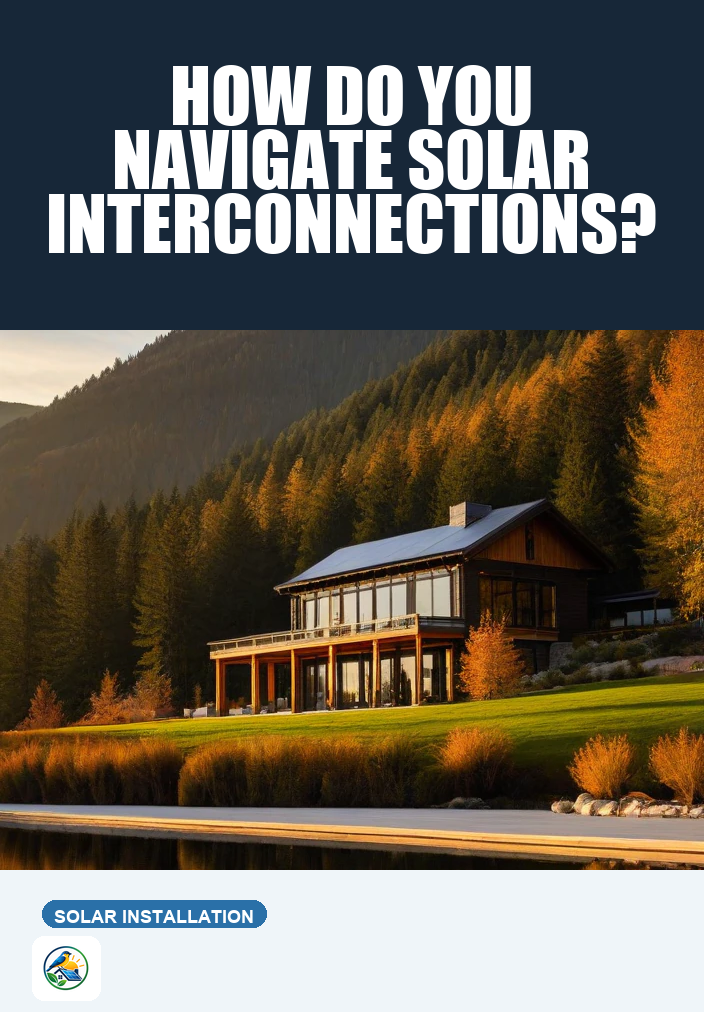
When considering a rooftop solar system, one of the most crucial steps in the installation process is navigating utility interconnection. This often-confusing phase is where your solar system connects to the grid, allowing you to draw power when your panels aren’t producing enough and potentially send excess energy back to the grid. Understanding the nuances of this process can help you make an informed decision about your solar investment.
What is Utility Interconnection?
Utility interconnection refers to the process of connecting your solar energy system to your local utility’s power grid. This is essential for grid-tied systems, which rely on the grid for energy supply during periods of low solar production, like at night or during inclement weather. It also allows homeowners to sell excess energy back to the grid, often through mechanisms like net metering.
Not all solar systems require interconnection. Off-grid systems, for instance, operate independently and do not connect to the utility grid. However, most homeowners opt for grid-tied systems due to their flexibility and potential benefits in energy management.
Steps to Navigate Utility Interconnection
Mastering the interconnection process involves several key steps:
- Consult with Your Installer: A qualified solar installer will understand the specifics of your local utility’s interconnection policies. They can guide you through the necessary paperwork and requirements.
- Understand Local Utility Policies: Each utility has its own interconnection rules, which can vary significantly. Familiarize yourself with these policies to avoid unexpected delays.
- Prepare Required Documentation: This typically includes system design plans, proof of insurance, and sometimes even a detailed electrical analysis of your home.
- Submit Your Interconnection Application: Your installer will usually handle this step, but you may need to sign off on the application. Be prepared for potential fees associated with this submission.
- Schedule an Interconnection Inspection: Once your application is approved, your utility will likely require an inspection to ensure everything meets safety and operational standards.
- Receive Permission to Operate (PTO): After passing the inspection, you’ll receive PTO from your utility, allowing you to start using your solar energy system.
Key Considerations for Homeowners
As you navigate utility interconnection, keep these important considerations in mind:
- System Size and Configuration: The size of your solar system can affect the interconnection process. Larger systems may face more scrutiny and longer approval times.
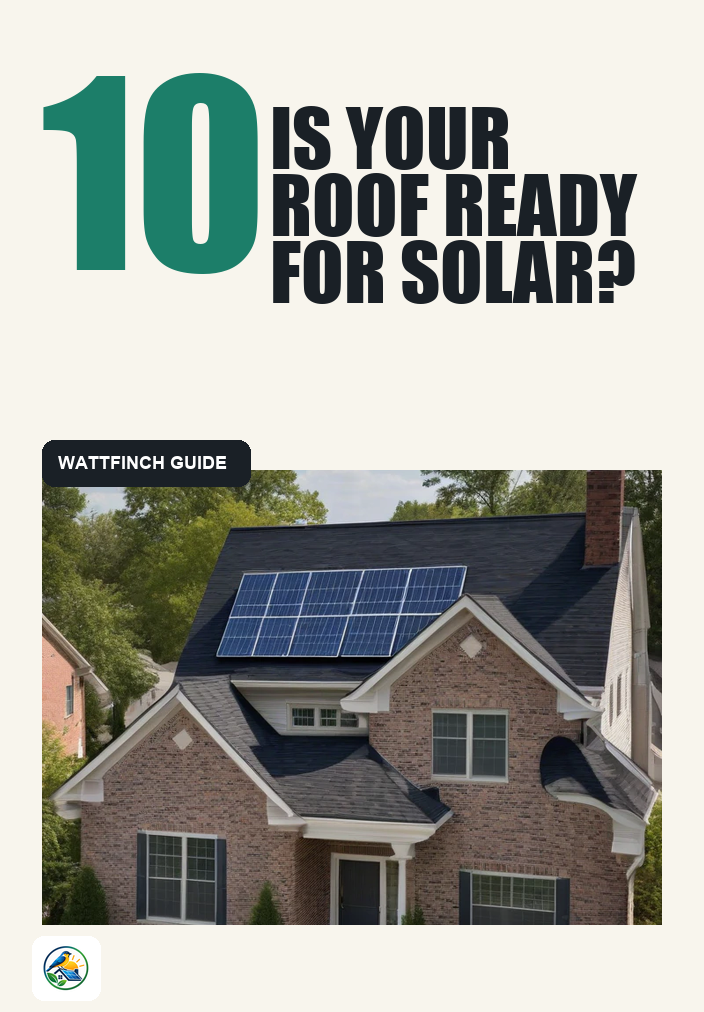
- Roof Condition and Orientation: Ensure your roof is in good condition and properly oriented for optimal solar exposure. A roof that’s too shaded or poorly oriented may not be suitable for solar.
- Electrical Upgrades: Depending on your existing electrical system, you may need upgrades to accommodate your new solar installation, which can add time and cost to the process.
- Local Climate: Weather conditions can impact the installation timeline and the efficiency of your solar panels. Be prepared for potential delays due to adverse weather.
- Battery Backup Options: If you’re considering adding a battery backup system, be aware that this can complicate interconnection and may require additional approvals.
- Future Plans: Consider how long you plan to stay in your current home and how your energy needs may change over time. This can influence your solar system’s design and size.
Common Challenges in the Interconnection Process
While navigating utility interconnection, you may encounter some common challenges:
- Complex Regulations: Different states and utilities have varying regulations, making it essential to stay informed about local requirements.
- Delays in Approval: Applications can sometimes take longer than expected, especially in regions with a high volume of solar installations.
- Interconnection Fees: Be aware of any potential fees associated with interconnection, which can vary by utility.
- Inspection Issues: If your system doesn’t meet safety standards during inspection, you may face additional costs and delays.
When to Seek Professional Help
While it’s possible to navigate the interconnection process on your own, working with a professional solar installer is recommended. They can provide valuable insights and handle the bulk of the paperwork and communications with your utility. A qualified installer can also help you evaluate if your specific home is a good candidate for solar based on your unique circumstances.
Next Steps for Homeowners
As you consider moving forward with a rooftop solar installation, take the following steps:
- Research Local Utilities: Familiarize yourself with your utility’s interconnection policies and any associated fees or requirements.
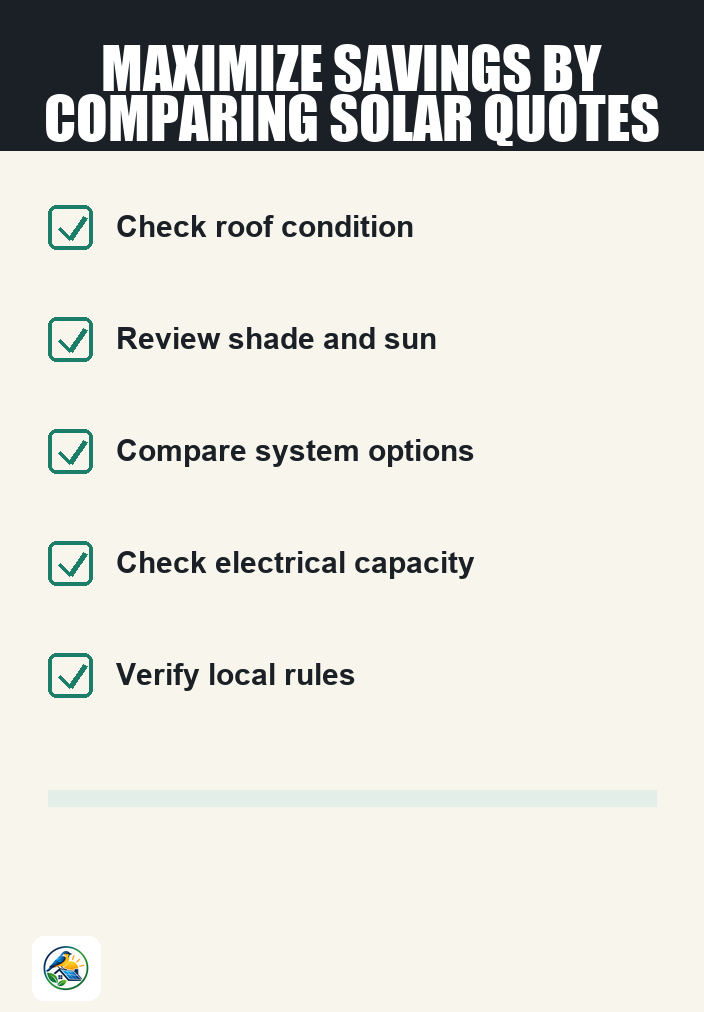
- Get Multiple Quotes: Contact several qualified solar installers to obtain itemized quotes and compare their offerings.
- Verify Current Incentives: Check for local, state, and federal incentives that may apply to your situation, ensuring you have the most up-to-date information.
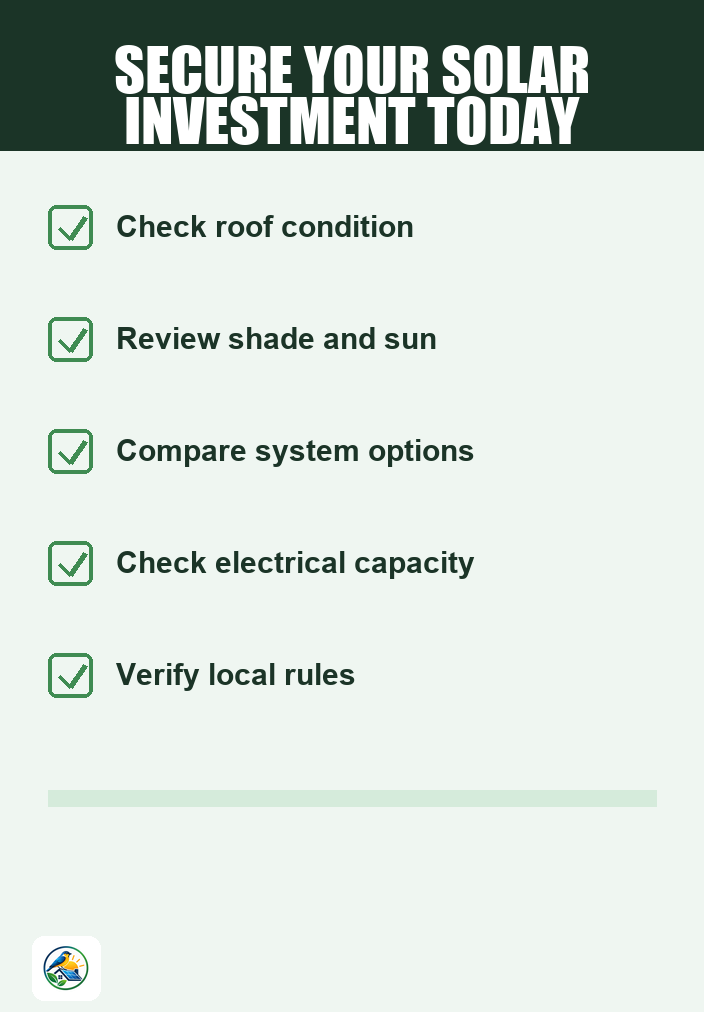
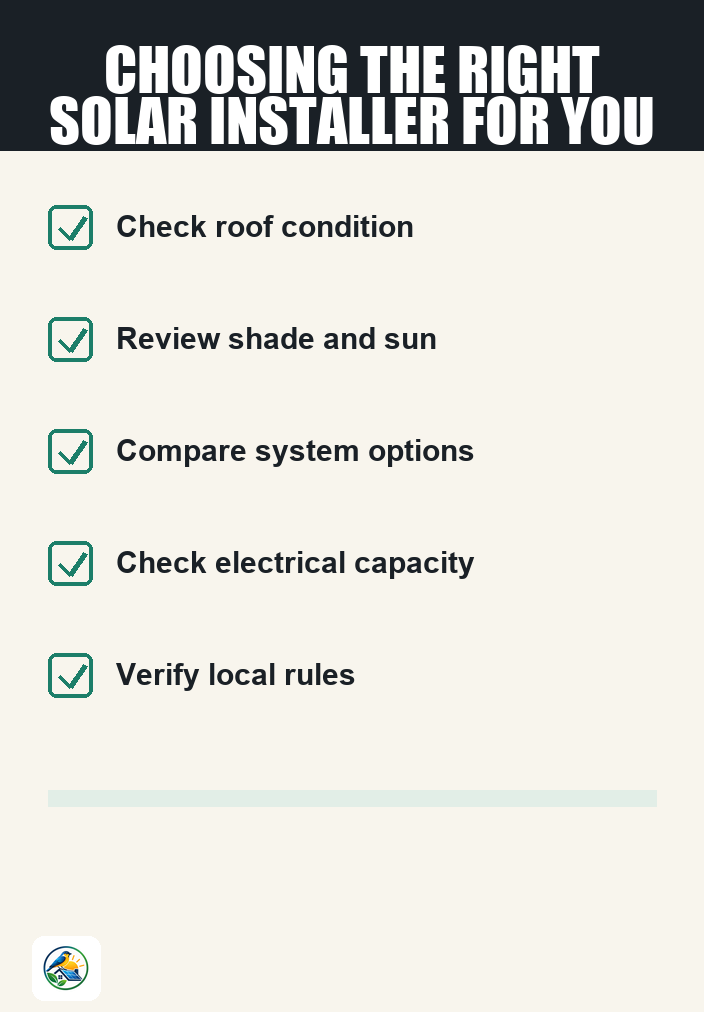
- Assess Your Home’s Suitability: Evaluate your roof’s condition, orientation, and shading to determine the feasibility of solar installation.
Mastering utility interconnection can be a daunting task, but understanding the process and knowing what to expect can empower you to make informed decisions about your rooftop solar investment. Take the time to research and consult with professionals to ensure a smooth transition to solar energy.