Understanding Your Solar Installation Timeline
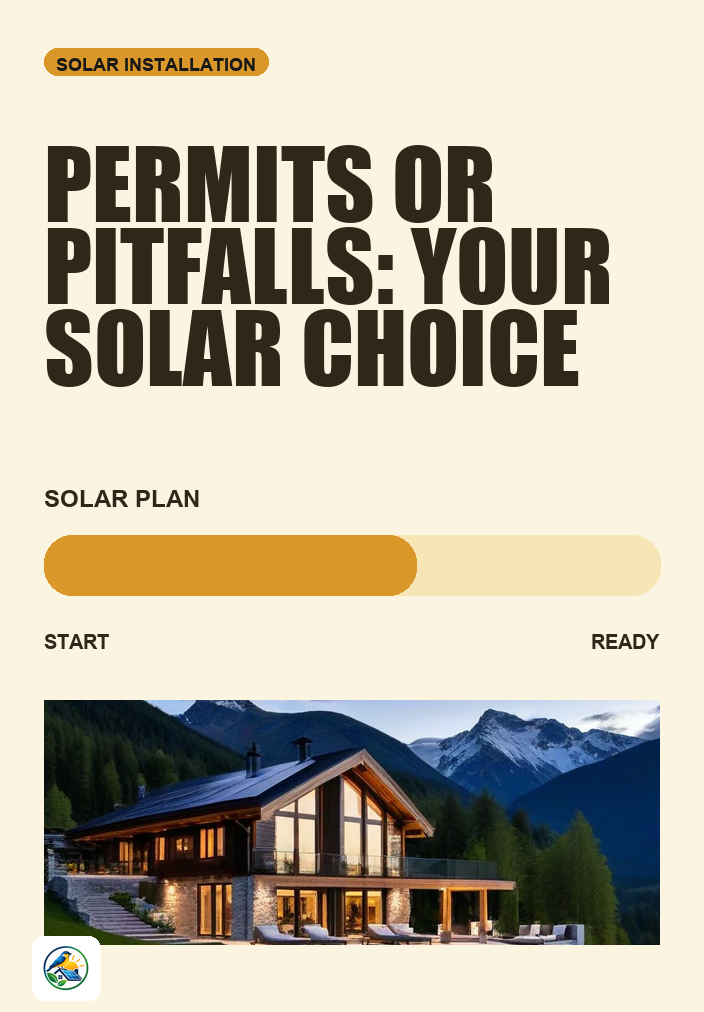
Planning a solar installation for your home is an exciting venture, but it can also be overwhelming. With various steps involved, it’s essential to have a clear timeline in mind to ensure you don’t miss any critical stages. This guide will help you navigate the process, from initial research to going live with your solar system.
Key Steps in the Solar Installation Timeline
The timeline for a solar installation can vary significantly based on location, property characteristics, and local regulations. Generally, the process can be broken down into several key steps:
- Initial Research and Assessment
- Site Evaluation and Quote Requests
- Design and Permitting
- Installation
- Inspection and Interconnection
- Post-Installation: Monitoring and Maintenance
Step 1: Initial Research and Assessment
Start by gathering information about solar energy and its benefits. Consider the following:
- Evaluate your energy needs and usage patterns.
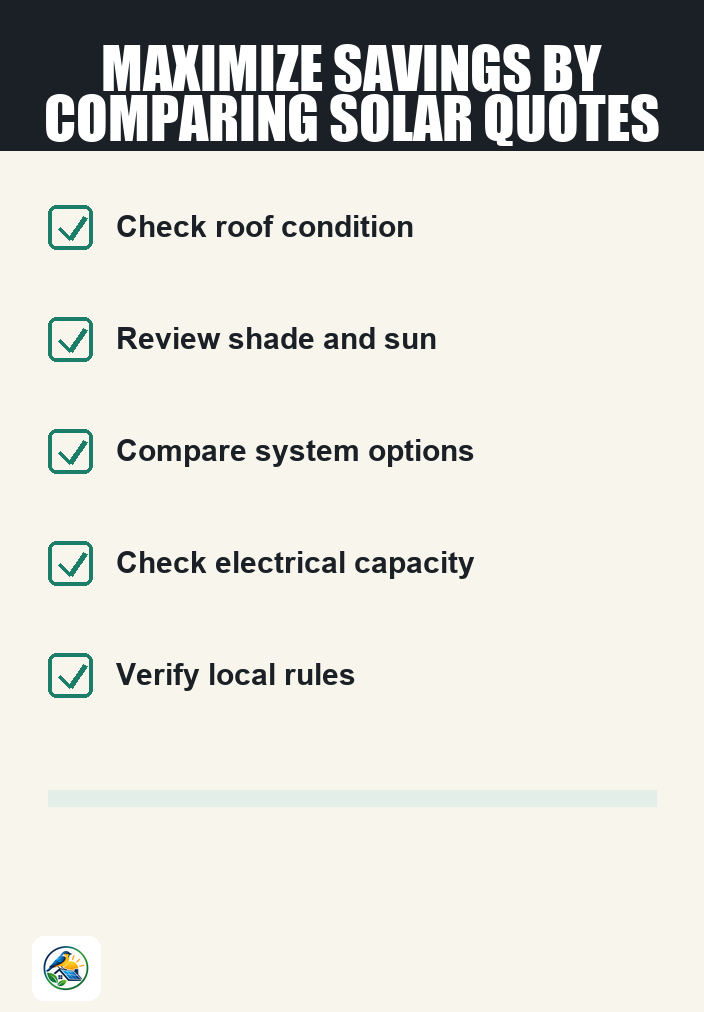
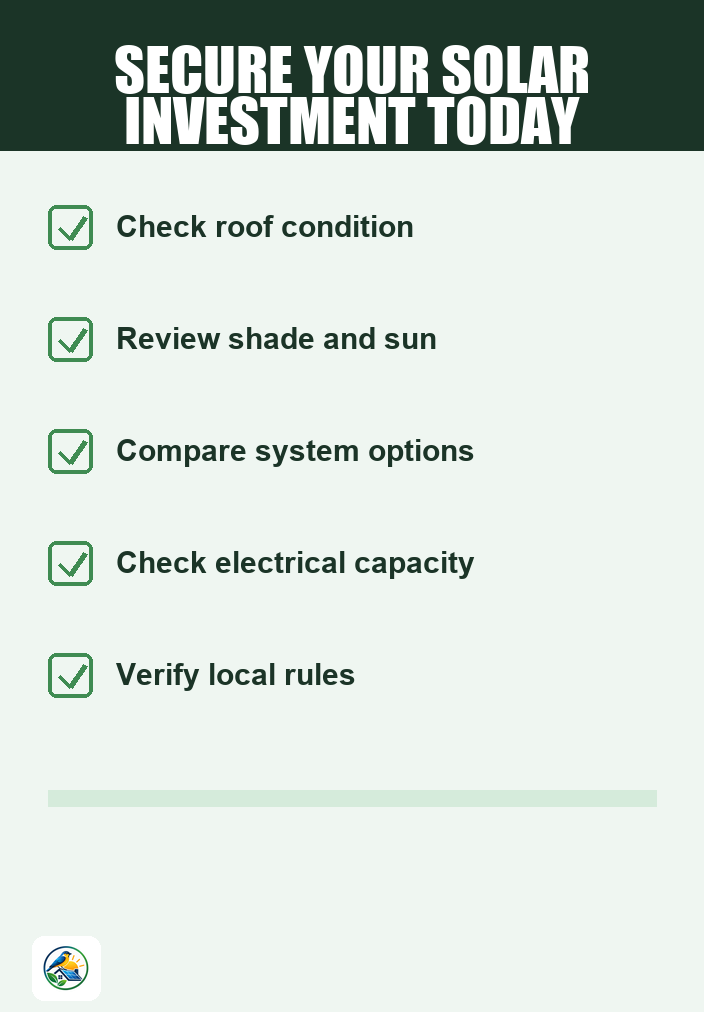
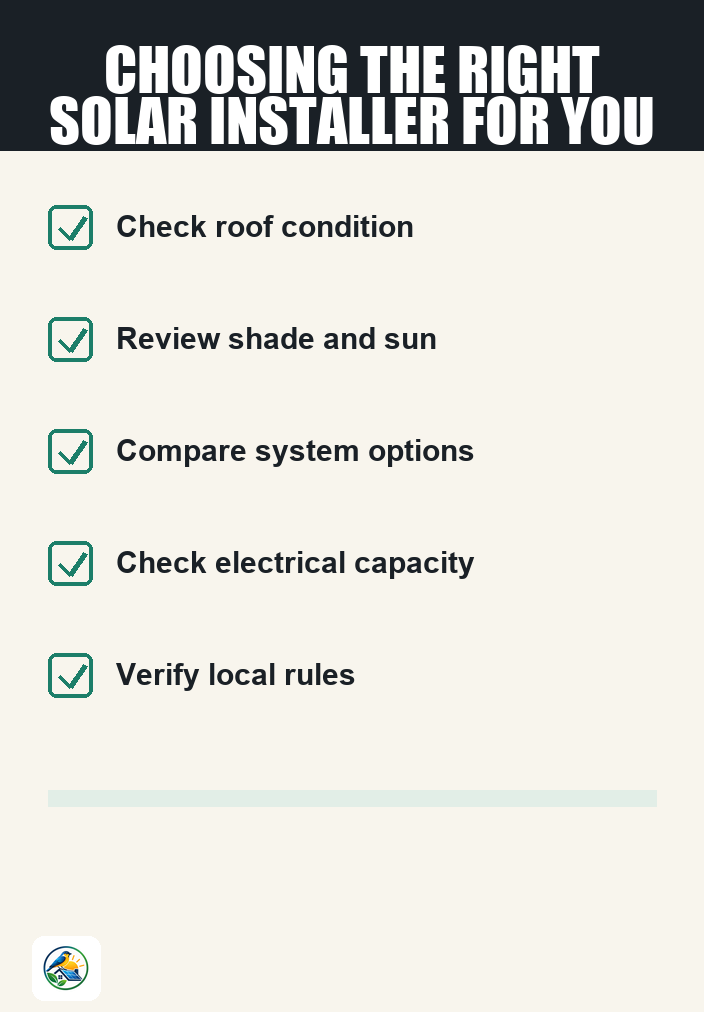
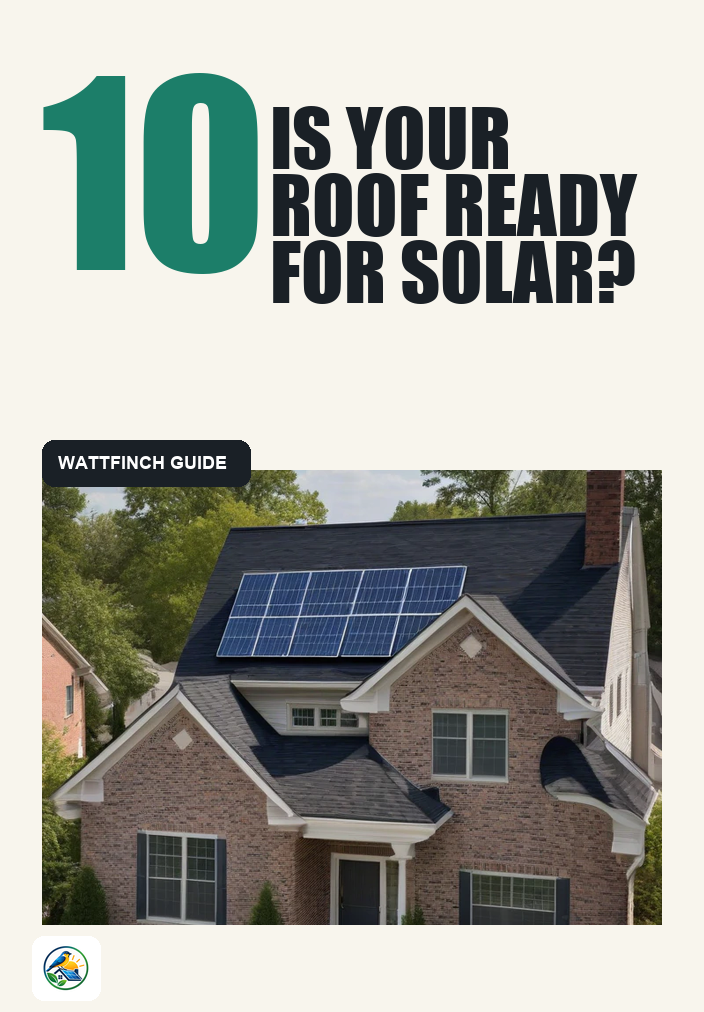
- Determine your roof’s suitability by considering factors like orientation, angle, and shading.
- Research local solar incentives, tax credits, and net-metering policies.
Consider Your Roof
Your roof plays a critical role in the effectiveness of a solar system. A roof in good condition, with minimal shading from trees or buildings, is ideal. If your roof requires repairs or replacement, address this before proceeding with solar installation.
Step 2: Site Evaluation and Quote Requests
Once you have a basic understanding of solar energy, it’s time to contact qualified solar installers for site evaluations and quotes. This is a crucial step, as it allows you to compare different systems and pricing.
- Request multiple quotes to understand the range of options available.
- Ensure installers provide itemized quotes detailing equipment, labor, and any additional fees.
- Ask about warranties and service agreements for both equipment and installation.
Choosing the Right Installer
Look for installers with good reputations, transparent pricing, and experience in your area. Reading reviews and checking references can assist you in making an informed decision.
Step 3: Design and Permitting
After selecting an installer, they will design a system tailored to your home. This process typically includes:
- Creating a detailed system design that considers your energy needs and roof layout.
- Submitting necessary permits to local authorities, which can take several weeks, depending on your location.
Permit Approval Timeline
The permitting timeline can vary widely based on local regulations. Be prepared for potential delays, and maintain open communication with your installer regarding the status of your permits.
Step 4: Installation
Once permits are approved, the installation process begins. Here’s what to expect:
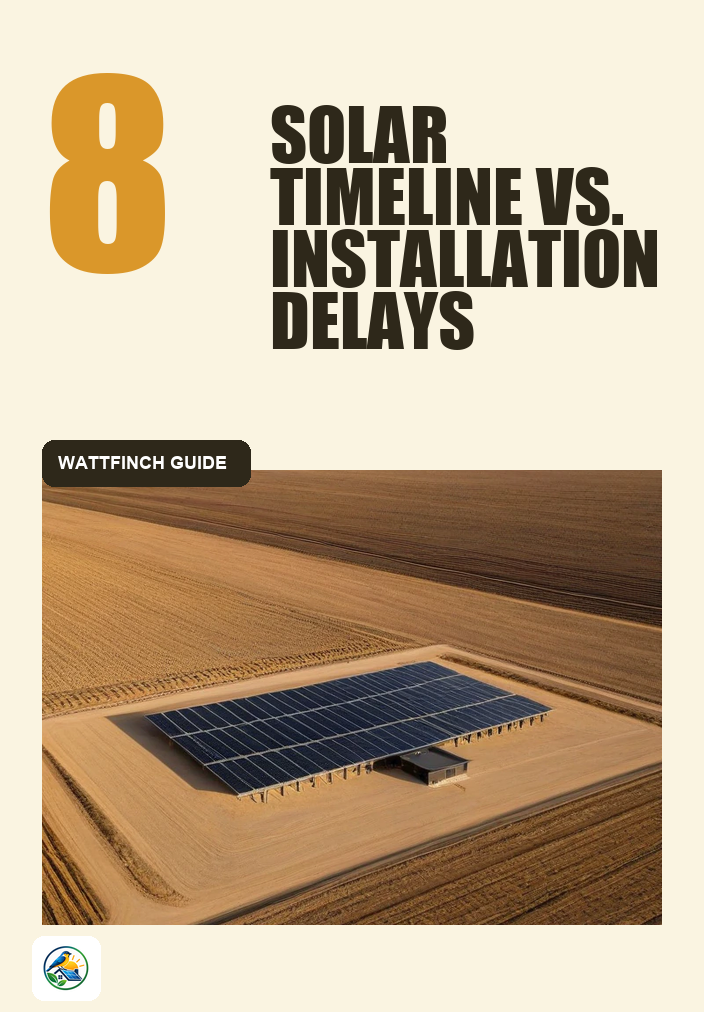
- The installation team will typically complete the setup in one to three days, depending on system size.
- During this time, you may need to clear access to your roof and ensure that pets are secured.
During Installation
It’s helpful to be available during installation for any questions or decisions that may arise. Your installer should provide a timeline and keep you updated on progress.
Step 5: Inspection and Interconnection
After installation, your system will need to be inspected by local authorities and connected to the grid. This process may involve:
- A final inspection to ensure everything is installed according to codes and regulations.
- Interconnection with your utility, allowing you to start producing energy.
Utility Approval
Utility approval can also take time, and it’s essential to understand any additional requirements they may have. Follow up regularly to ensure your system is connected promptly.
Step 6: Post-Installation: Monitoring and Maintenance
After your system is operational, you will need to monitor its performance regularly. Consider the following:
- Most systems come with monitoring software to track energy production.
- Schedule routine maintenance to ensure optimal performance and address any issues that may arise.
Long-Term Considerations
Think about how changes in your household or energy needs might affect your solar system over time. Planning ahead can help you adapt your system to future changes.
Final Thoughts and Next Steps
Installing solar panels is a significant decision that requires careful planning and consideration. By following this timeline, you can ensure that you address each key step without missing critical elements. Remember, every home is unique, and factors like roof condition, local regulations, and energy needs can significantly influence the process.
As a practical next step, reach out to qualified solar installers for itemized quotes to better understand your options. Comparing these quotes will help you make an informed decision that fits your home and energy goals. Keep in mind that local incentives and financing options may also play a crucial role in your overall strategy, so verify all details with local authorities and professionals.