Understanding Utility Interconnection for Your Rooftop Solar System
Installing a rooftop solar system can be an exciting venture for many homeowners. However, the process doesn’t end once the solar panels are on your roof. One critical step often overlooked is the utility interconnection, which can sometimes feel overwhelming. This article will guide you through what utility interconnection entails, explore your options, and help you navigate the process with ease.
What is Utility Interconnection?
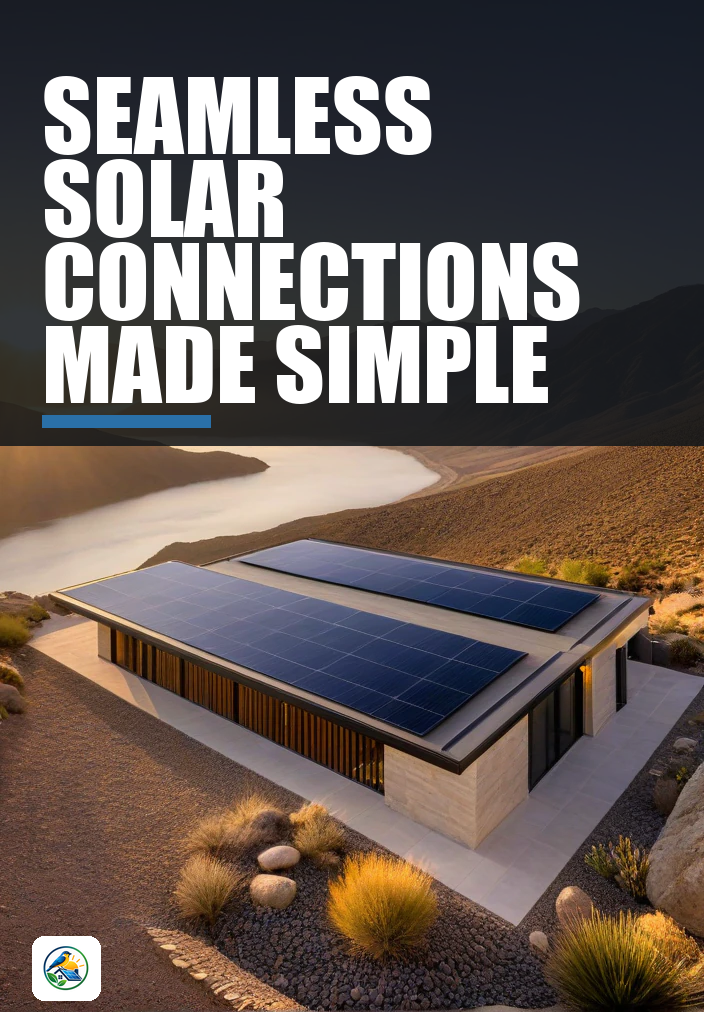
Utility interconnection refers to the process of connecting your solar energy system to the local electricity grid. This connection allows you to draw power from the grid when your solar system is not producing enough electricity, such as during cloudy days or at night. It also enables you to send excess electricity generated by your solar panels back to the grid, often resulting in credits on your utility bill through net metering.
The Importance of a Smooth Interconnection Process
Understanding the interconnection process is crucial because it can directly affect the performance and efficiency of your solar energy system. A smooth interconnection can lead to quicker access to your solar energy and potential savings on your electricity bills. However, complications can arise, leading to delays and frustration. Here’s how to navigate the process without the headaches.
Steps to Connect Your Rooftop Solar System
1. Choose the Right Installer
The first step in ensuring a hassle-free interconnection is to select a qualified solar installer. Look for someone experienced with local utility regulations and interconnection requirements. A reputable installer should be able to:
- Provide a clear timeline for installation and interconnection.
- Help you understand your local utility’s interconnection policies.
- Handle the necessary paperwork on your behalf.
2. Understand Your Utility’s Interconnection Policies
Every utility company has its own set of interconnection policies, which may include application fees, technical requirements, and approval timelines. It’s essential to familiarize yourself with these policies early in the process. Here are some common aspects to consider:
- Application Process: Some utilities require a formal application for interconnection, which may involve providing system specifications and site plans.
- Technical Requirements: Your solar system must meet specific safety and performance standards. This often includes having the right inverter and disconnect switch.
- Approval Timeframe: Approval times can vary significantly. Some utilities may approve interconnection in a few days, while others may take weeks or longer.
3. Prepare for Site Visits and Inspections
After submitting your interconnection application, your utility may conduct a site visit to inspect your solar installation. This visit ensures that the system adheres to local codes and safety standards. Be prepared for the following:
- Ensure your roof and system are accessible.
- Have all documentation ready, including installation permits and system specifications.
- Address any potential concerns the inspector may have regarding system placement or electrical connections.
4. Monitor the Approval Process
Following your application submission and site inspection, stay in touch with both your installer and the utility company to monitor the approval status. If delays arise, don’t hesitate to inquire about the reasons and any additional information required to expedite the process.
Considerations for Homeowners
While the interconnection process can be straightforward, several factors can complicate it. Here are some considerations to keep in mind:
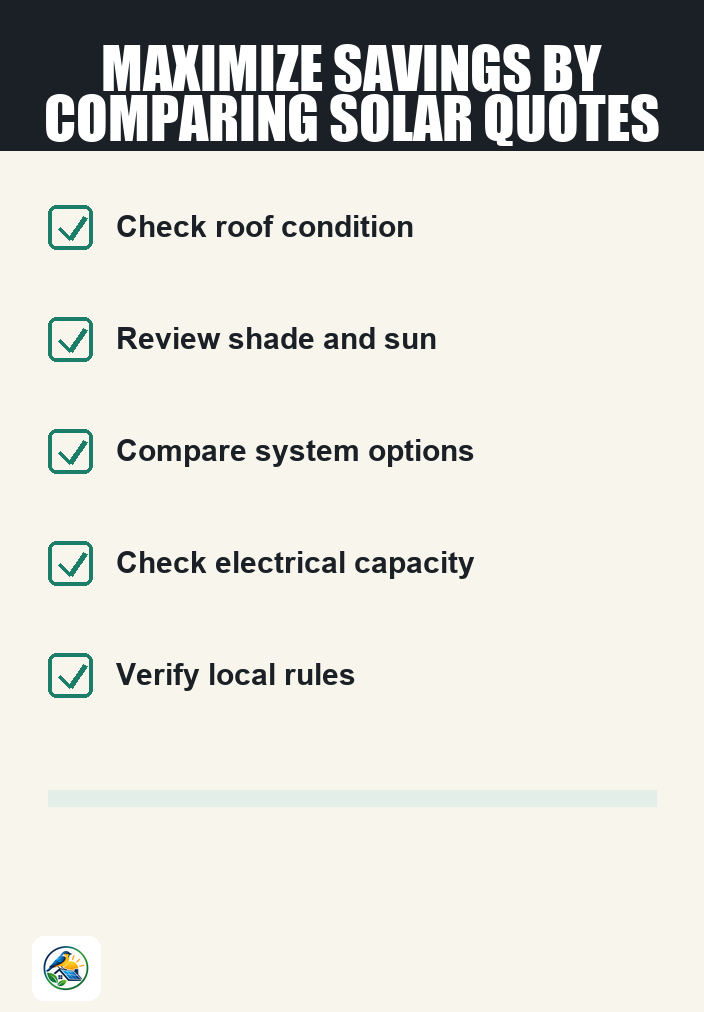
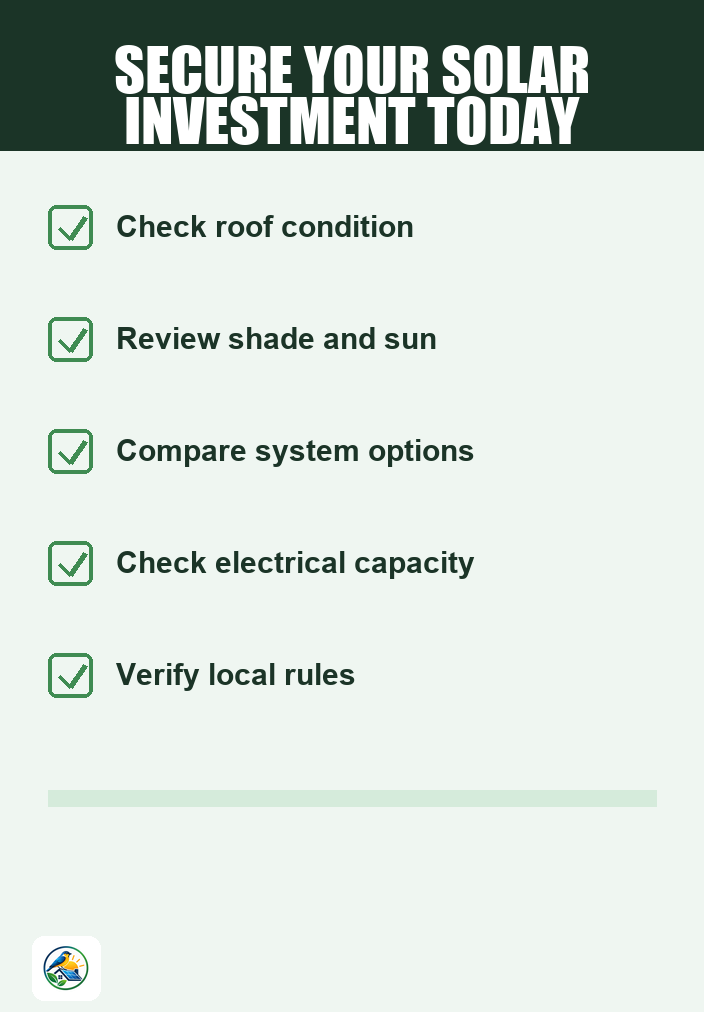
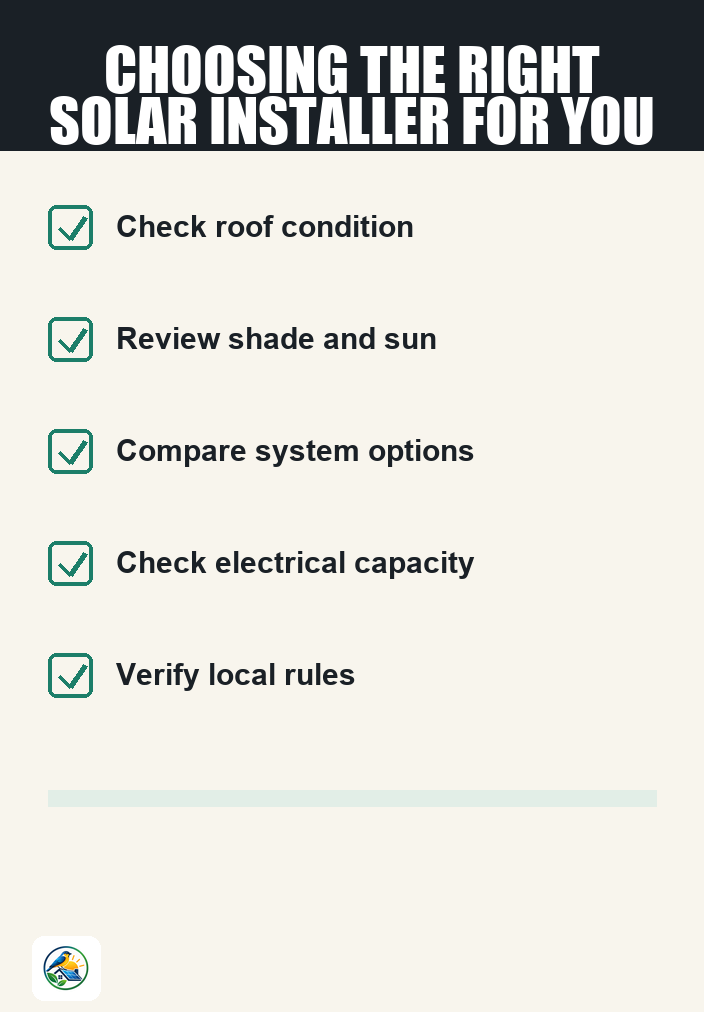
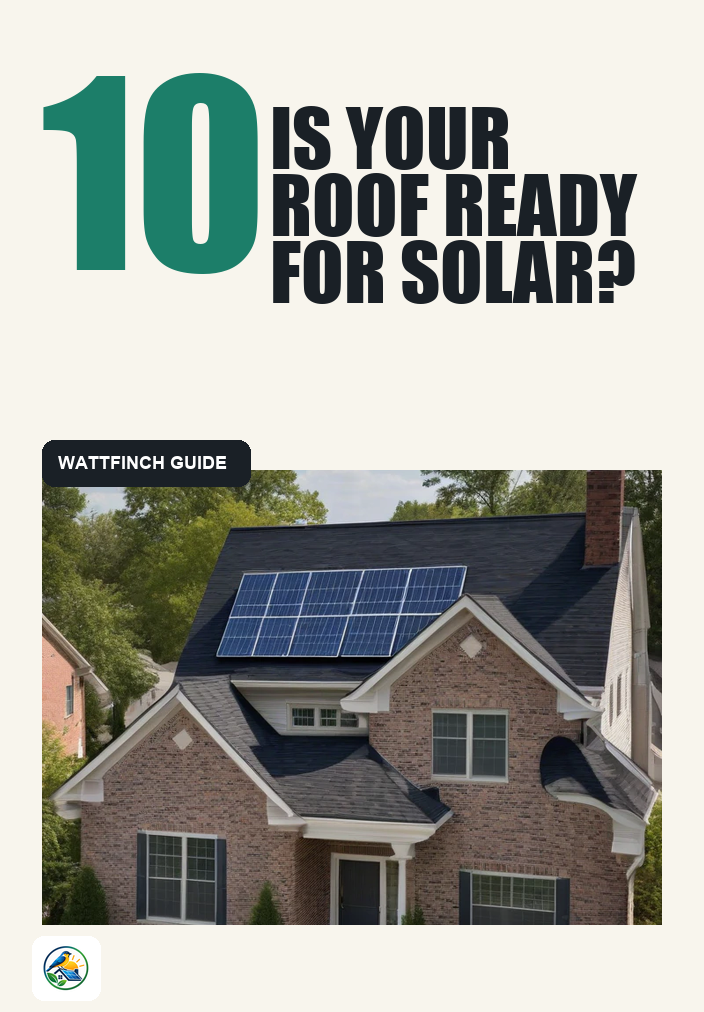
- Roof Condition: Ensure your roof is in good condition before installing solar panels. If your roof needs repairs or replacement, it’s best to address those issues first.
- Shading: Trees, neighboring buildings, or other obstructions can affect your solar system’s efficiency. Assess your property for potential shading issues and discuss them with your installer.
- Electrical Upgrades: Your home’s electrical system may need upgrades to accommodate solar. This could involve panel upgrades or additional wiring.
- Utility Policies: Keep an eye on any changes in your utility’s interconnection policies, as these can impact your installation timeline.
Options Beyond Standard Interconnection
Homeowners may also consider additional options to enhance their energy independence and security, including:
Battery Backup Systems
Installing a battery backup can provide additional security by storing excess solar energy for use during outages or at night. However, integrating battery systems can complicate interconnection, as these systems may have different requirements compared to standard grid-tied systems. Be sure to discuss battery options with your installer and understand the implications for interconnection.
Off-Grid Systems
If you’re considering going completely off-grid, the interconnection process is different. Off-grid systems do not connect to the utility grid, which means you won’t be eligible for net metering or utility interconnection. However, going off-grid requires careful planning and consideration of battery storage capacity and energy needs.
Next Steps for Homeowners
As you contemplate installing a rooftop solar system, consider the following next steps:
- Research and compare itemized quotes from qualified solar installers in your area.
- Inquire about their experience with local utility interconnection processes.
- Ask about the estimated timeline for installation and interconnection.
- Verify current incentives and policies that may affect your decision.
By approaching the installation and interconnection process with knowledge and preparation, you can minimize headaches and enjoy the benefits of your new solar system. Remember, each home is unique, so consider all factors relevant to your specific situation.