Understanding the Home Solar Installation Timeline
When considering solar energy for your home, one of the crucial aspects to evaluate is the installation timeline. Homeowners often face the choice between DIY (do-it-yourself) solar installation and hiring a professional installer. Each option comes with its own advantages and challenges, impacting not only the duration of the installation but also the overall success of the solar project. In this article, we will explore the typical timelines for both DIY and professional installations, helping you make an informed decision that suits your unique situation.
Typical Timeline for DIY Solar Installation
Choosing to install solar panels yourself can be an appealing option for homeowners looking to save on labor costs. However, it’s important to consider the time commitment involved in a DIY installation. Here’s a general breakdown of the timeline:
1. Initial Research and Planning (1-2 Weeks)
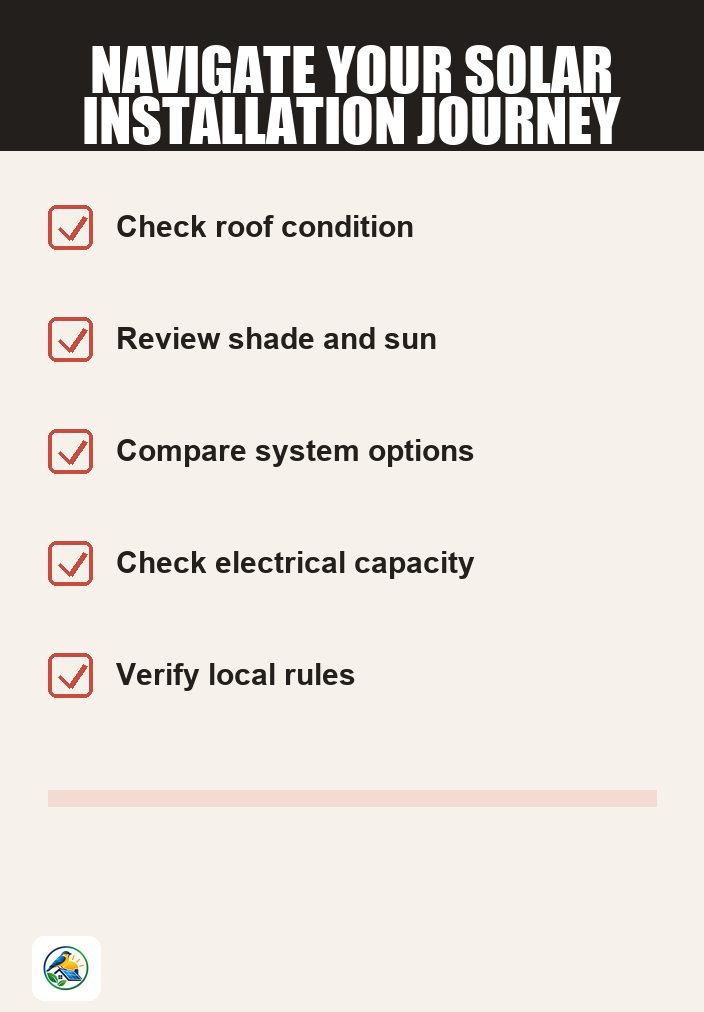
Before you even purchase solar panels, you’ll need to conduct thorough research. This includes:
- Assessing your energy needs and roof characteristics.
- Understanding local permitting requirements and utility policies.
- Choosing the right solar panel system based on your budget and energy goals.
Make sure to verify current regulations and incentives in your area, as these can vary widely.
2. Sourcing Equipment (1-3 Weeks)
Once you have a plan, the next step is to source your equipment. This may involve:
- Purchasing solar panels, inverters, and other components.
- Ordering mounting systems and wiring supplies.
Be prepared for potential delays in shipping or availability, especially if you are sourcing components from multiple suppliers.
3. Installation Preparation (1 Week)
Before installation, you’ll need to prepare your home. This could include:
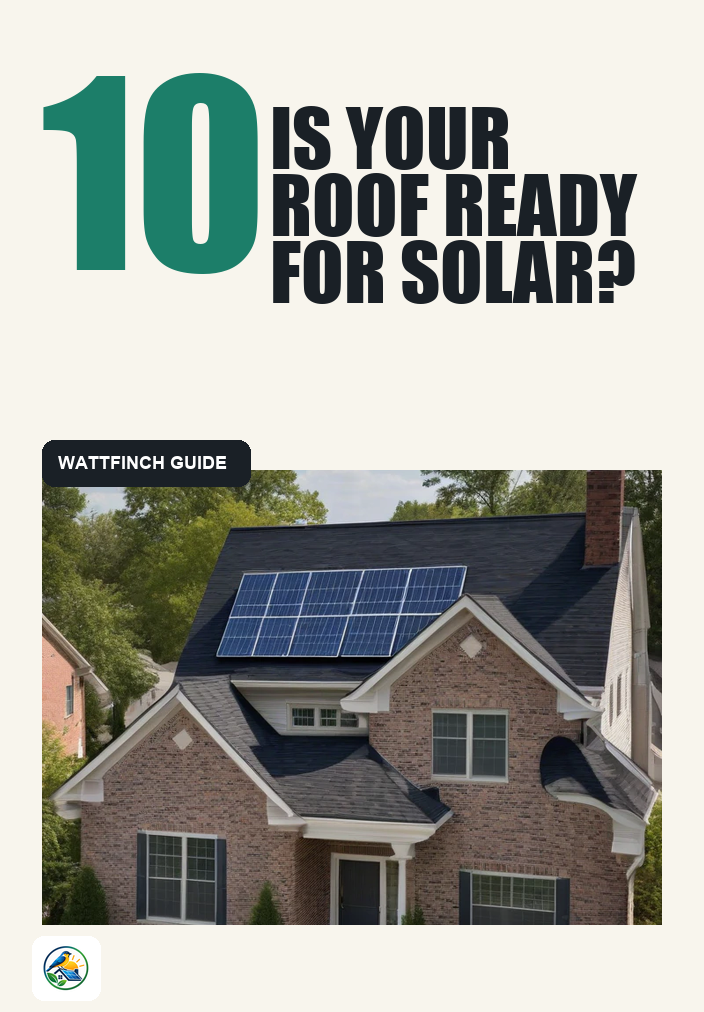
- Inspecting your roof for any necessary repairs.
- Obtaining the required permits from your local government.
It’s essential to ensure your roof is in good condition to support solar panels. If repairs are needed, this may extend your timeline.
4. Installation (1-3 Days)
The actual installation process can take anywhere from one to three days, depending on the complexity of your system and your level of expertise. This phase includes:
- Mounting the solar panels.
- Connecting the inverter and electrical system.
- Ensuring all safety measures are in place.
Keep in mind that working on your roof can be physically demanding and may require assistance for safety reasons.
5. Final Checks and Interconnection (1-2 Weeks)
After installation, you’ll need to:
- Conduct a thorough inspection to ensure everything is functioning correctly.
- Complete any final paperwork for utility interconnection.
Utility companies often have specific requirements for connecting your system to the grid, and this process can take additional time.
Typical Timeline for Professional Solar Installation
1. Initial Consultation (1-2 Weeks)
Many homeowners start with a consultation from a professional installer. This stage involves:
- Assessing your home’s solar potential and energy needs.
- Discussing financing options, equipment choices, and system size.
This step helps you understand the full scope of the project, including potential costs and savings.
2. Design and Proposal (1-2 Weeks)
After the initial consultation, the installer will design a customized solar system for your home. This stage may include:
- Creating a detailed proposal with an itemized cost estimate.
- Obtaining necessary permits.
Professional installers often have experience navigating local permitting processes, which can save you time.
3. Installation (1-3 Days)
The actual installation by professionals typically takes one to three days, similar to a DIY project. However, with trained technicians, the process may be quicker and more efficient. This phase includes:
- Mounting solar panels safely and securely.
- Connecting the system to your home’s electrical system.
Professionals are well-versed in safety protocols and electrical codes, reducing the risk of errors.
4. Final Inspection and Interconnection (1-2 Weeks)
Once installation is complete, a final inspection is often required to ensure compliance with local regulations. This includes:
- Testing the system to ensure it operates correctly.
- Submitting interconnection paperwork to your utility.
Like DIY installations, interconnection can take time, but professional installers usually handle this process efficiently.
Weighing the Pros and Cons
Both DIY and professional solar installations come with unique advantages and challenges. Here are some considerations to keep in mind:
DIY Installation Pros and Cons
- Pros: Lower costs, hands-on learning experience, and potential satisfaction from completing the project yourself.
- Cons: Requires significant time commitment, potential for mistakes, and challenges in navigating permits and utility connections.
Professional Installation Pros and Cons
- Pros: Faster installation, professional expertise, and generally smoother permitting and interconnection processes.
- Cons: Higher upfront costs and less personal involvement in the project.
Final Thoughts: Next Steps for Homeowners
Choosing between DIY and professional solar installation requires careful consideration of your skills, time, and budget. Here are some practical next steps:
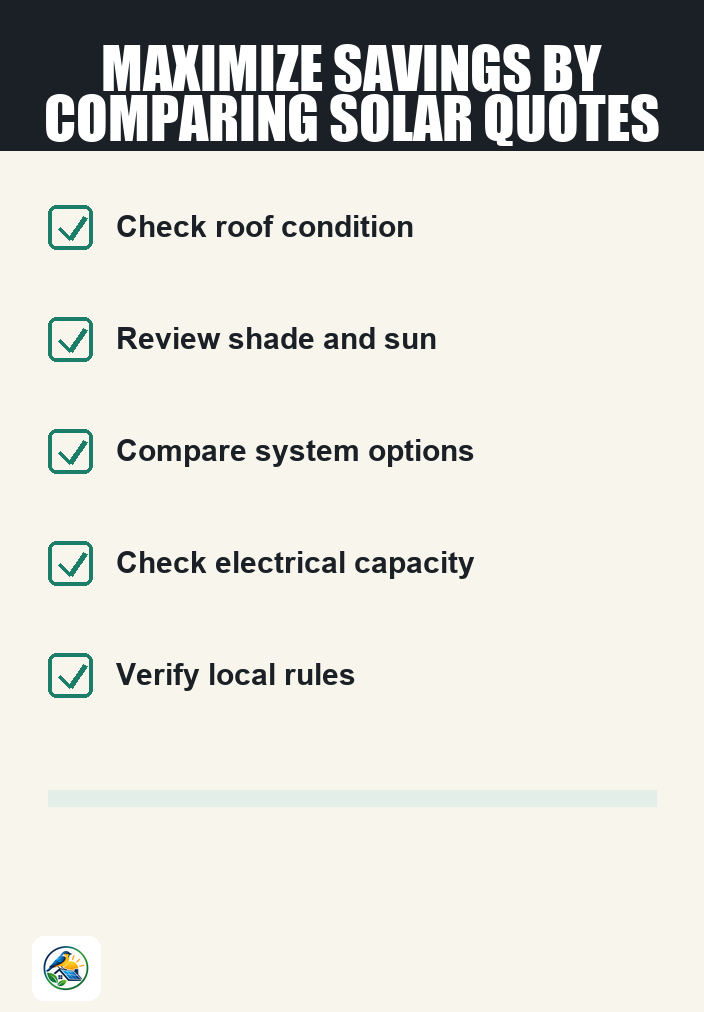
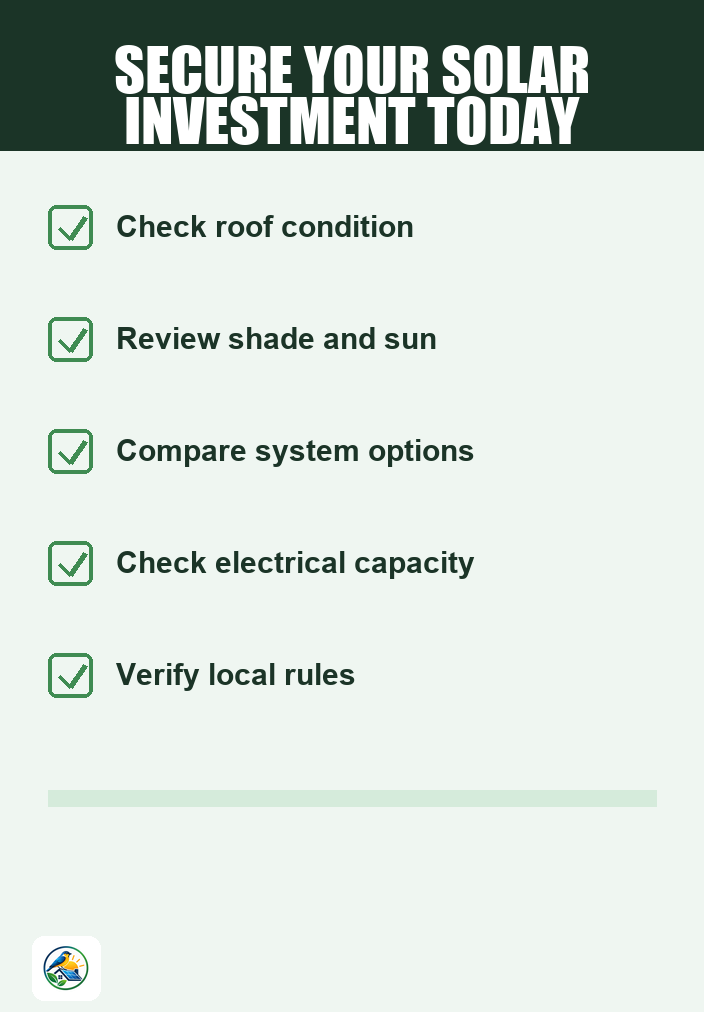
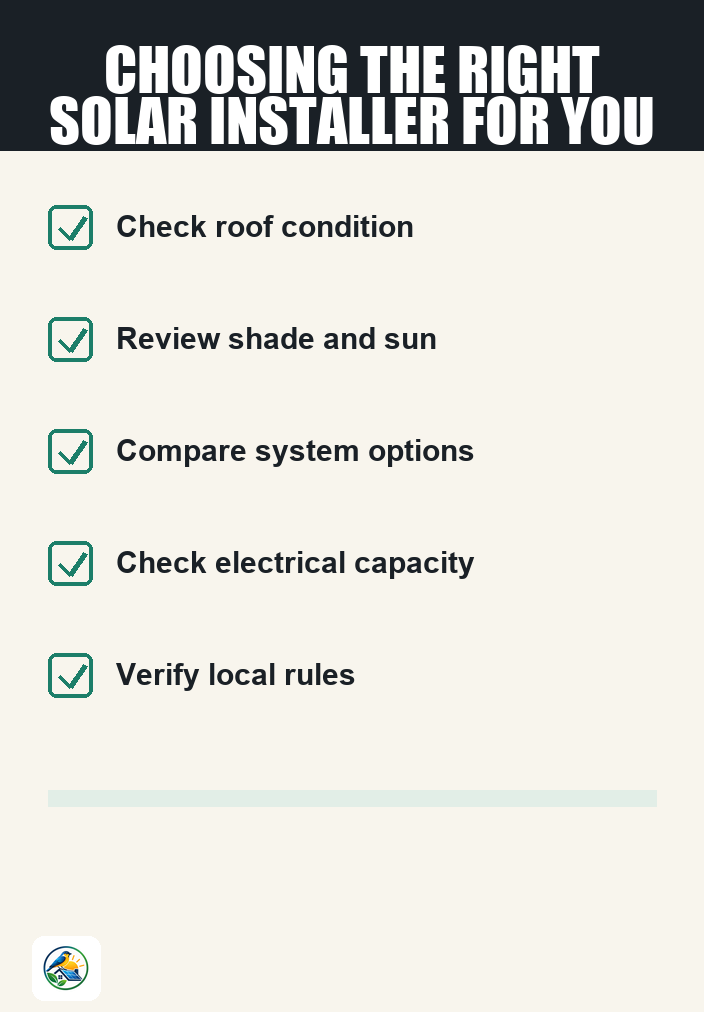
- Conduct thorough research on local permitting and utility requirements.
- Consider obtaining quotes from multiple professional solar installers to compare itemized costs.
- If leaning towards DIY, ensure you have the necessary tools, skills, and safety measures in place.
- Stay updated on local incentives, as these can vary and impact your decision.
Ultimately, the right choice depends on your specific circumstances, preferences, and goals regarding solar energy. Whichever path you choose, careful planning and informed decisions will be key to a successful solar installation.