Understanding the Home Solar Installation Timeline
As a U.S. homeowner considering a professionally installed rooftop solar system, you may be asking yourself: “Is it worth the cost?” The answer is not straightforward, as it heavily depends on various factors unique to your situation. To help you navigate this complex decision, we’ll break down the home solar installation timeline, key considerations, and trade-offs to help you determine whether solar energy is suitable for your home.
1. Initial Research and Planning
The first step in your solar journey is understanding the basics of solar energy and determining if it meets your needs. This phase typically involves:
- Assessing your energy consumption: Review your utility bills to understand your energy usage patterns. This information will be crucial when sizing your solar system.
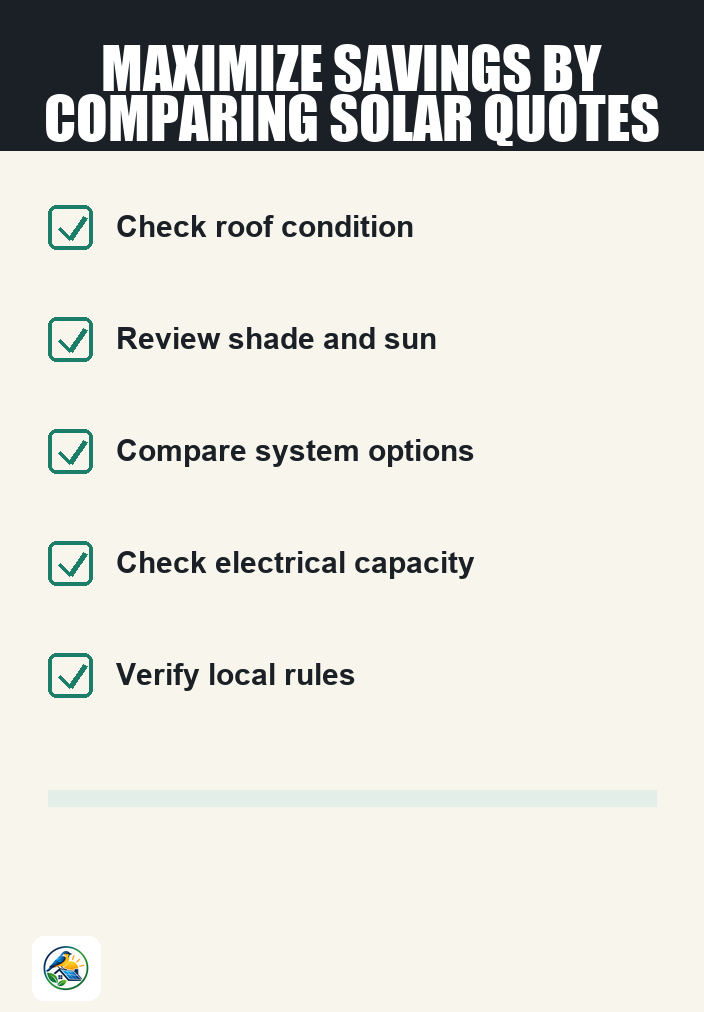
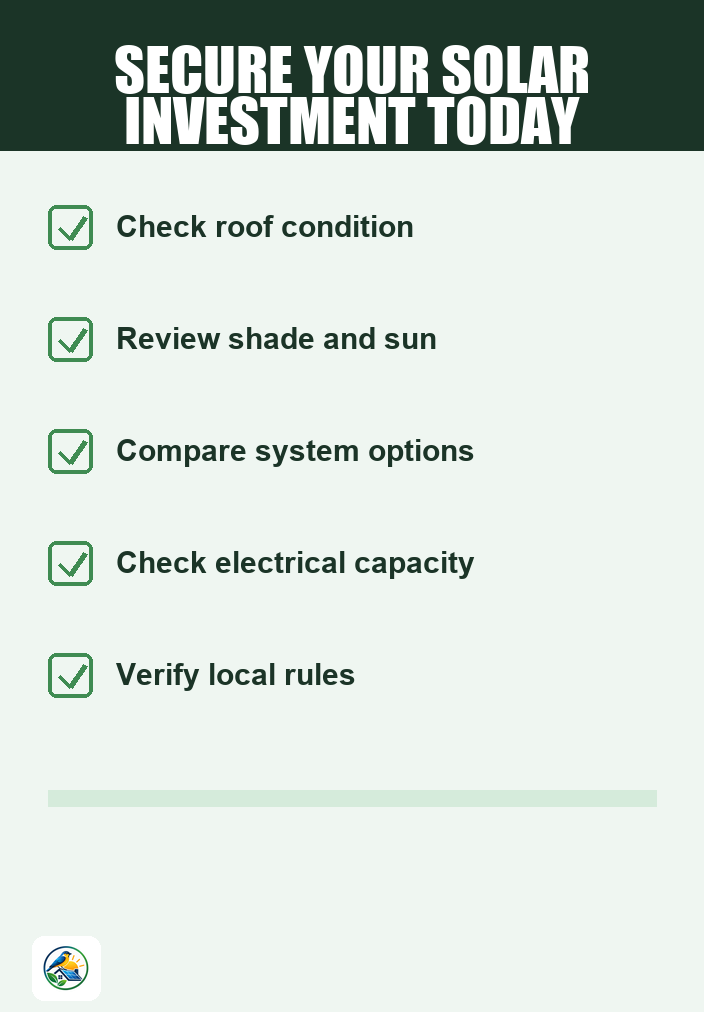
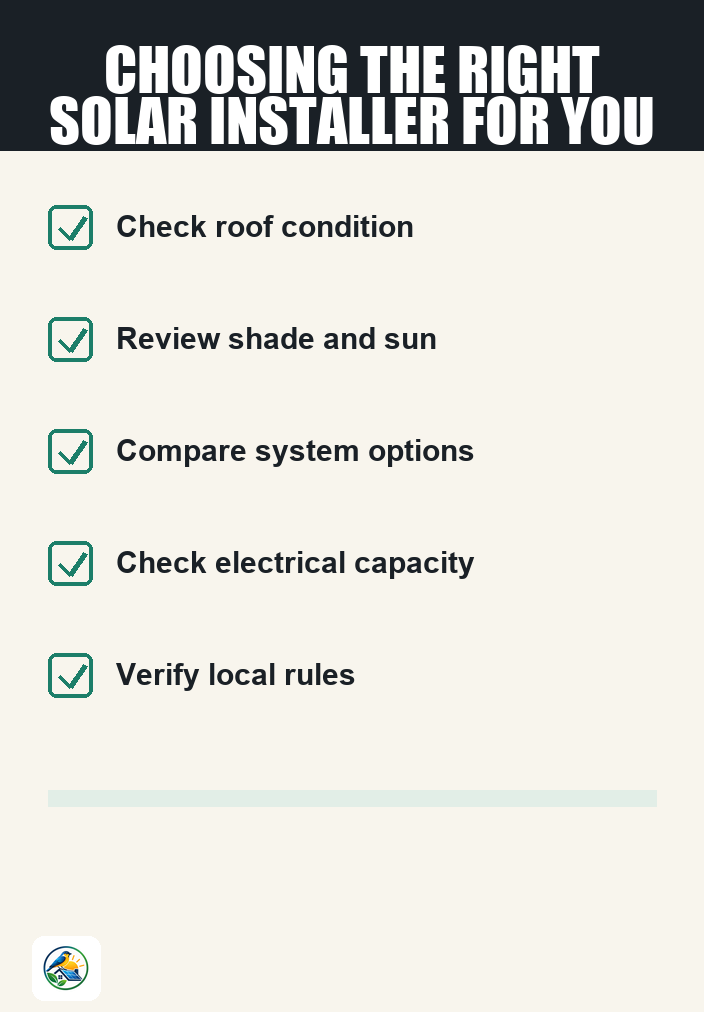
- Evaluating your home’s suitability: Factors like roof condition, orientation, and shade from trees or other buildings can significantly impact the effectiveness of a solar installation.
- Exploring financing options: Solar installations can be financed through loans, cash purchases, or leases. Understanding the costs associated with each option is essential for your decision-making process.
During this stage, it’s wise to gather information about local solar incentives, utility rates, and available tax credits. Keep in mind that these factors can change, so verifying current local policies is vital.
2. Getting Quotes from Installers
Once you have sufficient knowledge and a sense of your home’s capabilities, the next step is to approach qualified solar installers for detailed quotes. This phase usually takes about 1-2 weeks depending on how quickly you can contact installers and receive responses.
What to Expect in a Quote
When you receive quotes, they should include:
- System size and type: Based on your energy consumption, installers will recommend a system size tailored to your needs. This may include grid-tied systems, battery backup options, or off-grid solutions.
- Cost breakdown: Look for itemized costs covering equipment, installation, permits, and any additional services.
- Timeline for installation: Installers should provide a projected timeline, including permitting and interconnection processes.
- Warranties and service agreements: Understand what warranties are offered for equipment and installation, as well as any maintenance agreements.
Comparing itemized quotes can provide clarity on the best value for your investment. This step is crucial to ensure you are not only getting the best price but also the right system for your home.
3. Permitting and Interconnection
After selecting an installer and signing a contract, the next phase involves obtaining necessary permits and interconnection approvals. This process can take anywhere from a few weeks to a few months, depending on local regulations and utility company requirements.
Understanding Permits
Permitting requirements vary by location but generally include:
- Building permits: These ensure that your installation meets local building codes.
- Electrical permits: Required for safe connections to the electrical grid.
- Interconnection agreements: Necessary for connecting your solar system to the utility grid, allowing for net metering if applicable.
It’s important to work closely with your installer to navigate this process smoothly. They should handle most of the paperwork, but stay informed about timelines and requirements to avoid delays.
4. Installation Phase
Once permits are secured, the actual installation can begin. This phase usually takes 1 to 3 days, depending on the complexity of the system and your roof’s characteristics.
Installation Considerations
During installation, keep in mind:
- Roof condition: Ensure your roof is in good shape before installation, as repairs may be necessary beforehand.
- Access to your property: Clear any obstacles that might hinder the installation crew.
- Weather conditions: Delays can occur if weather conditions are not favorable for installation.
Once installation is complete, the system will undergo a final inspection to ensure everything is functioning as it should. After passing inspection, your installer will help you connect to the grid.
5. Post-Installation and Maintenance
After your installation is complete and the system is connected, you will want to consider ongoing maintenance and monitoring. While solar systems are generally low-maintenance, some tasks you may need to perform include:
- Regular cleaning: Dust and debris can accumulate on panels, affecting efficiency.
- Monitoring performance: Keep an eye on your energy production to ensure the system operates optimally.
- Periodic inspections: Schedule professional inspections to catch any potential issues early.
Is Home Solar Installation Worth the Cost?
Deciding whether solar is worthwhile for your home depends on various factors, including your financial situation, energy needs, and local incentives. Here are some considerations to reflect on:
- Initial investment vs. long-term savings: Consider the upfront costs against potential long-term savings on energy bills.
- Incentives and tax credits: These can significantly reduce your costs, but verify current eligibility.
- Home plans: If you plan to move soon, consider whether the investment aligns with your long-term housing strategy.
Solar energy is not a one-size-fits-all solution; its viability will depend on your specific circumstances.
Next Steps
If you’re still considering solar, start by comparing itemized quotes from qualified installers in your area. This will help you understand the costs, available systems, and any incentives you may qualify for. Remember to verify all details with local utilities, installers, and government resources to ensure you make an informed decision.