Understanding Your Solar Installation Timeline
When considering the installation of a solar energy system for your home, understanding the timeline involved can help set realistic expectations. The process can vary significantly based on various factors, including your location, the complexity of the installation, and the specific equipment you choose. In this article, we will break down the typical steps involved in a solar installation, providing practical insights for homeowners looking to make informed decisions.
Initial Consultation and Site Assessment
The first step in your solar journey usually involves an initial consultation with a professional installer. During this phase, the installer will assess your home’s suitability for solar energy. Key considerations include:
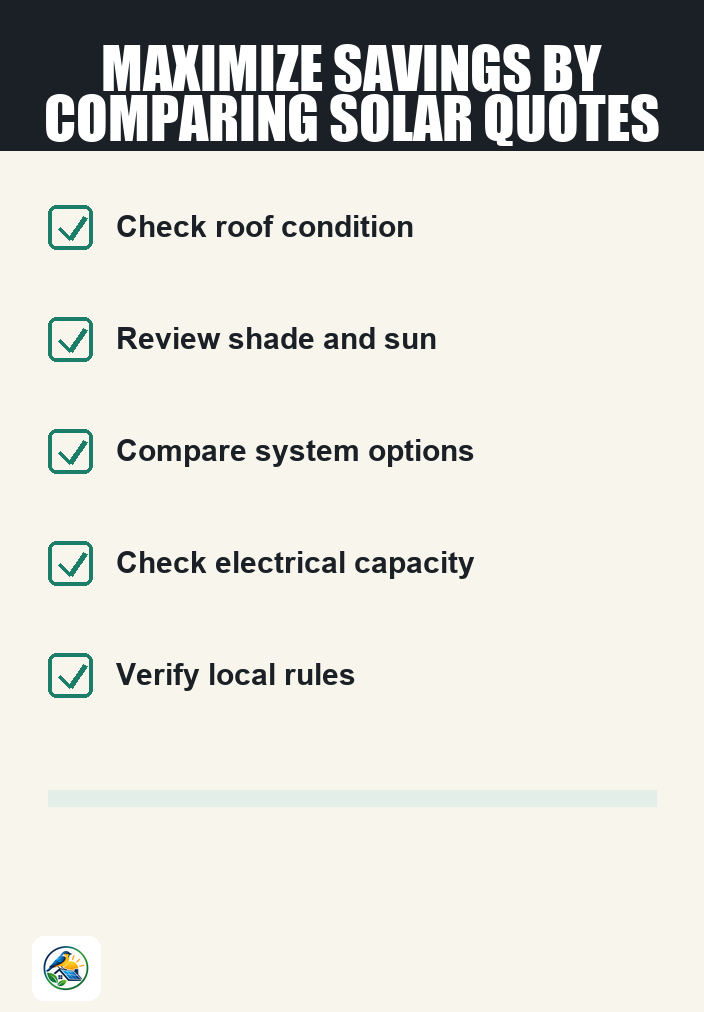
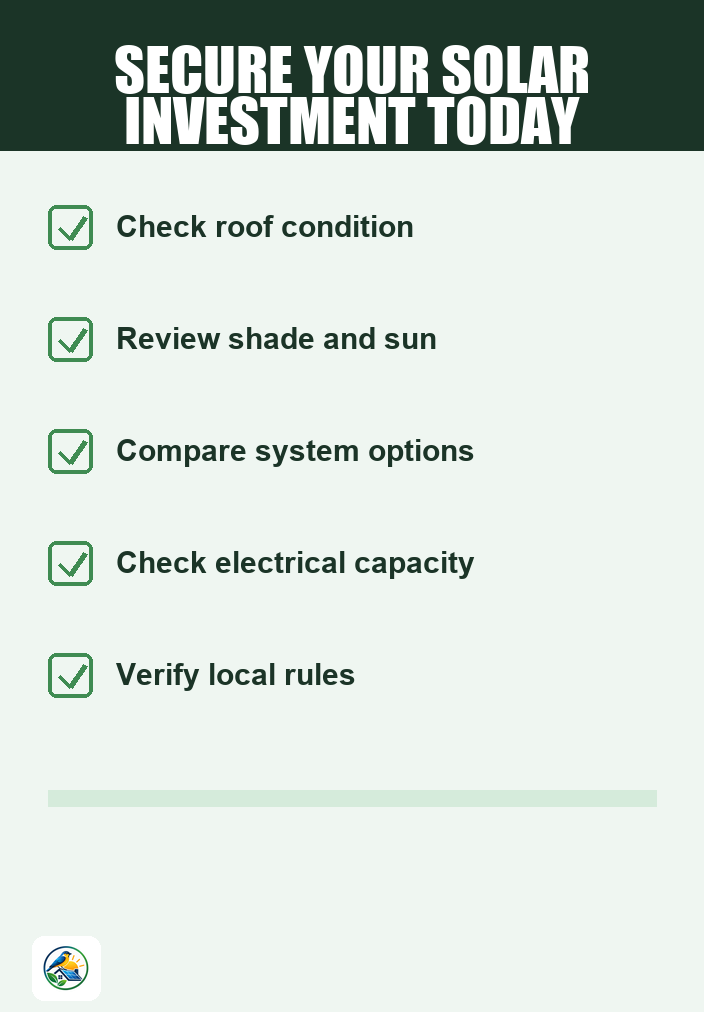
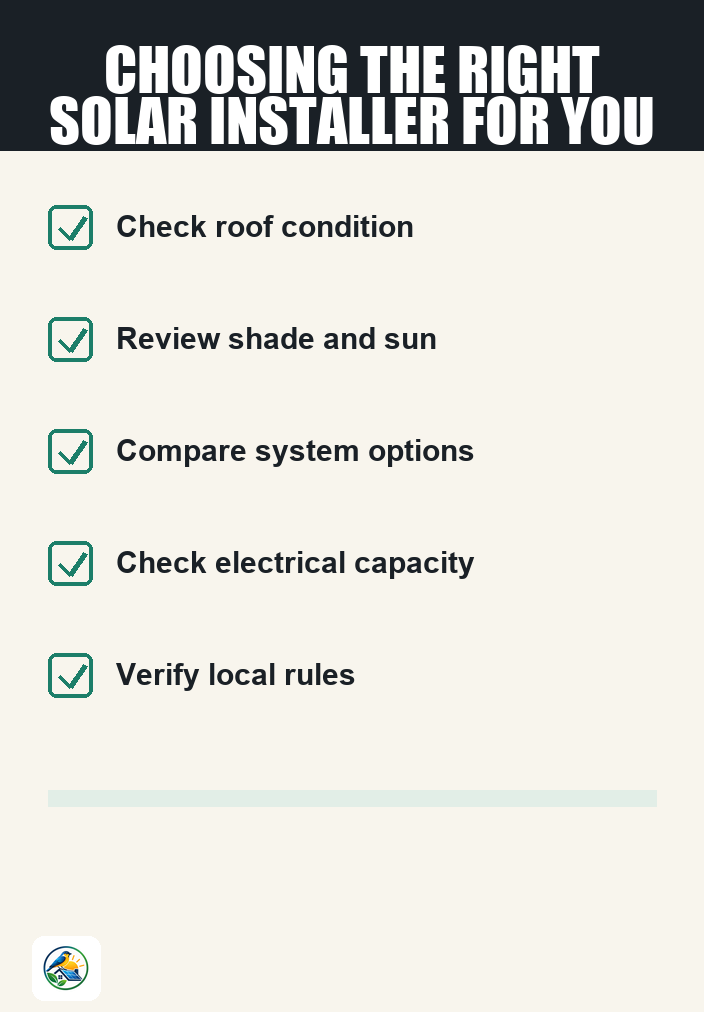
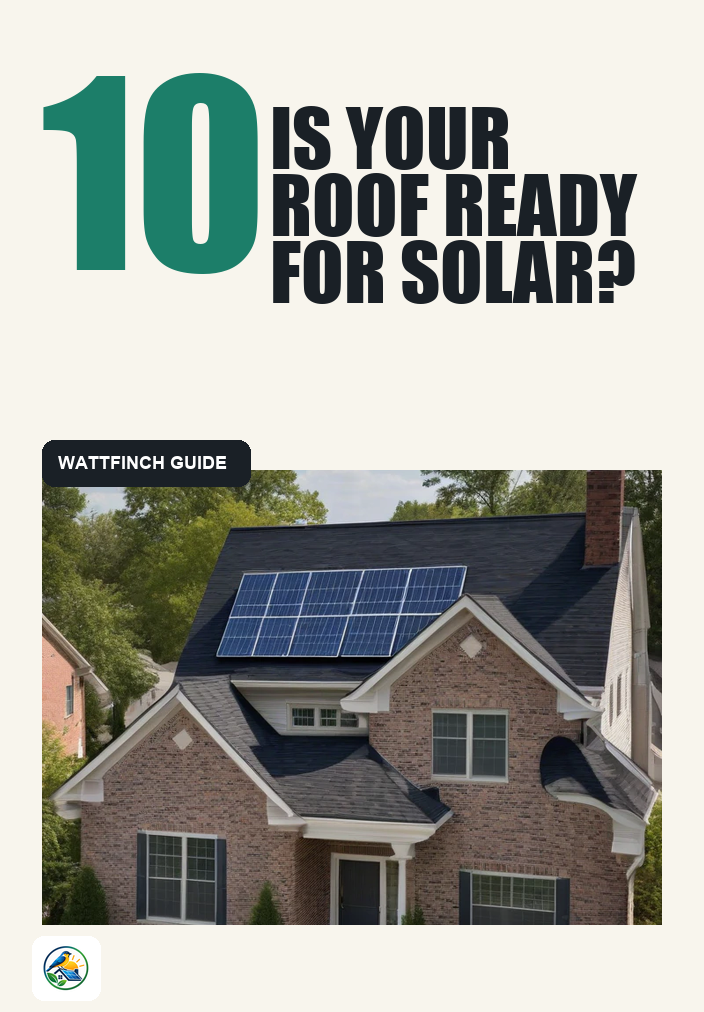
- Roof Condition: An installer will evaluate the age and condition of your roof. If repairs are needed, these may need to be completed before installation.
- Orientation and Shade: The direction your roof faces and any surrounding trees or buildings that cast shade can impact the efficiency of solar panels.
- Energy Needs: An analysis of your energy usage will help determine the size of the solar system required.
This phase can take anywhere from a few days to a couple of weeks, depending on the installer’s schedule and the complexity of your home’s requirements.
Design and Proposal Phase
After the initial assessment, your installer will create a detailed proposal. This typically includes:
- System design, including the number of panels and their layout
- Estimated costs, financing options, and potential incentives
- Projected energy production based on your specific conditions
During this phase, you may have the opportunity to review multiple quotes from different installers. Comparing itemized proposals can provide clarity on the costs and benefits of each option. This stage can take another week or two, especially if you have questions or need modifications to the design.
Permitting and Approvals
Once you approve the proposal, the next step is obtaining the necessary permits and approvals. This process can vary widely based on local regulations and utility requirements. Generally, this includes:
- Applying for building permits
- Getting approval from your homeowner’s association (if applicable)
- Submitting interconnection agreements to your utility provider
Permitting can be one of the most time-consuming aspects of the installation process, taking anywhere from a few weeks to a couple of months, depending on your location and local bureaucracy.
Installation Process
Once all permits are secured, the actual installation can begin. This phase typically involves:
- Installation of the solar panels on your roof
- Setting up the inverter, which converts solar energy into usable electricity
- Connecting the system to your home’s electrical panel
- Installing any additional components, such as a battery backup system, if chosen
The installation itself can often be completed in one to three days, depending on the system size and complexity. However, if your roof requires repairs or modifications, this could extend the timeline.
Inspection and Interconnection
After the installation is complete, an inspection is typically required to ensure everything meets local codes and regulations. This can include:
- Electrical inspections by local authorities
- Utility inspections to ensure safe interconnection to the grid
This inspection phase may take a few days to a couple of weeks, depending on local requirements and scheduling. Once approved, your utility provider will allow you to connect to the grid, enabling you to start using solar energy.
System Activation and Monitoring
Once the system passes inspection, your installer will activate the system. They may also provide information on how to monitor your system’s performance. Monitoring can help you keep track of energy production and identify any maintenance needs over time. This final activation typically occurs within a week of passing inspection.
Considerations for Battery Backup Systems
If you’re considering adding a home battery to your solar system, keep in mind that this can add complexity to the installation timeline. Battery systems often require additional permits and inspections. The process for incorporating a battery backup can extend the timeline by several weeks to months, depending on the specific requirements and availability of the battery units.
Potential Drawbacks and Constraints
While the benefits of solar energy can be significant, there are also potential drawbacks and constraints to consider:
- Roof Condition: If your roof is nearing the end of its lifespan, you may need to invest in repairs or a replacement before installing solar panels.
- Shade Issues: Trees or nearby structures that cast shade can reduce the efficiency of solar panels, necessitating adjustments to your system design.
- Utility Policies: Each utility company has different rules regarding net metering and interconnection, which can affect how much credit you receive for excess energy produced.
- Financing Costs: Depending on your financing options, the overall cost of the system may vary, influencing your financial decision.
Next Steps for Homeowners
Understanding the solar installation timeline is crucial for homeowners considering this renewable energy option. To ensure a smooth process:
- Conduct thorough research on local installers.
- Request and compare itemized quotes to understand the scope and costs.
- Verify current local utility, installer, government, or tax information regarding incentives and regulations.
- Consider your long-term plans for your home and how solar fits into those plans.
By taking these steps, you can make a more informed decision about whether solar energy is the right choice for your home.