Understanding the Home Solar Installation Timeline
As a U.S. homeowner considering a professionally installed residential rooftop solar system, you may be wondering about the timeline, costs, and benefits associated with the installation process. Knowing what to expect can help you make an informed decision about whether solar is the right choice for your home. This article outlines the typical phases of solar installation, the potential costs involved, and the benefits you might gain.
Typical Phases of Solar Installation
The installation of a rooftop solar system generally involves several key phases. Although the exact timeline can vary based on your location, the complexity of your system, and other factors, here’s a general outline:
1. Initial Consultation and Assessment
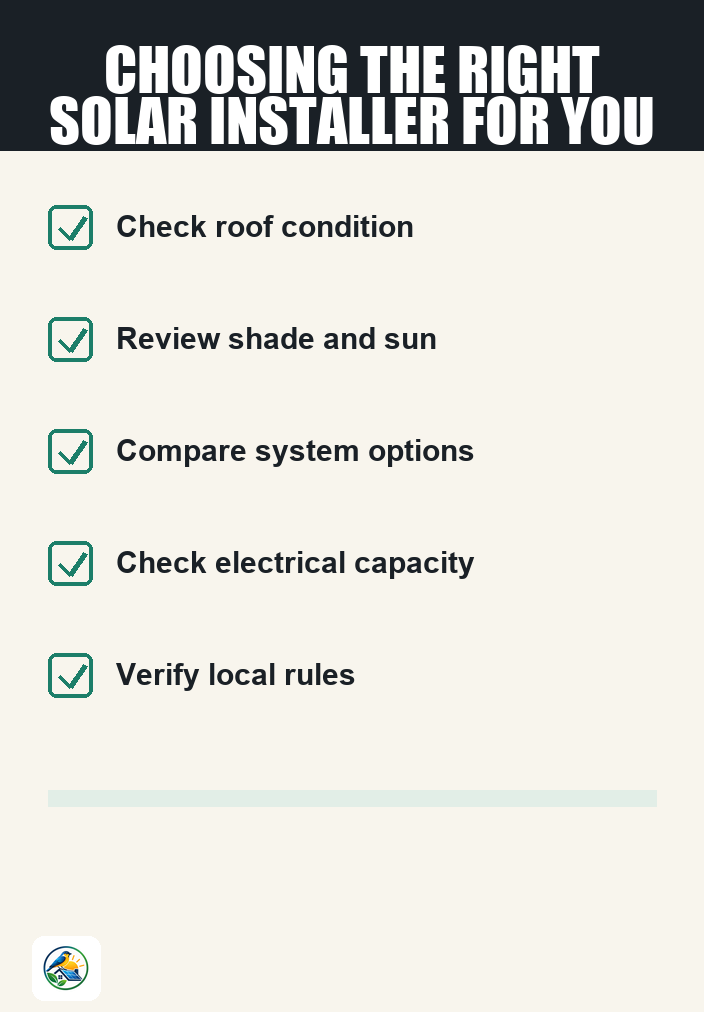
The process begins with an initial consultation, where a solar installer assesses your home. They will evaluate your roof’s condition, orientation, shading, and your overall energy needs. This phase typically lasts a few days, as it may involve a site visit and discussions about your goals and preferences.
2. Design and Proposal
After the assessment, the installer will create a custom design for your solar system and provide you with a detailed proposal. This includes system specifications, estimated production, and costs. Depending on the complexity, this phase can take one to two weeks.
3. Permitting and Approval
Once you approve the proposal, the installer will submit the necessary permits to local authorities. The permitting process can vary widely in duration, often taking anywhere from a few days to several weeks, depending on local regulations and the responsiveness of the permitting office.
4. Installation
When all approvals are secured, the installation can begin. The actual installation of solar panels typically takes one to three days, depending on the size of the system and the condition of your roof. If you are adding a battery backup system, this may extend the installation time.
5. Interconnection and Inspection
After installation, the system must be connected to your home’s electrical system and the grid. This step often requires an inspection by local authorities to ensure compliance with safety standards. The interconnection process can take several days to weeks, depending on your utility’s procedures.
6. System Activation
Once inspected and approved, your solar system can be activated. You’ll begin generating solar energy and potentially reducing your electricity bills. This phase involves finalizing any necessary paperwork with your utility company, which can also take some time.
Costs of Solar Installation
Understanding the costs associated with solar installation is crucial for making an informed decision. While it’s difficult to provide specific figures without knowing your circumstances, here are some general cost factors to consider:
- System Size: The size of the solar system is a significant factor in determining the overall cost. Larger systems will generally cost more but may provide more energy savings over time.
- Equipment Quality: The type and quality of solar panels, inverters, and batteries can affect costs. Higher-quality equipment may come with a higher upfront cost but could offer better performance and longevity.
- Installation Complexity: The condition of your roof, the presence of shading, and the need for electrical upgrades can impact installation costs. A roof in poor condition may require repairs before installation can proceed.
- Incentives and Financing: Various local, state, and federal incentives may apply, which can help offset the costs. However, you’ll need to verify the current details of these incentives.
Benefits of Solar Installation
While the initial costs can be significant, many homeowners find that the long-term benefits of solar energy can outweigh the upfront investment. Here are some potential benefits to consider:
- Reduced Energy Bills: Generating your own electricity can lower your monthly utility bills, allowing you to save money over time.
- Energy Independence: Solar energy can reduce your reliance on the grid, especially when paired with a home battery. This can be particularly beneficial during power outages or peak demand periods.
- Environmental Impact: Using renewable energy sources can reduce your carbon footprint and contribute to a more sustainable future.
- Increased Home Value: Homes with solar installations may have higher resale values, as many buyers are looking for energy-efficient features.
Considerations Before Committing to Solar
Before moving forward with installation, it’s vital to consider several key factors that may affect your decision:
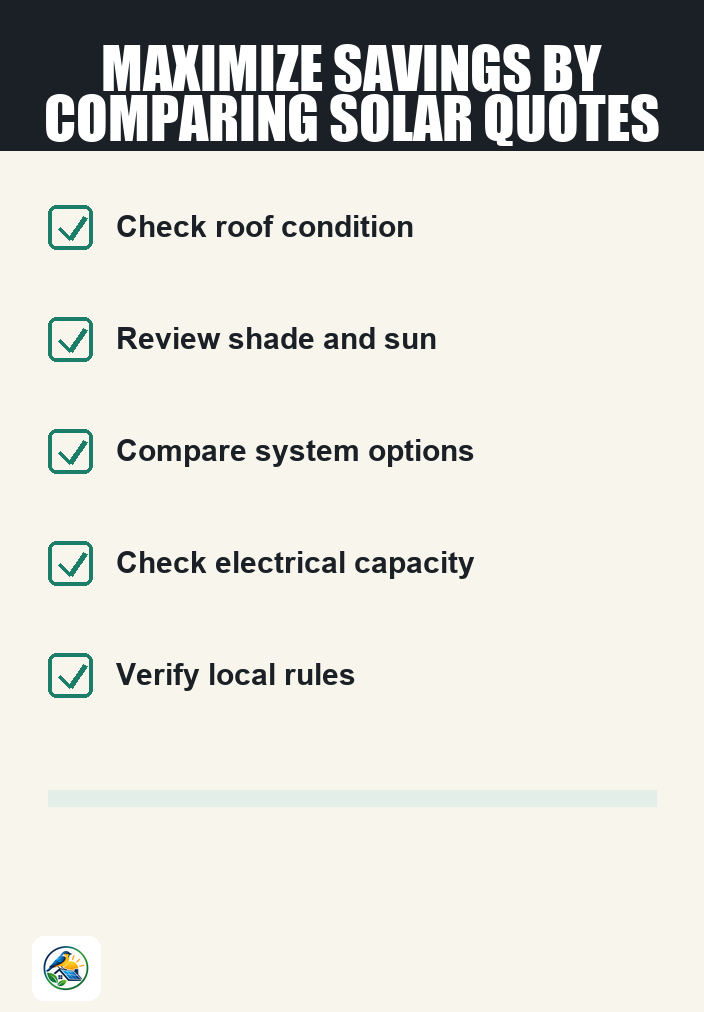
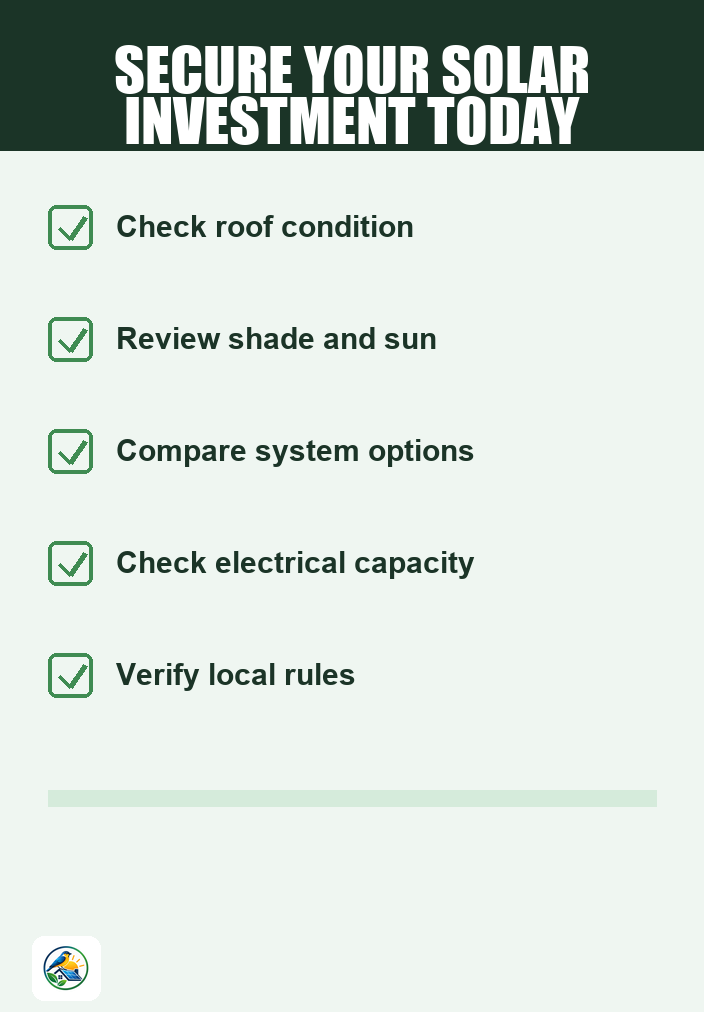
- Roof Condition: Ensure your roof is in good condition before installation. If repairs are needed, they should be addressed beforehand.
- Shading and Orientation: Trees, buildings, or other obstructions can limit the sun’s exposure to your panels. A site assessment can help identify these issues.
- Local Regulations: Each municipality may have different permitting and installation requirements. Be sure to research these thoroughly.
- Financing Options: Explore various financing options, including loans, leases, and power purchase agreements (PPAs), to determine which best fits your financial situation.
- Long-term Plans: Consider your future plans for your home. If you plan to move soon, the financial benefits of solar may not materialize during your ownership.
Next Steps for Homeowners
If you’re interested in pursuing solar installation, the next steps include:
- Research qualified solar installers in your area and request itemized quotes.
- Compare the quotes to understand the costs and benefits of each proposal.
- Verify current local incentives and utility policies that may apply to your installation.
- Consult with installers about any specific concerns related to your property.
By taking a careful, informed approach, you can better navigate the solar installation process and make a decision that aligns with your goals and circumstances.