Understanding Your Home Solar Installation Timeline
Installing a solar energy system for your home can be an exciting venture, offering the potential for energy independence and environmental benefits. However, navigating the timeline of this project requires careful planning and consideration of various milestones. In this article, we’ll outline essential milestones to consider, providing you with a practical roadmap to successfully install a residential rooftop solar system, optionally with a home battery.
Initial Research and Assessment
Before diving into the logistics of installation, take time to conduct thorough research. This will help you understand the different types of solar systems available, including grid-tied systems, battery backup solutions, and off-grid setups. Each option has its unique benefits and drawbacks.
Understanding System Types
- Grid-Tied Solar: This is the most common type of residential solar system, allowing you to connect to the local utility grid. It typically provides the best flexibility and access to net metering.
- Battery Backup: Adding a home battery allows you to store energy generated during the day for use at night or during outages. This option increases your resilience but comes with additional costs and maintenance considerations.
- Off-Grid Systems: These systems are designed to operate independently of the utility grid. They require larger battery storage and may necessitate additional considerations for energy management.
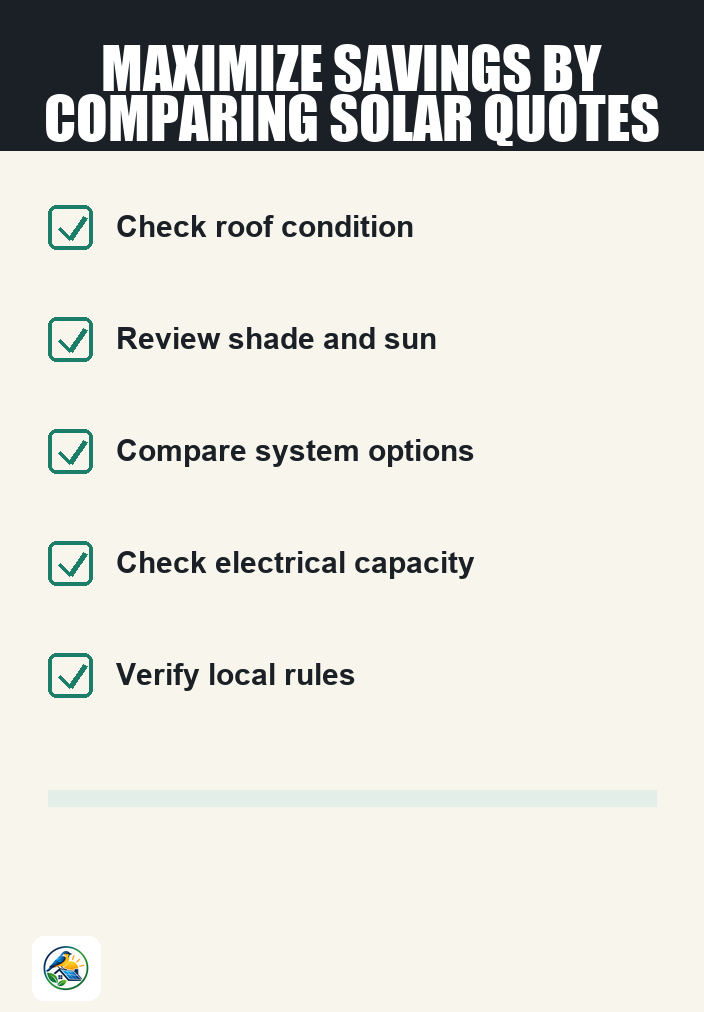
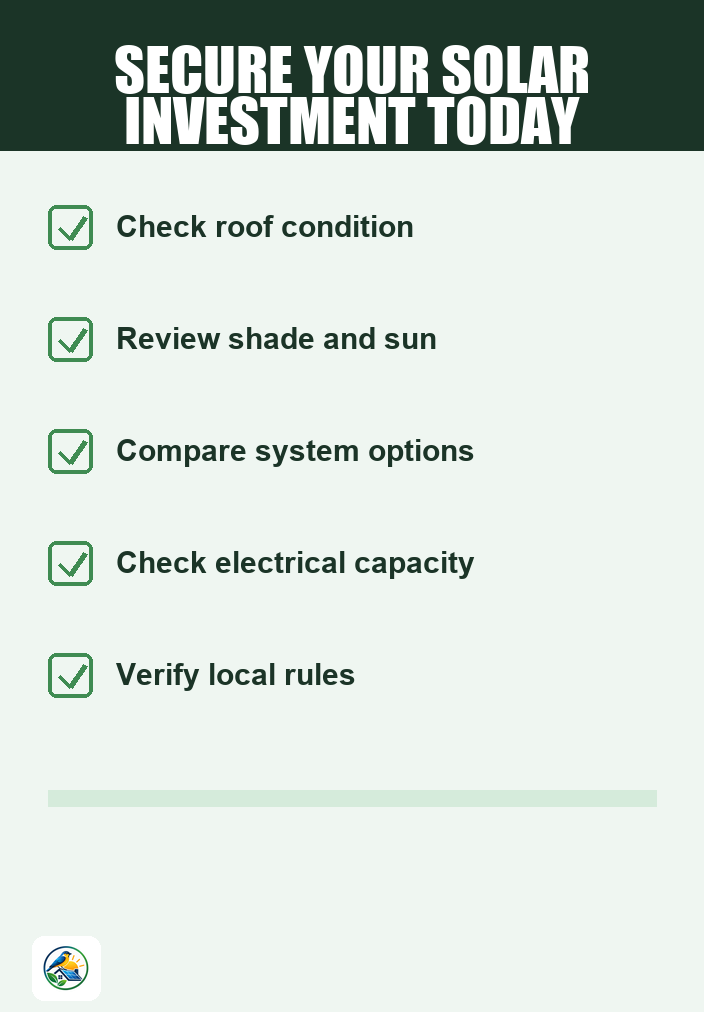
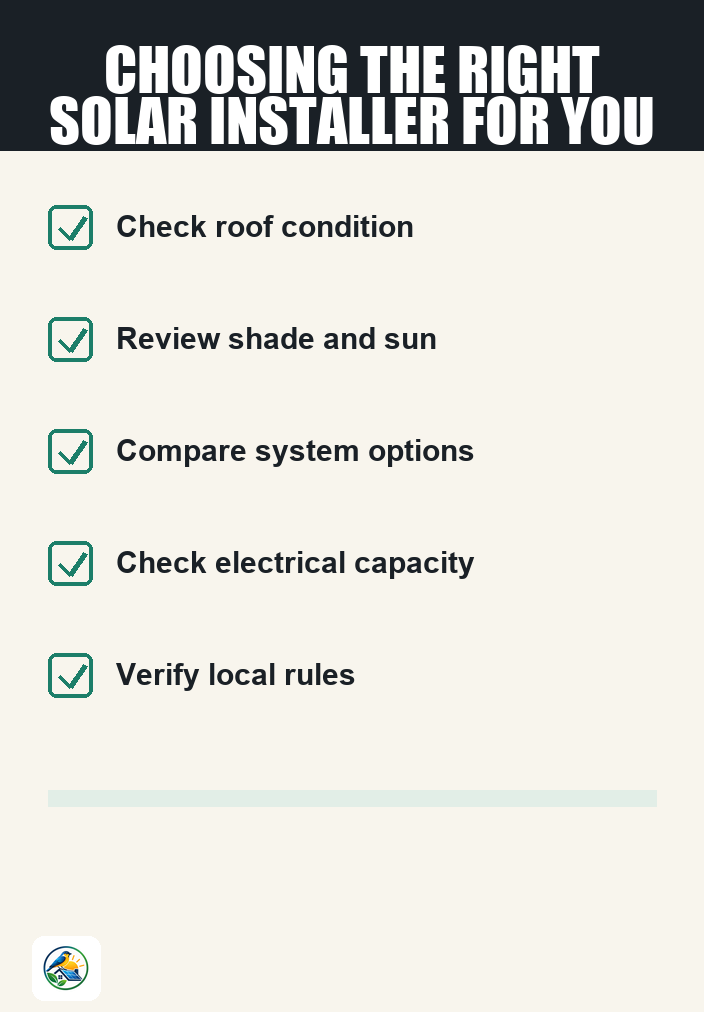
Evaluating your specific circumstances—such as your home’s orientation, roof condition, and available sunlight—is crucial at this stage. Understanding these elements can help you determine the feasibility of solar energy for your property.
Evaluating Financial Considerations
Once you’ve done your research, consider the financial aspects of solar installation. While solar can provide long-term savings, the initial costs can vary significantly based on location, the complexity of the installation, and equipment choices.
Comparing Quotes
Obtaining multiple quotes from qualified installers is essential. A detailed, itemized quote will give you insights into the cost of equipment, labor, permits, and any additional features, such as battery systems. It’s also wise to verify the qualifications and experience of the installers. Here are some factors to compare:
- Equipment quality and warranties
- Installation timelines
- Post-installation support and maintenance options
- Financing options, if applicable
Permit and Interconnection Process
After selecting an installer, the next major milestone is navigating the permitting and interconnection processes. This can vary widely based on local regulations and utility requirements.
Permitting
Most municipalities require permits for solar installations to ensure safety and compliance with local codes. Your installer should handle this process, but it’s important to understand that permitting timelines can vary. In some areas, this might take a few days, while in others, it could stretch into several weeks. Check with your installer about local requirements.
Interconnection Agreements
Interconnection refers to the process of connecting your solar system to the utility grid. Your utility company will typically require an interconnection agreement to ensure that your system meets their standards. This step may involve additional paperwork and inspections, which can also impact your overall timeline.
Installation Timeline and Process
Once permits and interconnection agreements are in place, the installation process can begin. Depending on the size and complexity of the system, installation can take anywhere from a few days to a couple of weeks.
Key Installation Steps
- Site Preparation: This includes assessing your roof and making any necessary repairs or reinforcements.
- Mounting System Installation: Installers will set up the framework that holds the solar panels.
- Panel Installation: The solar panels are securely mounted onto the framework.
- Electrical Connections: This step involves connecting the panels to your home’s electrical system and, if applicable, to the battery system.
- System Testing: After installation, the system will be tested to ensure everything is functioning correctly.
Post-Installation Steps
After installation, there are a few more milestones to keep in mind:
Inspection and Approval
Most areas require a final inspection by local authorities or your utility. This is to confirm that the installation complies with local codes and regulations. Be prepared for a potential wait time during this stage, as inspectors may have a backlog.
Activation and Monitoring
Once approved, your solar system can be activated. Many systems come with monitoring capabilities, allowing you to track energy production and consumption. Familiarize yourself with these tools to maximize the benefits of your system.
Long-Term Considerations
While the initial installation process is complete, it’s important to remember that your solar system will require ongoing maintenance and monitoring. Here are a few long-term considerations:
- Regular cleaning of solar panels to maintain efficiency, especially in areas with heavy dust or pollen.
- Monitoring system performance to identify any issues early.
- Annual inspections to ensure everything is functioning optimally.
Next Steps
As you contemplate your solar installation timeline, remember that each home is unique, and the requirements will vary based on your specific circumstances. Start by evaluating your property and engaging with qualified solar installers to gather multiple quotes. Ensure they provide detailed breakdowns of costs, timelines, and services offered.
By taking these steps, you will be well-prepared to make informed decisions throughout your solar journey.