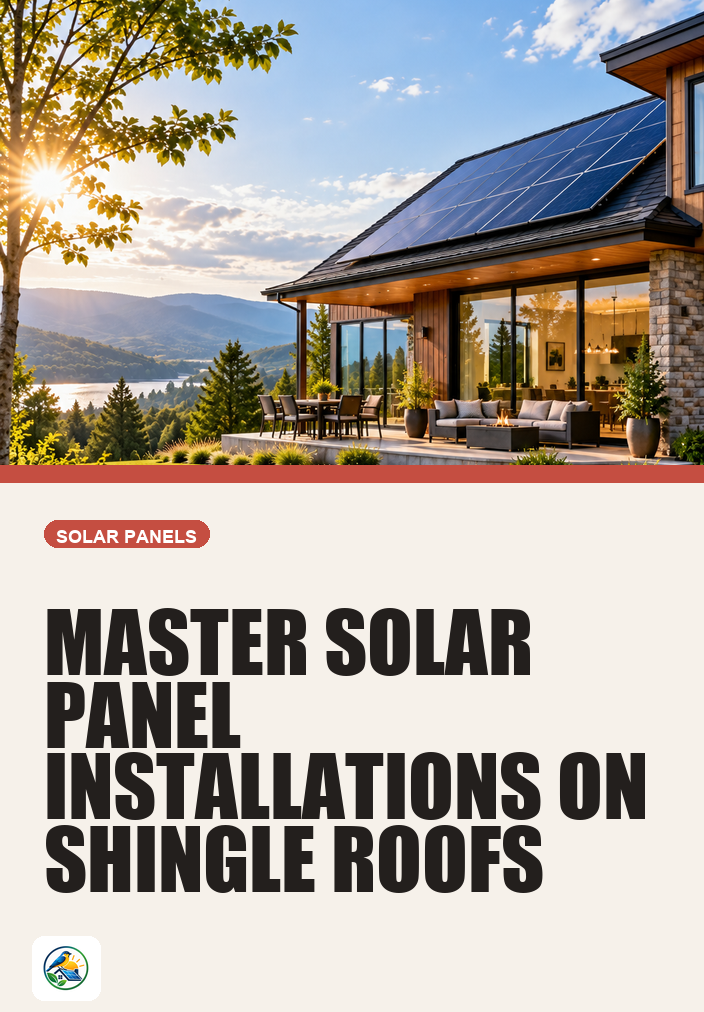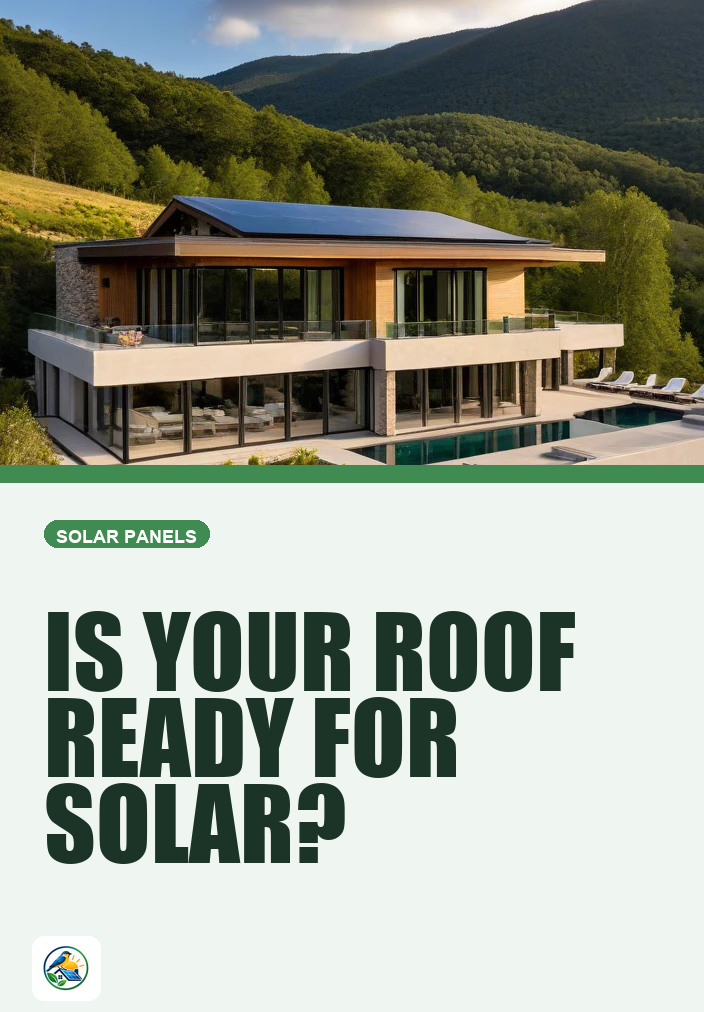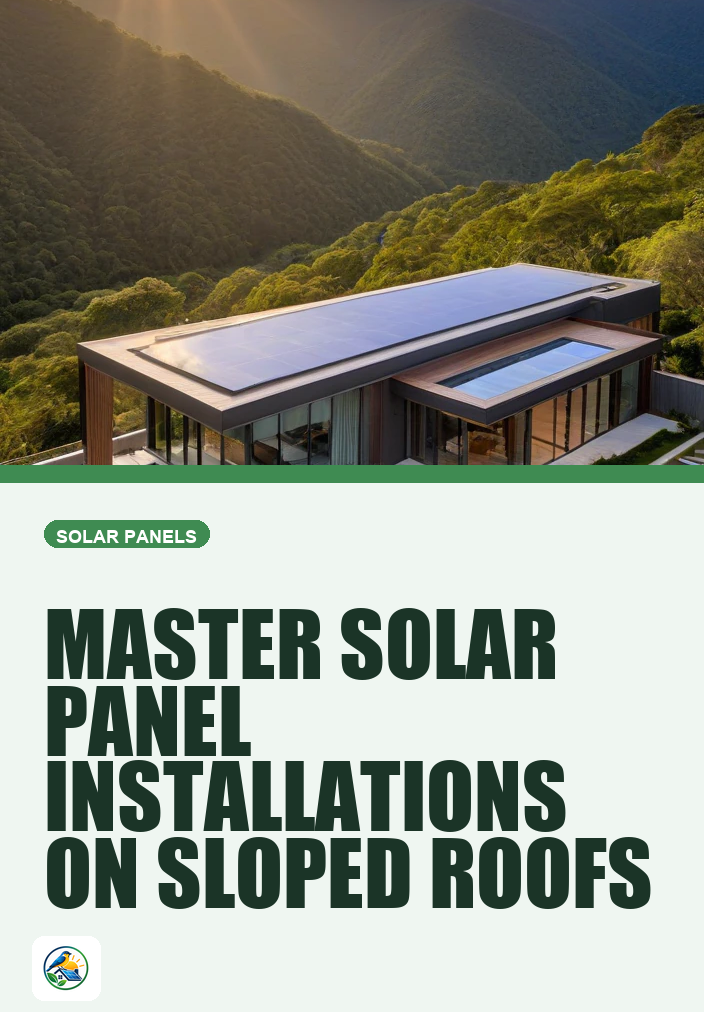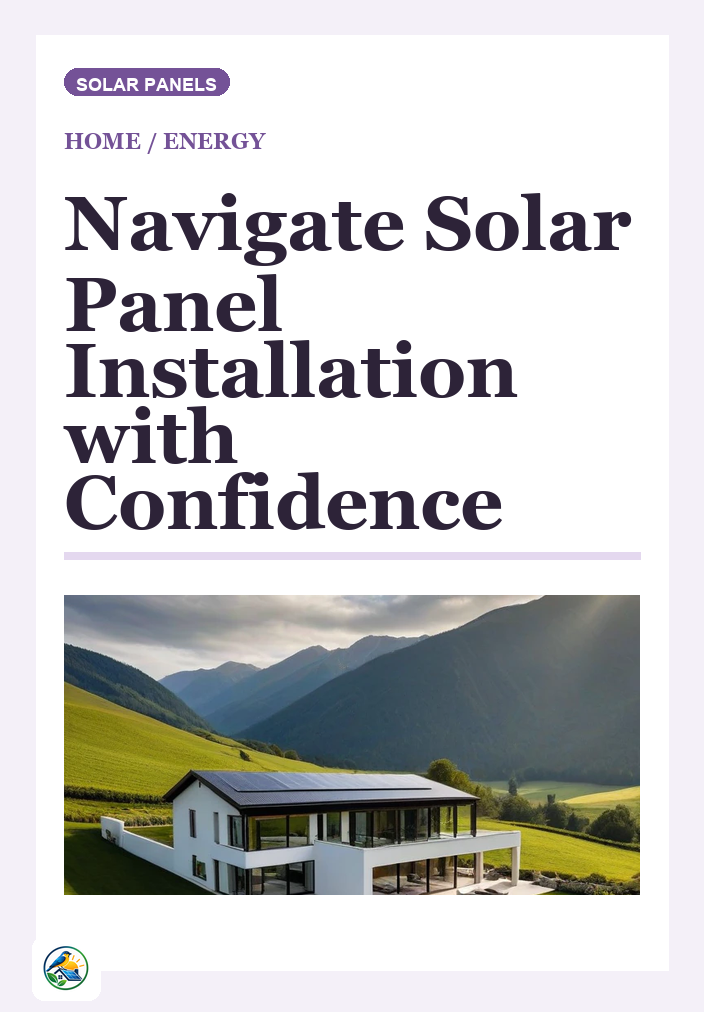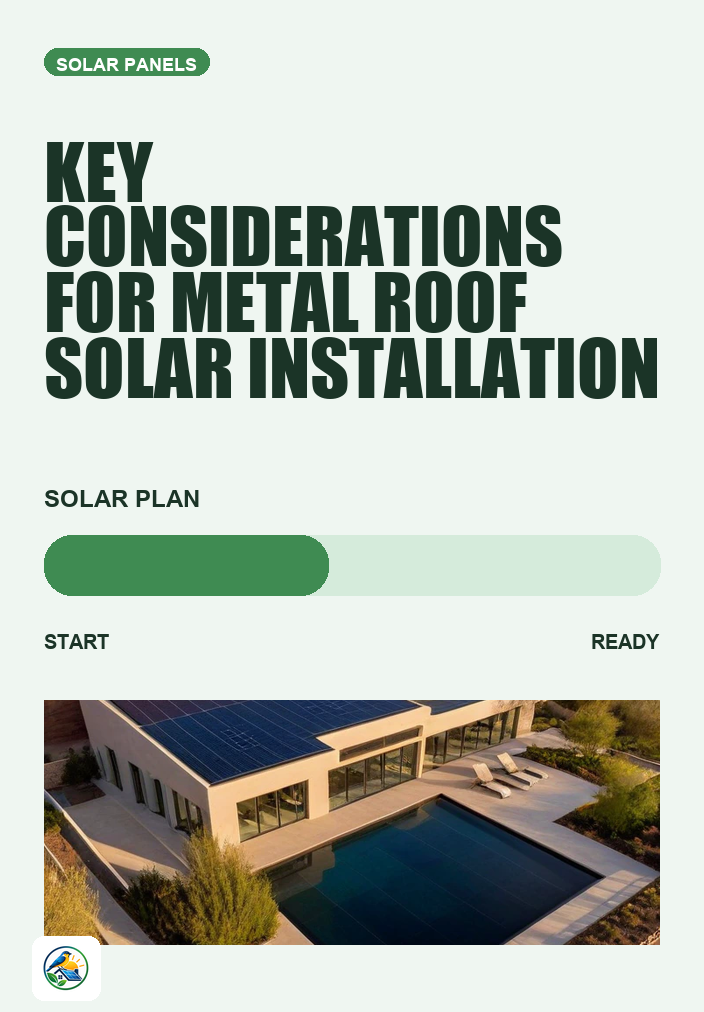
Understanding the Basics of Solar Panel Installation on Metal Roofs
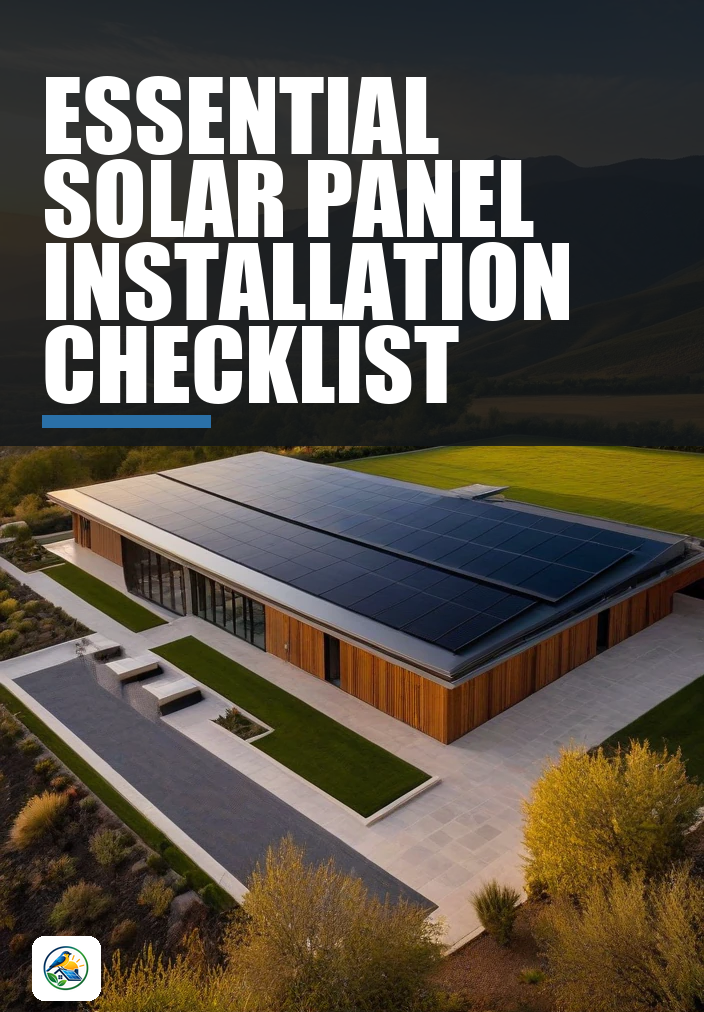
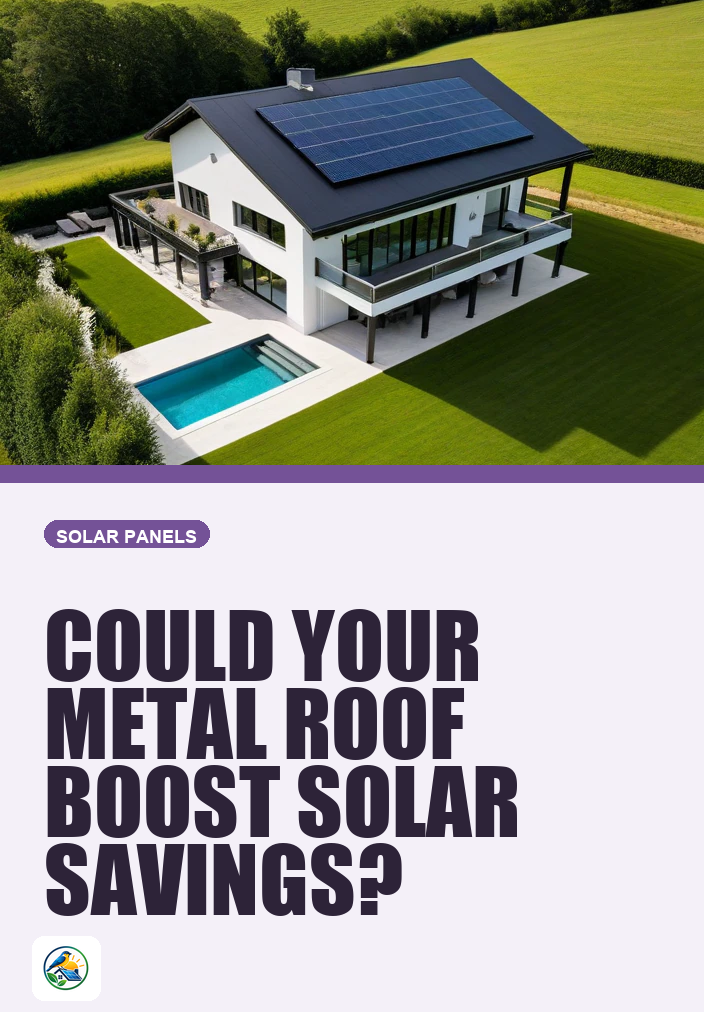
Installing solar panels on a metal roof can be a great way to harness renewable energy while potentially reducing your electricity costs. However, this process requires careful planning and consideration. This checklist will guide U.S. homeowners through essential steps to ensure a successful solar panel installation on a metal roof.
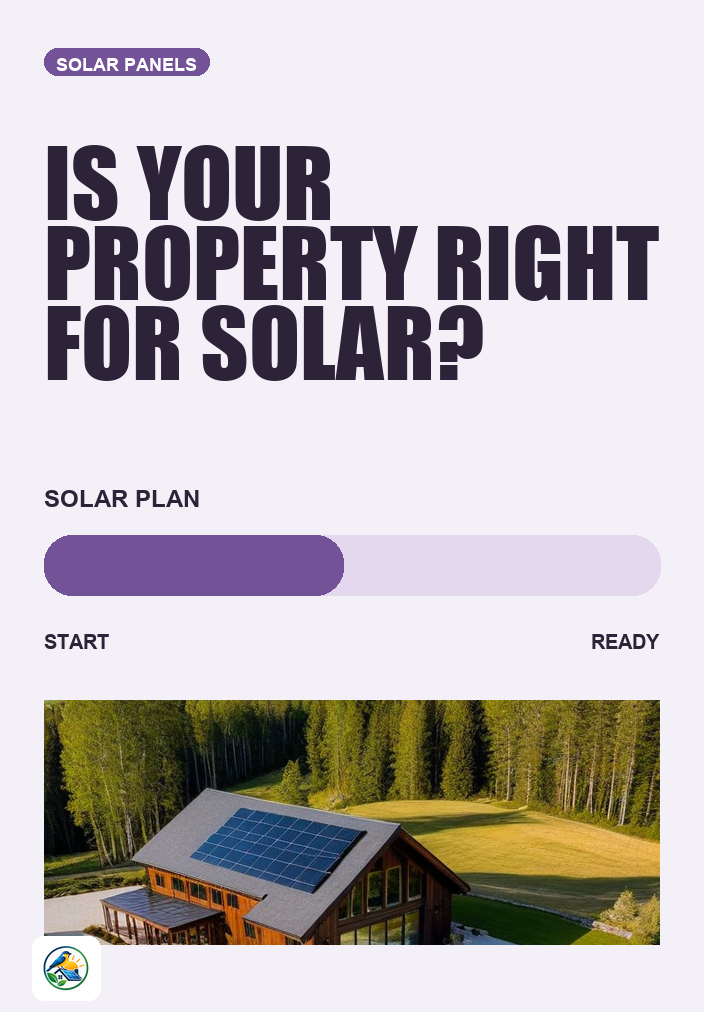
Assessing Your Home’s Suitability for Solar Panels
Before diving into the installation process, it’s crucial to evaluate whether your home is suitable for solar panels. Here are some key factors to consider:
- Roof Condition: Ensure your metal roof is in good condition. If it requires repairs, consider addressing those before installation, as roof work after the solar panels are installed can be costly.
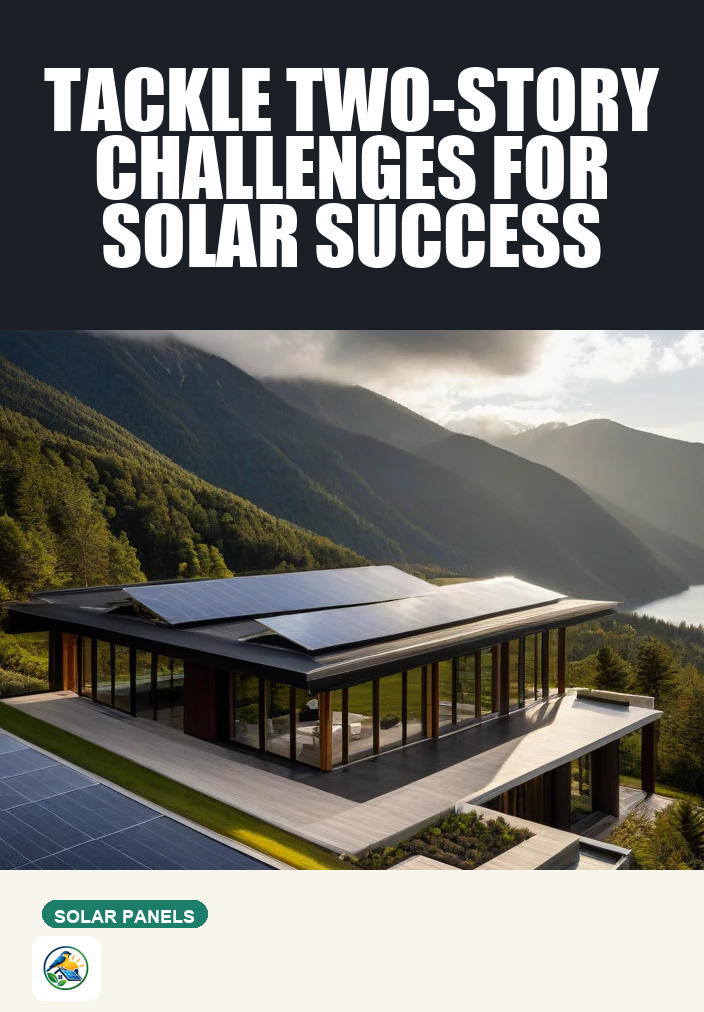
- Roof Orientation and Angle: South-facing roofs generally capture more sunlight. The angle of your roof can also impact energy production, with a pitch between 15 and 40 degrees being ideal.
- Shade Analysis: Check for any obstructions that could cast shadows on your roof during peak sunlight hours, such as trees or nearby buildings.
Understanding Types of Metal Roofs and Their Compatibility
Metal roofs come in various styles, including standing seam, corrugated, and metal shingles. Each type has different compatibility with solar panel installation:
- Standing Seam Metal Roofs: These are often the best option for solar panel installation as they allow for mounting without penetrating the roof, reducing the risk of leaks.
- Corrugated Metal Roofs: These roofs can also support solar panels but may require specialized mounting hardware to ensure secure installation.
- Metal Shingles: While these can accommodate solar panels, it’s essential to ensure that the installation method does not compromise the integrity of the shingles.
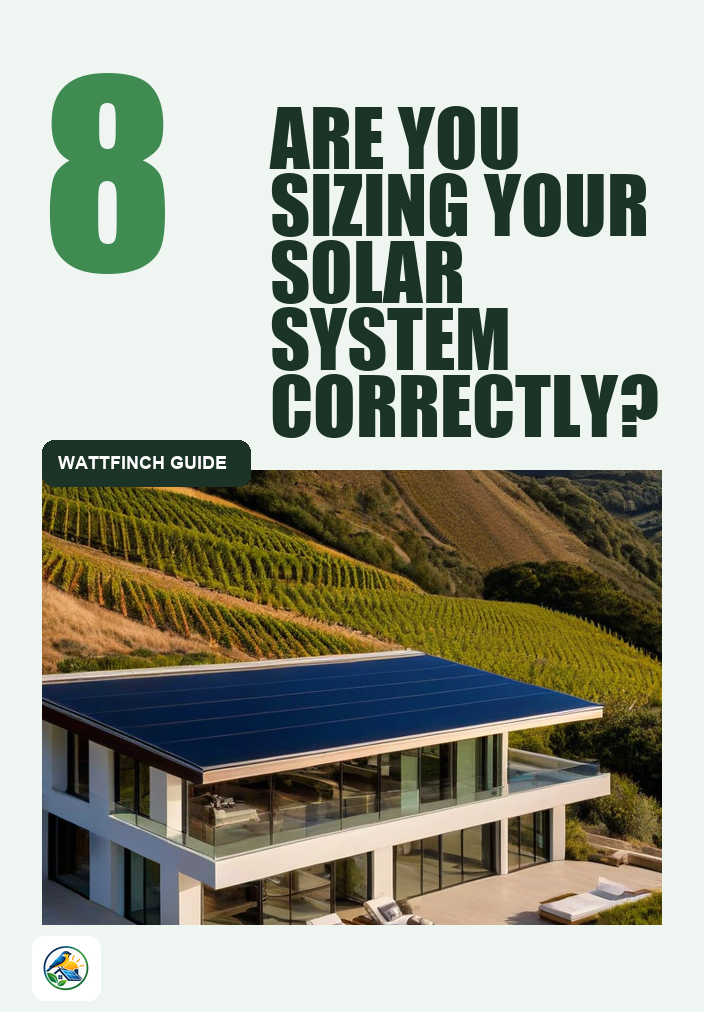
Calculating Your Energy Needs
Before obtaining quotes, calculate your household’s energy needs. This will help you determine the size of the solar system required:
- Review Your Utility Bills: Look at your electricity usage over the past year. This information typically appears in kilowatt-hours (kWh).
- Estimate System Size: A general rule of thumb is that 1 kW of solar panels can produce about 1,200 to 1,500 kWh of electricity annually, depending on location and conditions.
- Consider Future Needs: If you plan to purchase an electric vehicle or make other significant energy changes, account for those in your calculations.
Researching and Comparing Solar Installers
Once you have assessed your roof and energy needs, the next step is to find qualified solar installers. Here’s how to approach this:
- Check Credentials: Look for licensed, insured, and certified installers with experience in metal roof installations.
- Read Reviews: Consumer reviews and testimonials can provide insights into the quality and reliability of an installer’s work.
- Request Multiple Quotes: Obtain itemized quotes from several installers. This will help you compare price, equipment, and installation practices.
Understanding Financing Options and Incentives
Financing your solar panel installation can significantly impact your decision. Consider the following options:
- Cash Purchase: This option avoids interest charges and allows you to own the system outright.
- Loans: Many lenders offer solar loans with flexible terms. Be sure to understand interest rates and repayment timelines.
- Leases and Power Purchase Agreements (PPAs): These options can minimize upfront costs but may have implications for ownership and long-term savings.
Additionally, familiarize yourself with available incentives. Federal, state, and local incentives can change frequently. Verify current offerings to understand what may apply to your situation.
Navigating Permitting and Interconnection
Before installation begins, you will need to navigate local permitting and interconnection processes:
- Permitting: Most municipalities require permits for solar installations. Your installer should assist you with this process.
- Interconnection Agreement: If you plan to connect to the grid, you will need an interconnection agreement with your utility company. This document outlines the terms for connecting your solar system to the grid.
Considering Battery Storage Options
If you are interested in adding a home battery to your solar system, keep these points in mind:
- Benefits: Batteries can store excess energy generated during the day for use at night or during power outages.
- Sizing: Determine the size of the battery based on your energy needs and how much backup power you desire.
- Cost: Battery systems can increase the overall cost of your solar setup, so weigh the benefits against the expense.
Maintenance and Longevity Considerations
Solar panel systems require minimal maintenance, but there are a few considerations:
- Cleaning: Depending on your environment, panels may need occasional cleaning to remove dirt and debris. This is usually manageable for homeowners with access to the roof.
- Inspections: Regular inspections can help identify potential issues, especially after severe weather.
Next Steps Toward Installation
Installing solar panels on a metal roof involves several steps and considerations. Start by assessing your home’s suitability, calculating your energy needs, and researching qualified solar installers. Once you have gathered quotes, review financing options and understand local permitting requirements. Remember to verify any incentives that may apply to your situation.
Finally, comparing itemized quotes from various qualified installers will help you make an informed decision tailored to your needs and preferences. By following this essential planning checklist, you’ll be well on your way to successfully installing solar panels on your metal roof.