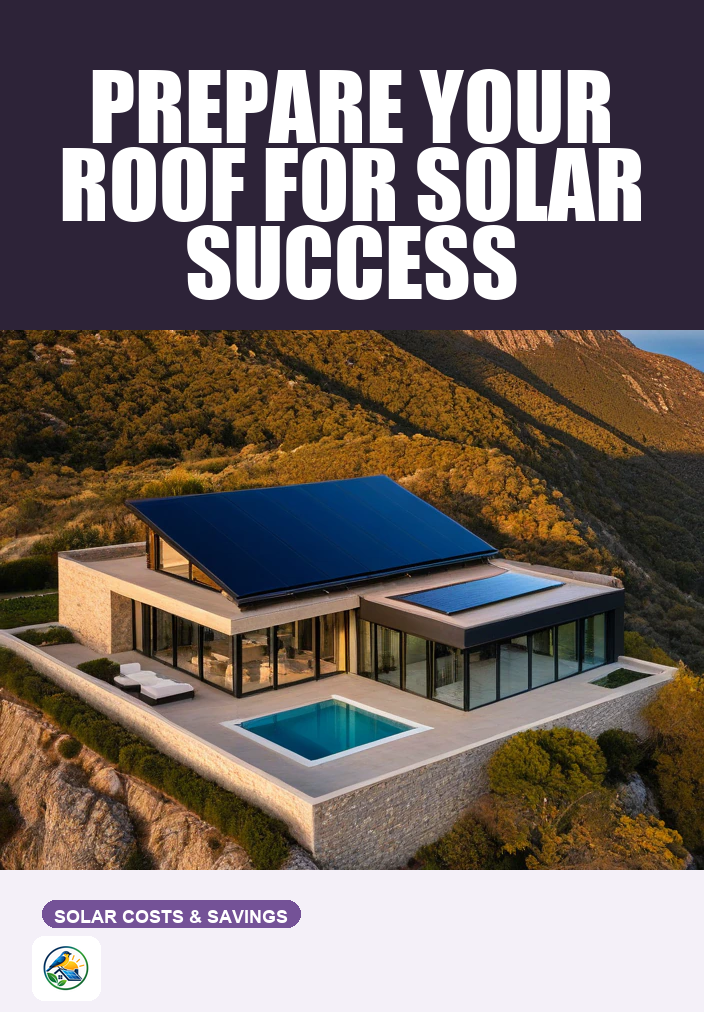
Assessing Your Roof’s Condition Before Solar Installation
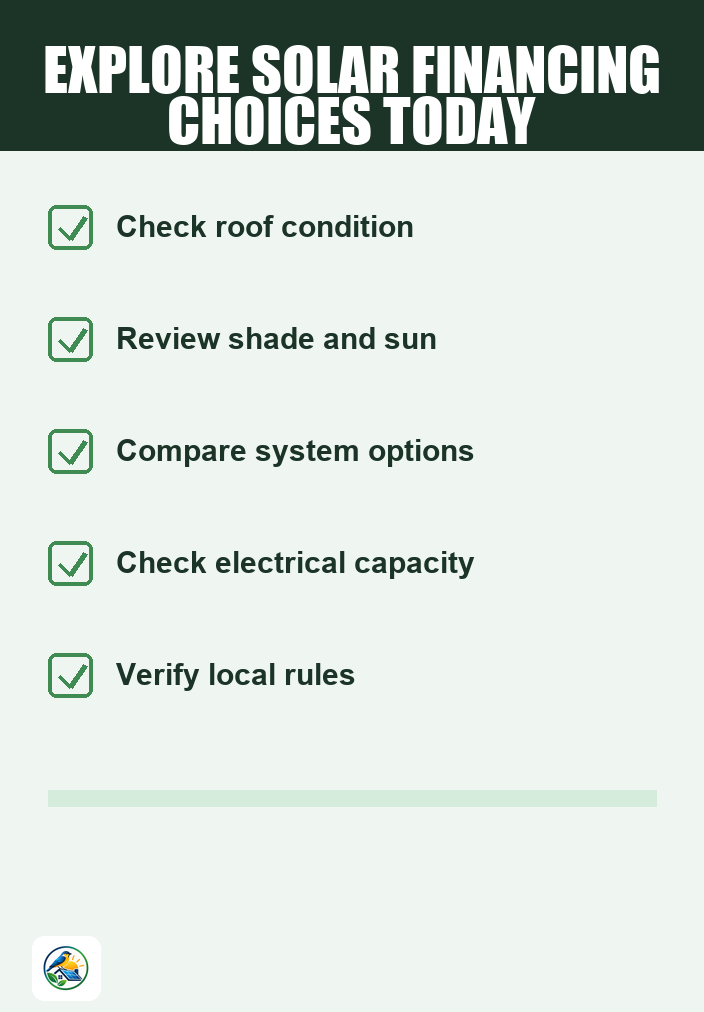
Before diving into the solar installation process, it’s crucial to assess the condition of your roof, particularly if it’s older. An aging roof can present several challenges, and addressing them upfront can save you from costly repairs or complications later. Start by checking for the following:
- Age and Material: Determine the age of your roof and the materials used. Asphalt shingles typically last 15-30 years, while metal roofs can last longer. If your roof is nearing the end of its lifespan, consider replacing it before installing solar panels.
- Visible Damage: Look for any damaged shingles, leaks, or sagging areas. These issues can compromise both your roof and the solar installation.
- Structural Integrity: Ensure that your roof structure can support the weight of solar panels. A professional inspection can provide insights into any necessary reinforcements.
Understanding Your Roof’s Orientation and Pitch
The orientation and pitch of your roof significantly influence solar panel performance. Generally, south-facing roofs in the northern hemisphere receive the most sunlight. However, east and west-facing roofs can also be effective, albeit with slightly lower efficiency. Assess the following:
- Orientation: Determine the direction your roof faces. If your roof is primarily north-facing, you may want to consider additional options, like ground-mounted panels or a solar tracker.
- Pitch: The angle of your roof affects sun exposure. Steeper roofs can sometimes be more challenging for installation but may also allow for better drainage. Consult with your installer to see how your roof’s pitch impacts the solar panel layout.
Evaluating Potential Shade Sources
Shade can significantly reduce the efficiency of solar panels. Before installation, evaluate potential sources of shade on and around your roof:
- Trees: Look for overhanging branches or nearby trees that could cast shadows on your roof throughout the day.
- Buildings: Consider the proximity of other structures that may block sunlight during certain times of the day.
- Chimneys and Vents: Ensure that any roof features do not obstruct sunlight on your solar panels.
For homes with significant shading issues, consider alternative solar solutions, such as ground-mounted panels or solar canopies, which allow for more flexibility in placement.
Deciding Between Grid-Tied and Off-Grid Systems
Your roof’s condition and your energy needs will influence whether a grid-tied system or an off-grid system is more suitable for you.
- Grid-Tied Systems: These systems connect to the local utility grid, allowing you to draw power when needed and sell back excess energy. They typically require less upfront investment and are easier to install, making them a popular choice for homeowners.
- Off-Grid Systems: If you live in a remote area or prefer complete independence from the grid, an off-grid system may be right for you. These systems often require batteries for energy storage, adding to installation costs and complexity.
Evaluate your energy consumption, budget, and long-term goals when deciding which system to pursue.
Considering Electrical Upgrades
Older homes may require electrical system upgrades to accommodate a solar installation. Be prepared to assess:
- Electrical Panel: Older electrical panels may not be equipped to handle the additional load from solar energy. An upgrade may be required, which can add to your overall costs.
- Wiring: Ensure that existing wiring meets current codes and is in good condition. Upgrading old wiring can help improve efficiency and safety.
Understanding Permitting and Local Regulations
Before installing solar panels, familiarize yourself with local permitting requirements and regulations, which can vary significantly by location. This may include:
- Building Permits: Most areas require permits for solar installations, which can involve inspections and approvals.
- Homeowners Association (HOA) Guidelines: If you live in an area governed by an HOA, check their rules regarding solar installations, as they may have specific guidelines or restrictions.
Consulting with your installer can help navigate these requirements, ensuring a smoother installation process.
Exploring Financing Options
Investing in solar can be a significant financial decision. Consider your financing options:
- Outright Purchase: Paying for the system upfront can provide long-term savings, but it requires substantial initial capital.
- Loans: Many homeowners opt for solar loans to spread the cost over time. Research different lenders and loan terms to find the best fit for your budget.
- Leases and Power Purchase Agreements (PPAs): These options allow you to install solar with little to no upfront cost, but they typically involve monthly payments and may limit your long-term savings.
Evaluate the pros and cons of each option in the context of your financial situation and long-term goals.
Next Steps: Comparing Quotes from Qualified Installers
Once you’ve assessed your roof and considered the various factors involved, the next step is to seek quotes from qualified solar installers. When comparing quotes, look for:
- Itemized Costs: Ensure that each quote breaks down costs for equipment, installation, permits, and any necessary upgrades.
- Warranties and Maintenance: Inquire about warranties on both the panels and installation, as well as any ongoing maintenance services offered.
- Experience and Reviews: Research the installer’s reputation through reviews and testimonials from previous clients.
Taking the time to evaluate installers and their offerings can help you make an informed decision that aligns with your goals and protects your investment in solar energy.