Understanding the Basics of Solar Installation in Texas
Preparing your home for solar installation is an important step for any Texas homeowner considering a rooftop solar system. While the benefits of solar energy can be appealing, the process requires thoughtful planning and attention to detail. This article aims to guide you through the essential preparations needed to ensure a smooth solar installation process.
Assess Your Home’s Solar Potential
Before diving into the specifics of installation, it’s crucial to assess whether your home is suitable for solar energy. Here are key factors to consider:
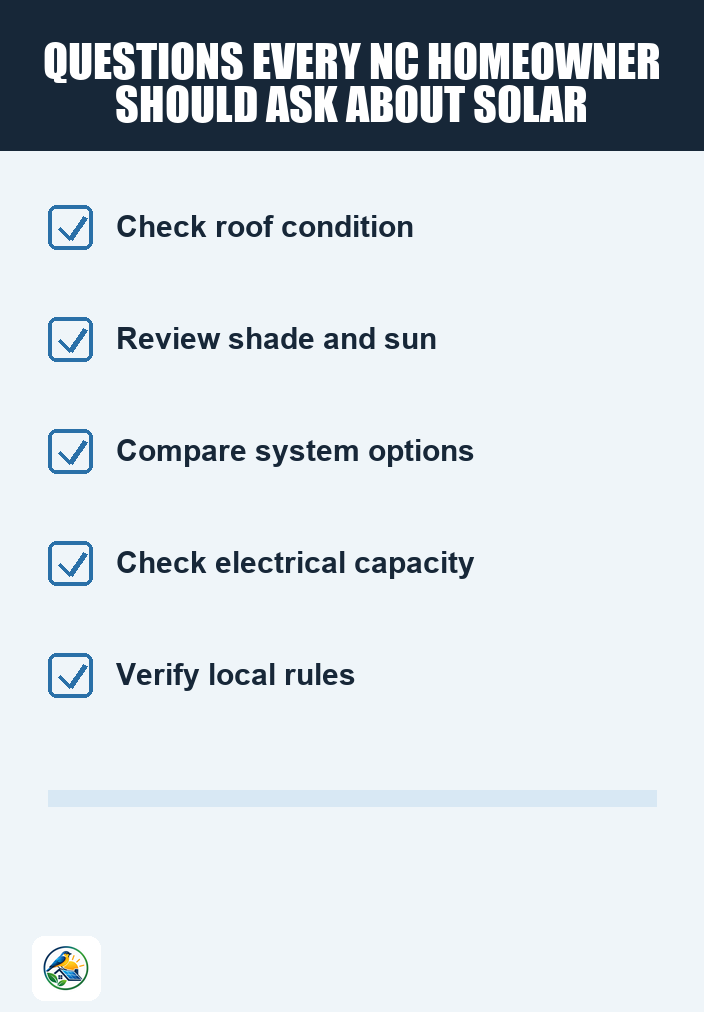
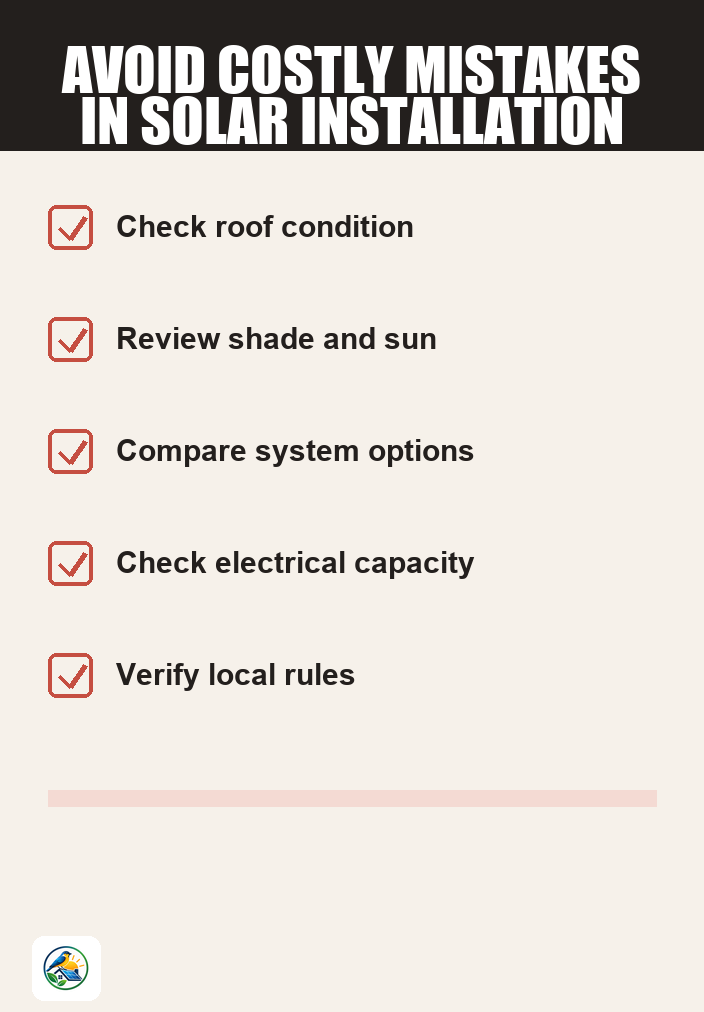
- Roof Condition: Your roof should be in good condition before installing solar panels. If your roof needs repairs or replacement, address these issues first to avoid complications later.
- Orientation and Tilt: South-facing roofs typically receive the most sunlight. However, east and west-facing roofs can also be effective. The tilt of your roof can impact efficiency, with a slope between 15-40 degrees being ideal.
- Shade Analysis: Check for any trees, buildings, or other structures that may cast shadows on your roof. Even partial shading can significantly reduce solar panel efficiency.
Review Your Energy Needs
Understanding your household energy consumption is vital. This knowledge will help you determine the size and capacity of the solar system you need. Here’s how to get started:
- Gather Utility Bills: Collect your utility bills for the past year to identify your average monthly energy usage in kilowatt-hours (kWh).
- Evaluate Peak Usage: Identify peak usage times and seasons. This can help in determining how much energy you need your solar system to generate.
- Consider Future Changes: If you plan to add new appliances, install an electric vehicle charger, or make other changes that could increase your energy consumption, factor those into your calculations.
Understand Your Options: Grid-Tied vs. Battery Backup
There are different types of solar systems available, each with its own advantages and disadvantages. Most homeowners in Texas opt for grid-tied systems, but it’s important to understand your options:
- Grid-Tied Systems: These systems are connected to the utility grid, allowing you to draw power when your solar system isn’t generating enough energy. They typically do not require batteries, making them a more economical choice.
- Battery Backup Systems: If you want the ability to store energy for use during outages or at night, consider a battery backup system. This option adds complexity and cost but can provide peace of mind during severe weather or grid failures.
- Off-Grid Systems: These systems are completely independent from the utility grid and require a larger battery storage capacity. They are best suited for remote locations but may not be practical for most urban Texas homes.
Permitting and Regulations
Before installation, familiarize yourself with local permitting requirements and regulations. Here are some steps to take:
- Check Local Regulations: Contact your local municipal office or check their website for regulations regarding solar installations. Some areas may have restrictions on system size, aesthetics, or installation methods.
- Obtain Necessary Permits: Most installations will require permits. Ensure your installer handles this, but be proactive in understanding what is needed.
- Utility Interconnection: If you’re planning a grid-tied system, you’ll need to apply for interconnection with your utility company. This process can vary, so check with your utility provider for specific requirements.
Choosing the Right Installer
Selecting a qualified solar installer is crucial to the success of your project. Here are some tips for finding the right professional:
- Research Qualifications: Look for installers with appropriate licenses and certifications. They should have experience specifically with residential solar installations in Texas.
- Read Reviews: Check online reviews and testimonials. This can give you insight into the company’s reputation and the experiences of previous customers.
- Get Multiple Quotes: It’s wise to obtain quotes from at least three different installers. Compare itemized estimates to understand the costs associated with equipment, labor, and warranties.
Preparing Your Home for Installation
Once you’ve chosen an installer, there are practical steps you can take to prepare your home:
- Clear the Area: Ensure that the area around your home is clear of debris, plants, or furniture that could obstruct the installation process.
- Access to Roof: If your installer needs access to your roof, ensure they can do so safely. This may involve trimming nearby trees or clearing pathways.
- Electrical Upgrades: If your electrical panel is outdated, you may need to upgrade it to handle the new solar system. Consult your installer for recommendations.
Consider Ongoing Maintenance
While solar systems are low-maintenance, periodic checks and cleaning can enhance their performance. Here are some maintenance tips:
- Regular Inspections: Schedule annual inspections to ensure all components are functioning correctly.
- Cleaning Panels: Clean panels as needed, especially in dusty areas. A gentle wash with water can help maintain efficiency.
- Monitor Performance: Use monitoring systems to track energy production and identify any issues early.
Next Steps: Moving Toward Solar
Preparing your home for solar installation involves a combination of assessing your property, understanding your energy needs, and selecting qualified professionals. As you move forward, gather multiple quotes from installers, ensuring they provide detailed estimates that include all costs associated with the project.
Remember, the solar landscape is constantly evolving, particularly regarding local incentives and regulations. Stay informed and verify current details before making any decisions.