Understanding the Need for Preparation
Installing solar panels on your Virginia home is an exciting step towards sustainability and energy independence. However, before you sign a contract, it’s crucial to prepare your property adequately. This ensures a smoother installation process and maximizes the system’s efficiency. Below is a step-by-step checklist to help homeowners navigate the preparatory phase of solar panel installation.
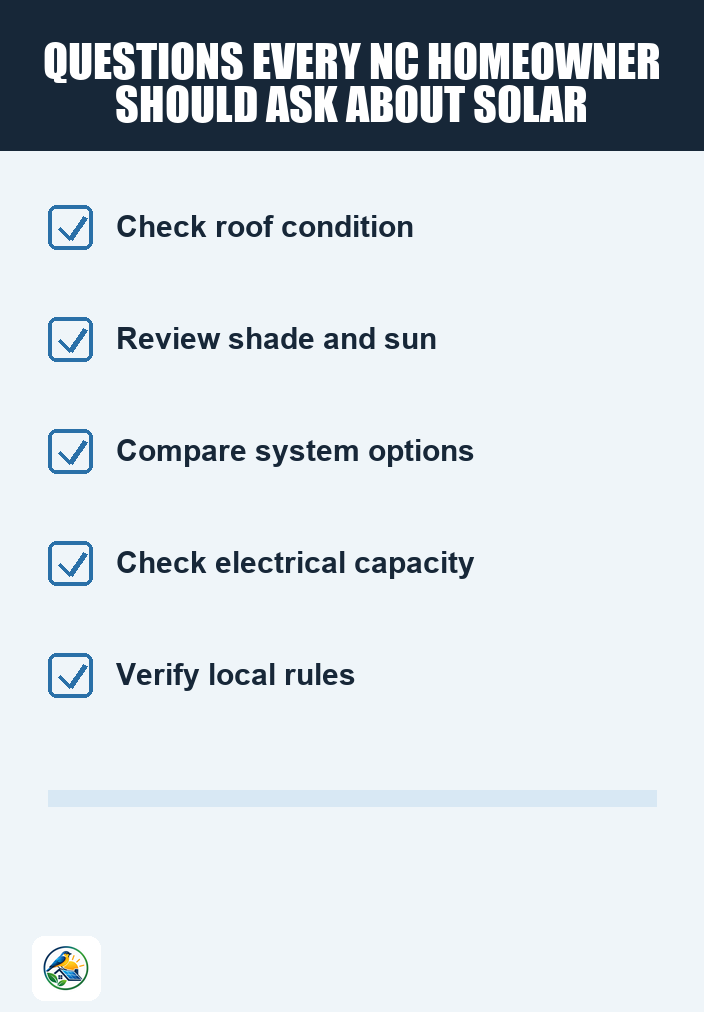
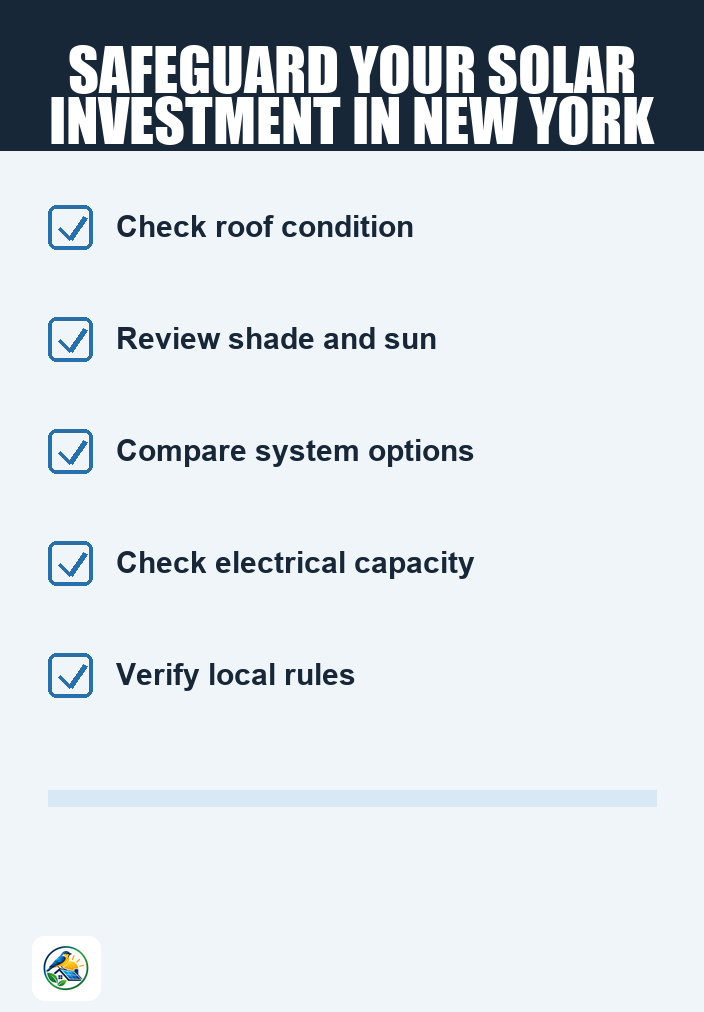
Step 1: Assess Your Roof Condition
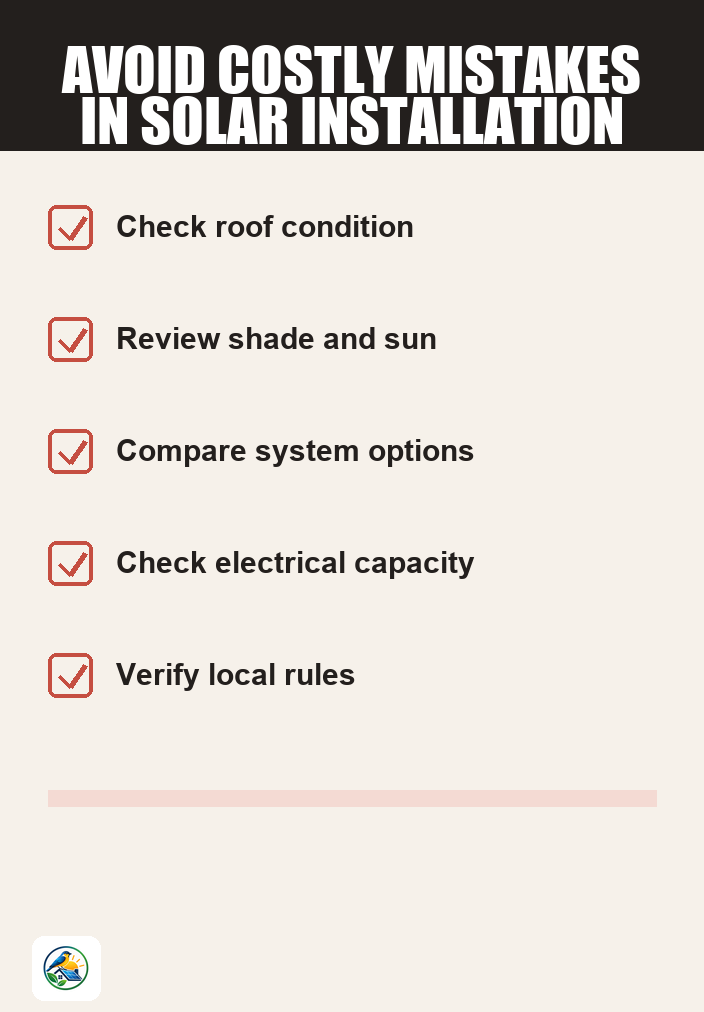
Your roof’s condition is one of the most critical factors to consider before solar panel installation. A roof that needs repairs or replacement may not be suitable for solar. Here’s what to check:
- Age of the Roof: If your roof is nearing the end of its lifespan (usually 20-30 years), consider replacing it before installation.
- Roof Type: Different materials (asphalt shingles, metal, tile) have varying durability and installation requirements. Ensure your roof can support solar panels.
- Structural Integrity: Look for signs of damage like sagging, leaks, or missing shingles. If in doubt, consult a roofing professional.
Step 2: Evaluate Sun Exposure
Sunlight exposure directly affects the efficiency of your solar system. Evaluate your property for the following:
- Shade Analysis: Check for trees, buildings, or other structures that cast shadows on your roof. Consider trimming or removing trees if necessary.
- Orientation: South-facing roofs generally receive more sunlight. If your roof faces east or west, it may still work with a well-designed system but may require different panel arrangements.
- Roof Pitch: A roof with a steep pitch can sometimes capture more sunlight but may complicate installation. Discuss your roof’s pitch with potential installers.
Step 3: Review Your Energy Needs
Understanding your current energy consumption can help you size your solar system appropriately. Follow these steps:
- Review Utility Bills: Look at your electricity bills from the past year to determine your average monthly usage in kilowatt-hours (kWh).
- Identify Peak Usage: Consider when you use the most electricity. This can affect the design of your solar system, especially if you plan to include battery storage.
- Consider Future Needs: If you plan to add electric vehicles or expand your home, factor in these future energy requirements.
Step 4: Research Local Regulations and Incentives
Before you proceed, familiarize yourself with local regulations and potential incentives:
- Permitting Requirements: Check with your local government to understand the permitting process for solar installations. This can vary significantly by locality.
- Incentives and Rebates: Research available incentives, including state tax credits or utility rebates. Verify this information, as it can change frequently.
- Net Metering Policies: Understand how your utility company handles net metering, which allows you to receive credits for excess energy you generate.
Step 5: Choose the Right System Type
Decide what type of solar system is best for your needs:
- Grid-Tied Systems: These systems connect to the grid and are the most common. They do not provide backup power during outages without battery storage.
- Battery Backup: If you want energy security during outages, consider a battery backup system. This option may require additional upfront costs.
- Off-Grid Systems: If you live in a remote area, an off-grid system might be necessary, though it typically requires more extensive setup and larger battery storage.
Step 6: Find Qualified Installers
Choosing the right installer is crucial for a successful solar project. Here’s how to find qualified professionals:
- Check Credentials: Look for licensed and insured installers with experience in your area. Check for certifications from organizations such as the North American Board of Certified Energy Practitioners (NABCEP).
- Gather Multiple Quotes: Obtain at least three itemized quotes from different installers. This will give you a clearer picture of the costs and options available.
- Read Reviews: Look for customer reviews and testimonials. Websites like Google, Yelp, or local forums can provide insights into the installer’s reputation.
Step 7: Prepare Your Home for Installation
Before installation day, take some time to prepare your home:
- Clear the Area: Remove any obstacles around your home’s perimeter that might hinder access for installers.
- Inform Neighbors: Let your neighbors know about the installation, especially if it will take more than one day.
- Plan for Disruption: Be prepared for some noise and activity around your home during installation. Ensure pets and children are kept safe and away from the work area.
Final Thoughts and Next Steps
Preparing your Virginia home for solar panel installation involves careful consideration of various factors, from the condition of your roof to your energy needs. By following this checklist, you can ensure a smoother installation process and better performance from your solar system.
As a final step, compare itemized quotes from qualified installers to ensure you understand the costs and options available. Remember, the specifics of your situation can influence the best choices for your home, so take time to evaluate your options carefully.