Understanding the Installation Process for Solar in California
California is one of the leading states for solar energy adoption, with abundant sunshine and a strong commitment to renewable energy. However, navigating the installation process can be challenging for homeowners. From understanding the local regulations to preparing your home for installation, there are several essential steps to consider before making the switch to solar energy. This article aims to guide you through the preparations needed to ensure a smooth installation process for a residential rooftop solar system.
Assessing Your Home’s Suitability for Solar
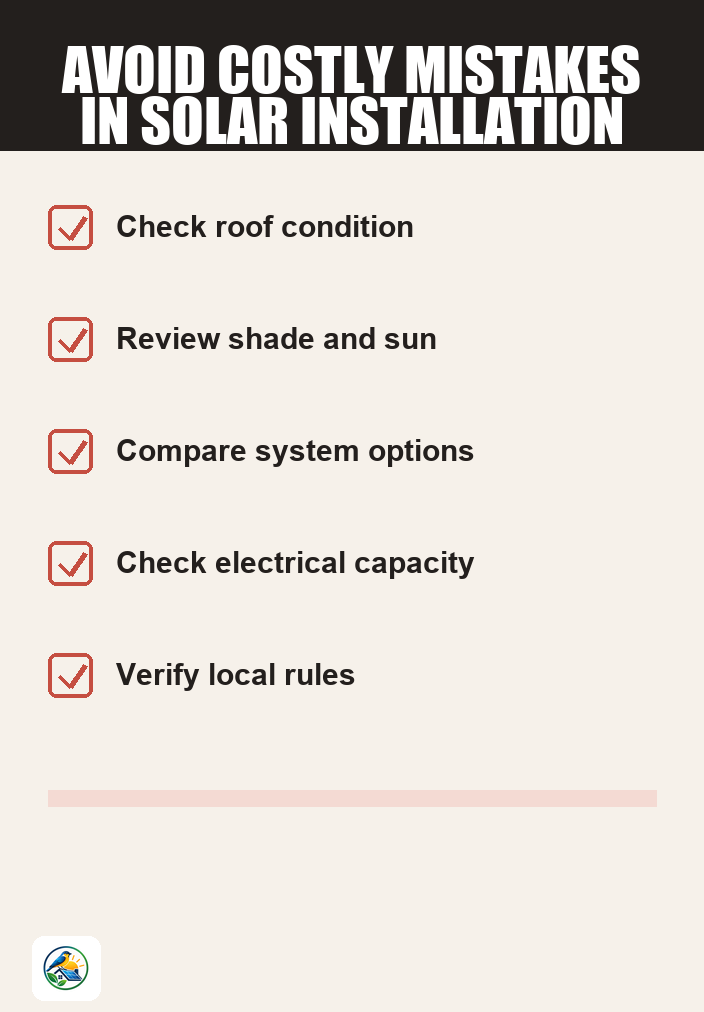
Before diving into the installation process, it’s crucial to evaluate whether your home is suitable for solar energy. Here are some factors to consider:
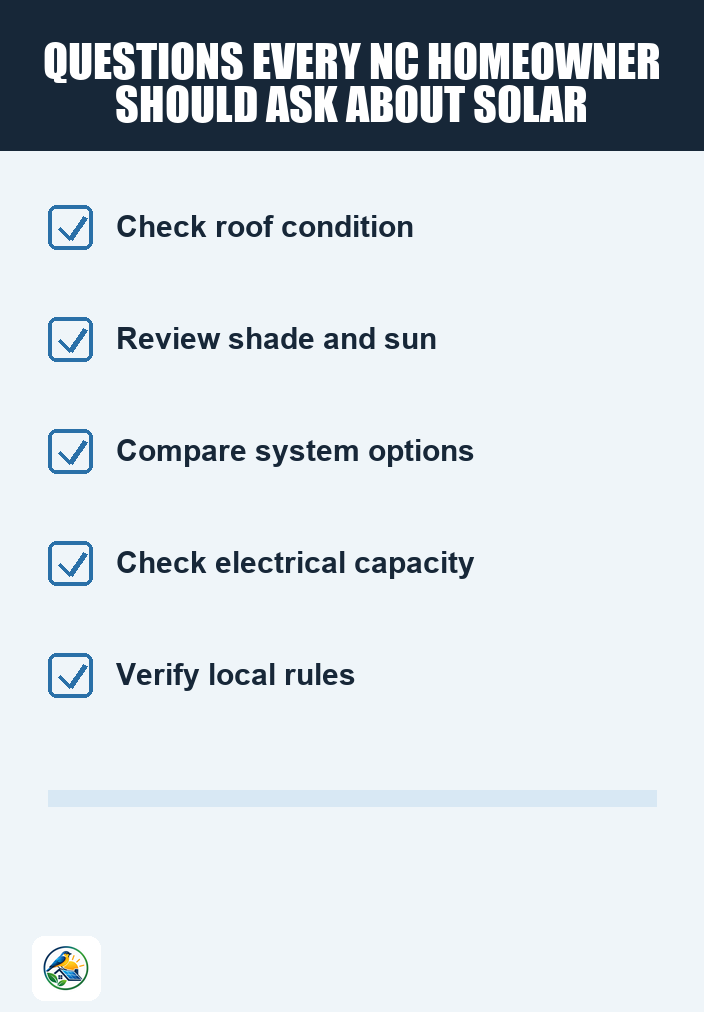
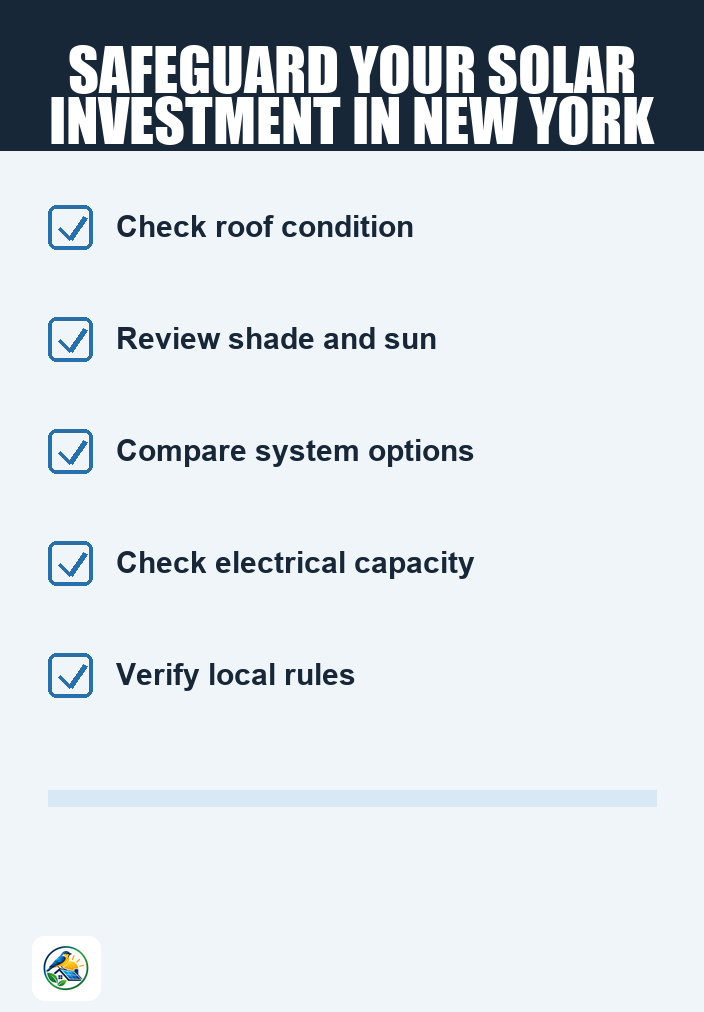
- Roof Condition: Your roof should be in good condition and able to support solar panels. If your roof needs repairs, consider addressing these issues before installation.
- Roof Orientation and Angle: South-facing roofs typically receive the most sunlight, making them ideal for solar panels. East and west-facing roofs can also work, but may produce slightly less energy.
- Shade Analysis: Trees, buildings, or other obstructions that cast shadows on your roof can significantly reduce solar panel efficiency. A site assessment by a professional installer can help evaluate shading issues.
- Electrical System Compatibility: Your home’s electrical system must be compatible with solar installations. An electrical panel upgrade may be necessary, especially in older homes.
Understanding Local Regulations and Permitting
California has specific regulations regarding solar installations, including permitting requirements that vary by municipality. Here’s what to keep in mind:
- Building Permits: Most localities require a building permit for solar installations. Check with your city or county building department for specific regulations.
- Interconnection Agreements: If you plan to connect your solar system to the grid, you’ll need to apply for an interconnection agreement with your utility company. This process ensures that your system meets safety and reliability standards.
- HOA Regulations: If you live in a community governed by a homeowners association (HOA), be sure to review their guidelines regarding solar panel installations. Some HOAs have specific rules about the visibility and appearance of solar panels.
Choosing the Right Solar System for Your Needs
When considering solar, you’ll need to decide between different types of systems:
- Grid-Tied Systems: These systems are connected to the utility grid and allow you to draw electricity from the grid when your system isn’t producing enough power. They typically do not include battery storage.
- Battery Backup Systems: These systems include batteries that store excess energy produced during the day for use at night or during outages. They can be more expensive but offer greater energy independence.
- Off-Grid Systems: Completely independent of the utility grid, off-grid systems require sufficient battery storage and a robust design to meet all of your energy needs.
Evaluating Financial Considerations
While solar can be a sustainable energy choice, it’s essential to evaluate the financial implications:
- System Costs: The cost of solar systems can vary significantly based on system size, equipment, and installation. Collecting multiple quotes from qualified installers will give you a clearer picture of the costs involved.
- Financing Options: Many homeowners choose to finance their solar systems through loans, leases, or power purchase agreements (PPAs). Understanding the terms and conditions of these options is vital.
- Incentives and Rebates: California offers various incentives for solar installations, including the California Solar Initiative and property tax exemptions. However, the specifics can change, so verify current incentives available in your area.
Preparing for Installation Day
As installation day approaches, there are several preparations you can make:
- Clear Access: Ensure that the installation crew has clear access to your roof and the surrounding area. Move any obstructions like outdoor furniture or potted plants.
- Discuss Installation Details: Have an open dialogue with your installer about the timeline and any potential disruptions during installation. Understanding what to expect can help ease any concerns.
- Review Safety Protocols: Familiarize yourself with the safety measures that will be in place during installation to protect both your property and the installation crew.
Post-Installation Considerations
After your solar system is installed, there are a few important steps to take:
- Inspection and Approval: Most localities will require an inspection of the system after installation to ensure compliance with safety and building codes.
- Monitoring System Performance: Many solar systems come with monitoring capabilities. Use these to keep track of your energy production and system performance.
- Maintenance: While solar systems require minimal maintenance, regular cleaning and inspections can help ensure optimal performance over time.
Next Steps
Transitioning to solar energy can be a rewarding decision for your home. Start by assessing your home’s suitability and researching local regulations. Consider gathering quotes from multiple qualified solar installers to compare options and pricing. Remember to verify current incentives and financing options in your area, as these details can greatly influence your decision. With careful planning and preparation, you can navigate the installation challenges and enjoy the benefits of solar energy for years to come.